For the complete documentation index, see llms.txt. This page is also available as Markdown.

Create a text badge

Step-by-step guide to creating a text badge with custom text, shape, and colors.

Text badges let you display a custom message on a solid, shape, or image background directly on your product images. Follow these steps to create one in Sami Product Labels.

You can also start from a trending template. On the Badges & Labels list page, browse the trending templates section and click one to use it as a starting point. The template pre-fills the text, shape, and colors so you can customize from there.

1

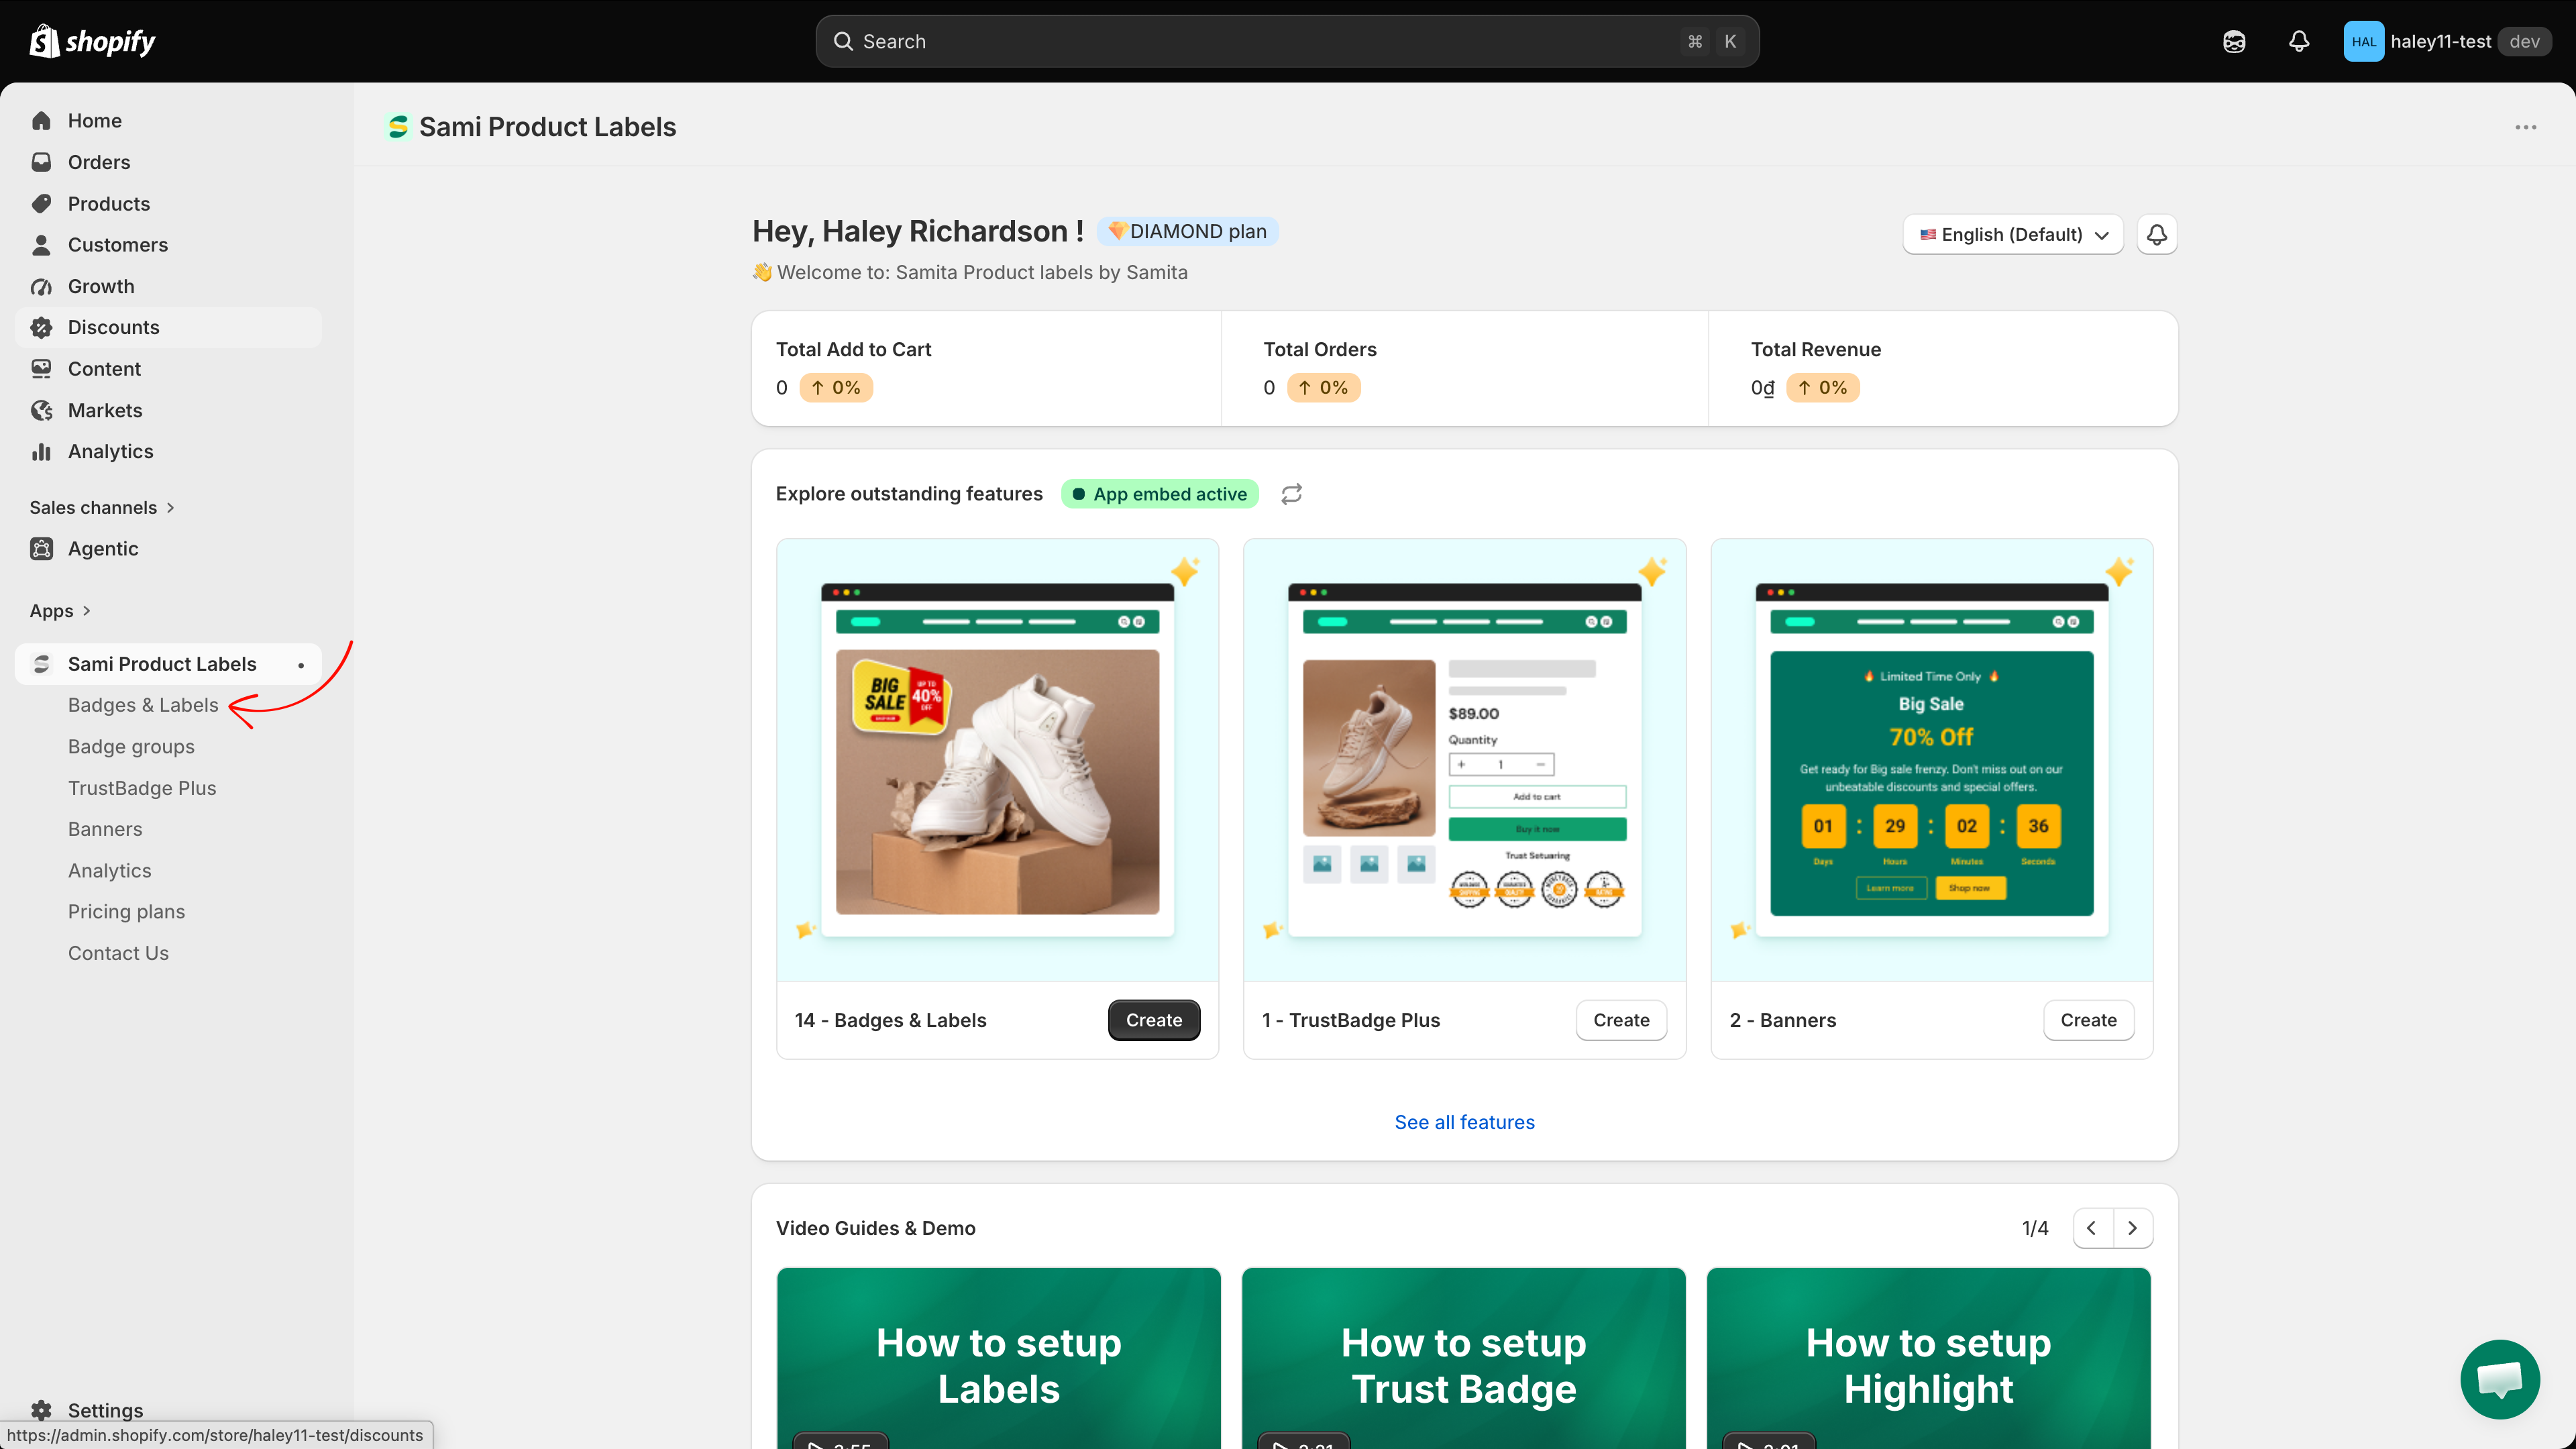
Go to Badges & Labels

In the Sami Product Labels navigation, click Badges & Labels to open the badges list page.

Sidebar with Badges and Labels highlighted
Select Badges & Labels from the sidebar navigation.
2

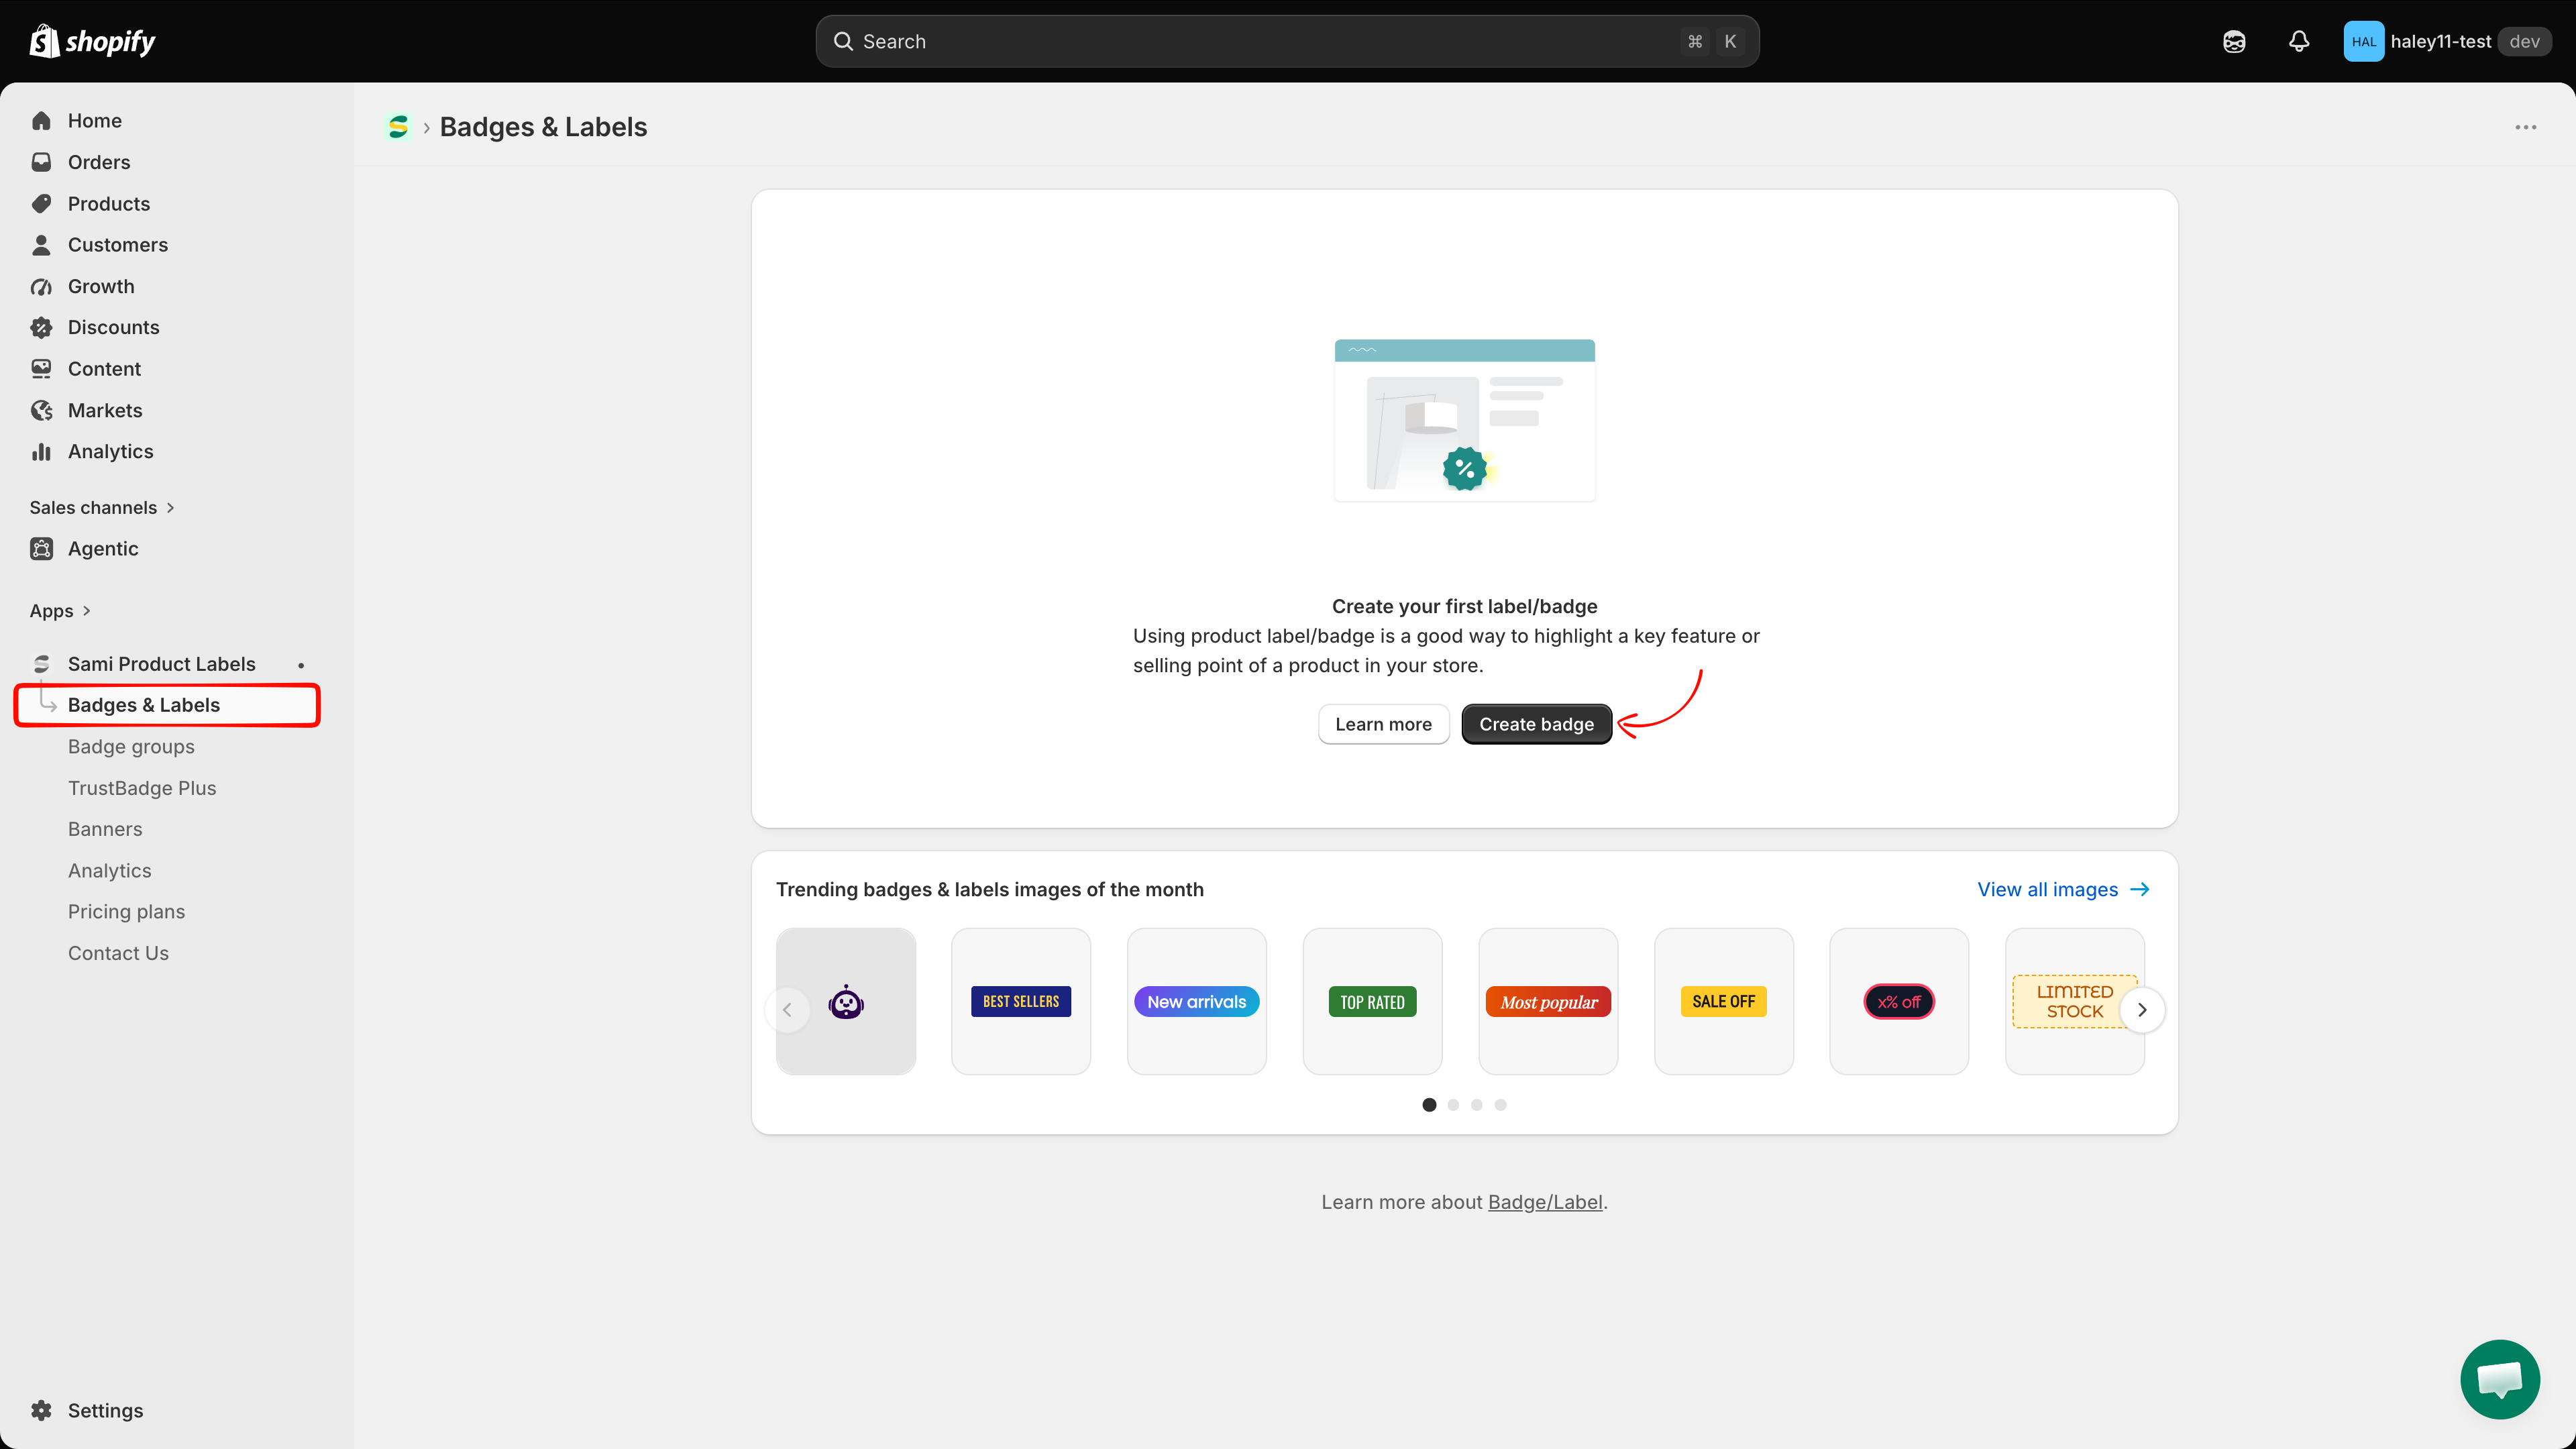
Start a new badge

If the list is empty, click Add a new label/badge. If you already have badges, click Create badge.

Create button on the badges list page
Click Create to start building a new badge.
3

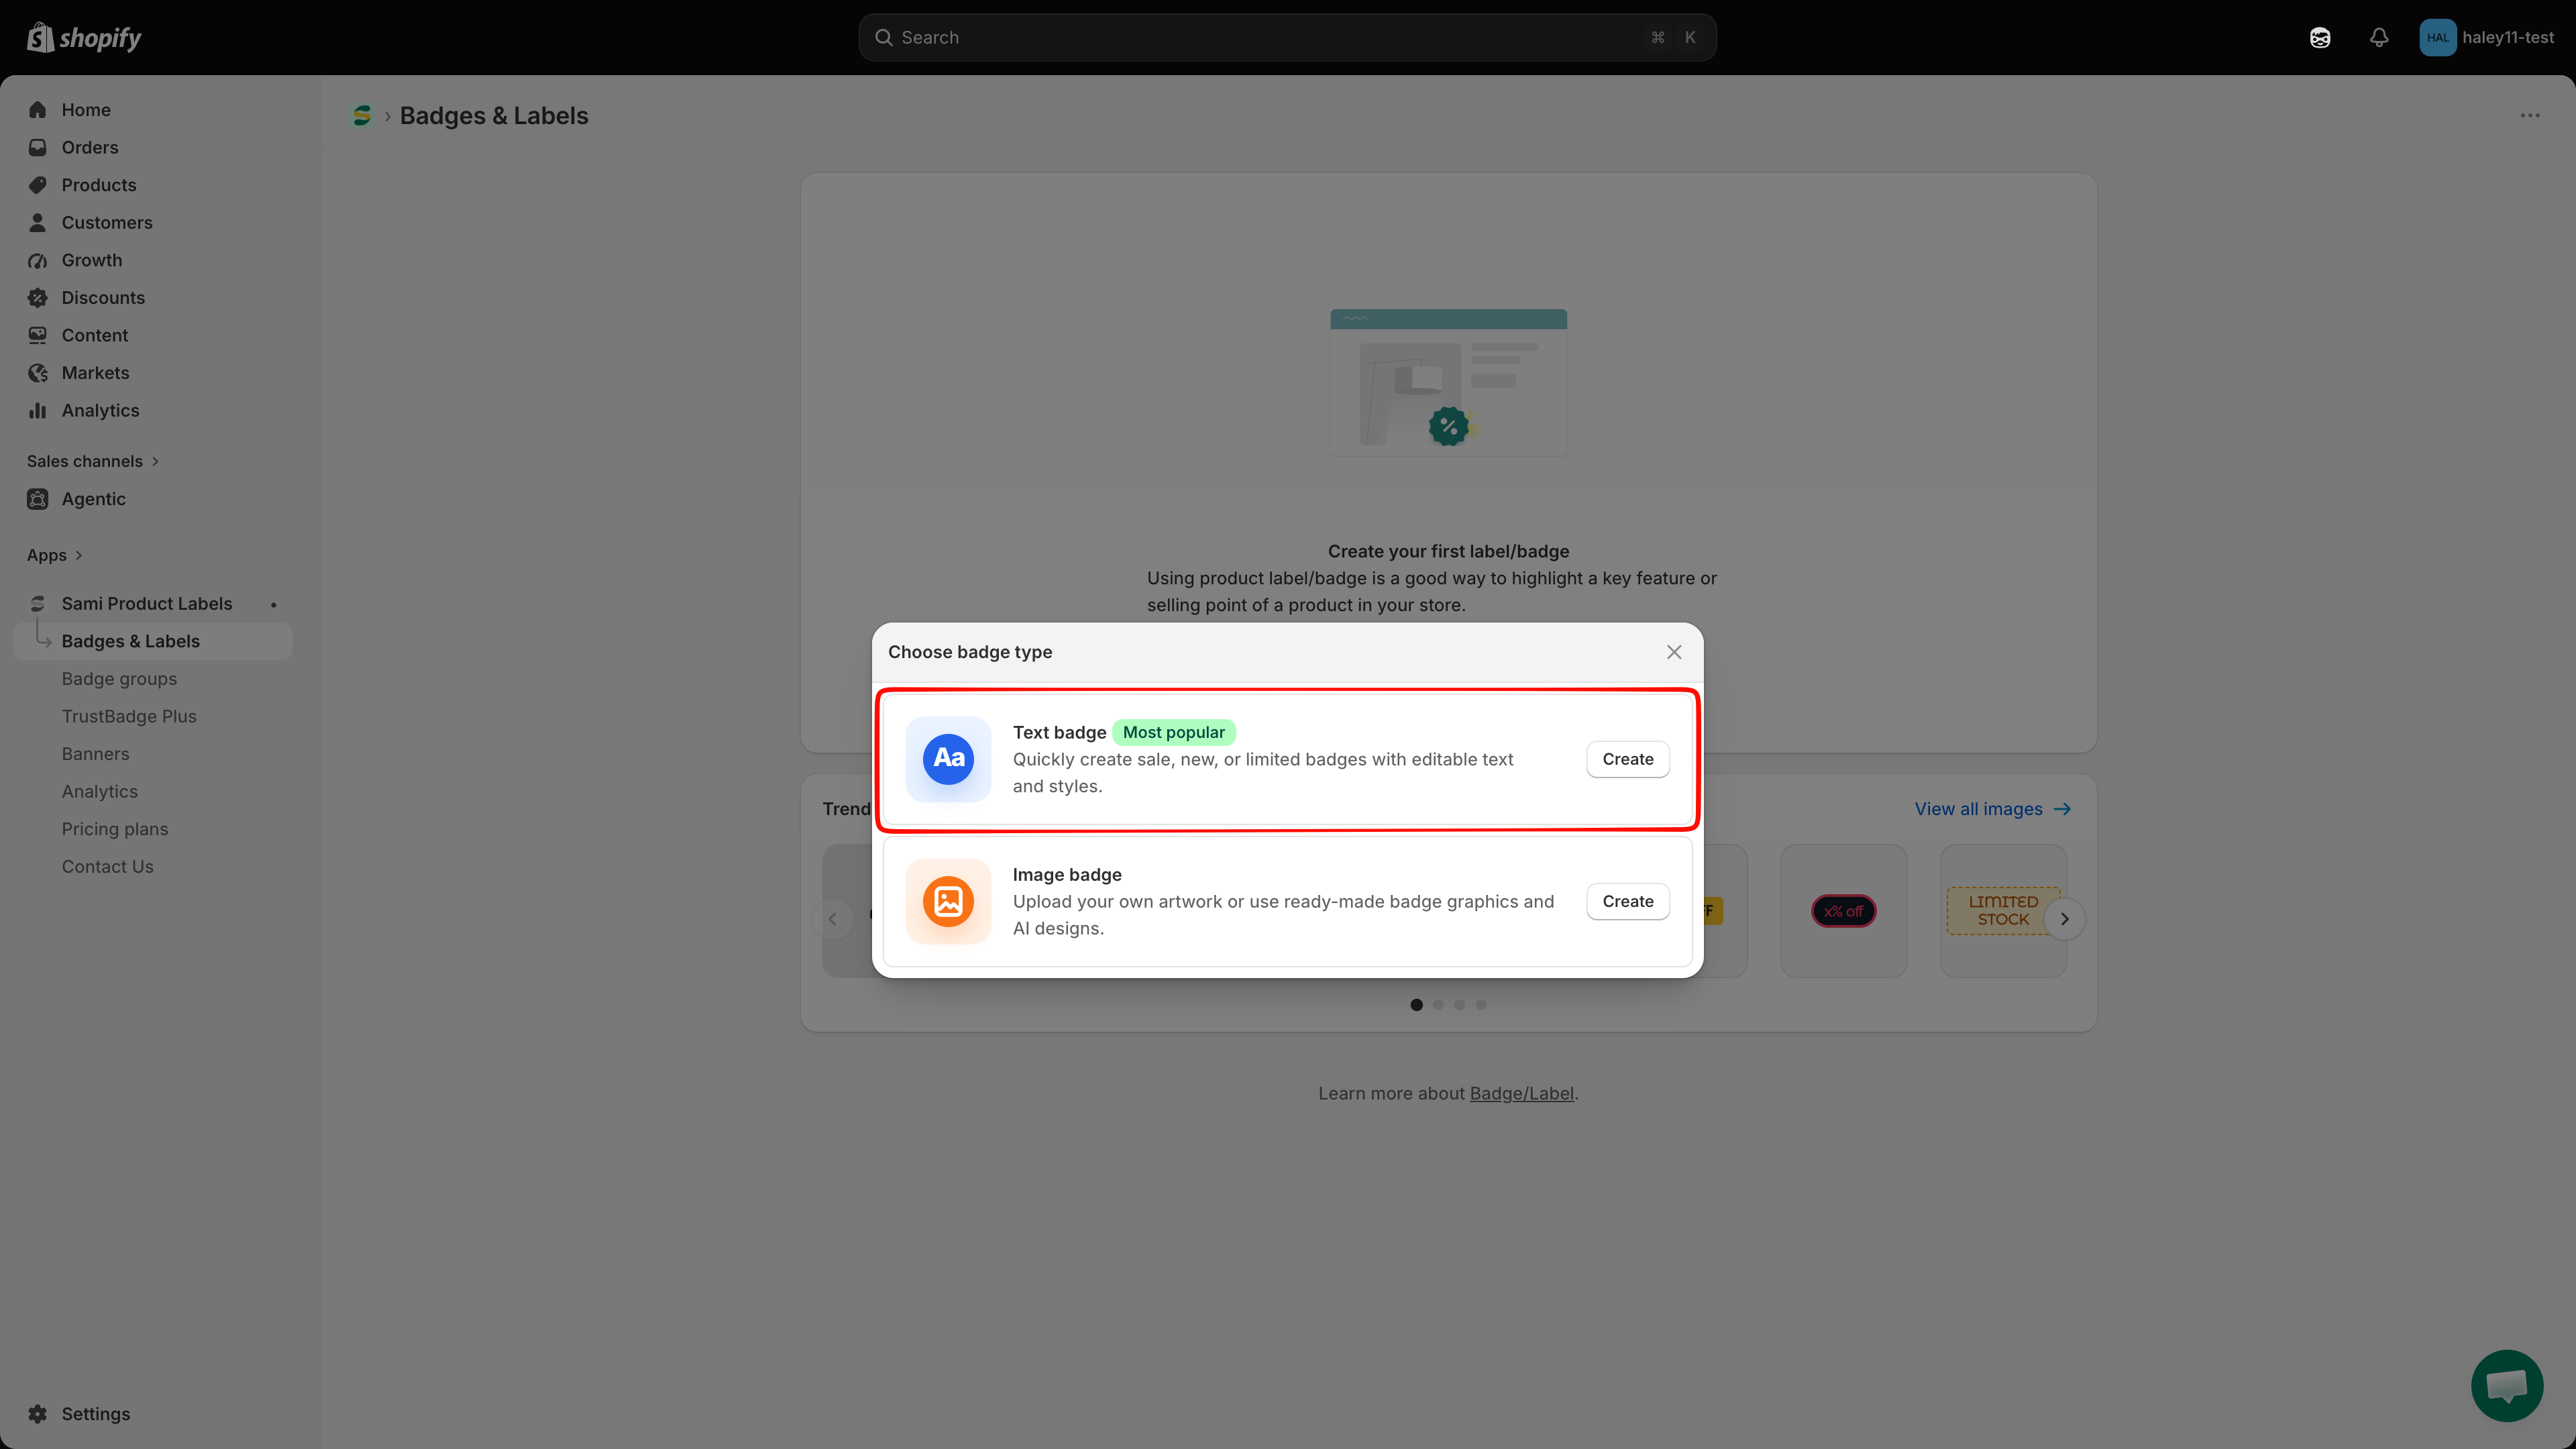
Select "Text badge"

In Choose badge type, find Text badge and click Create.

Badge type selection with Text option
Choose Text to create a text-based badge.
4

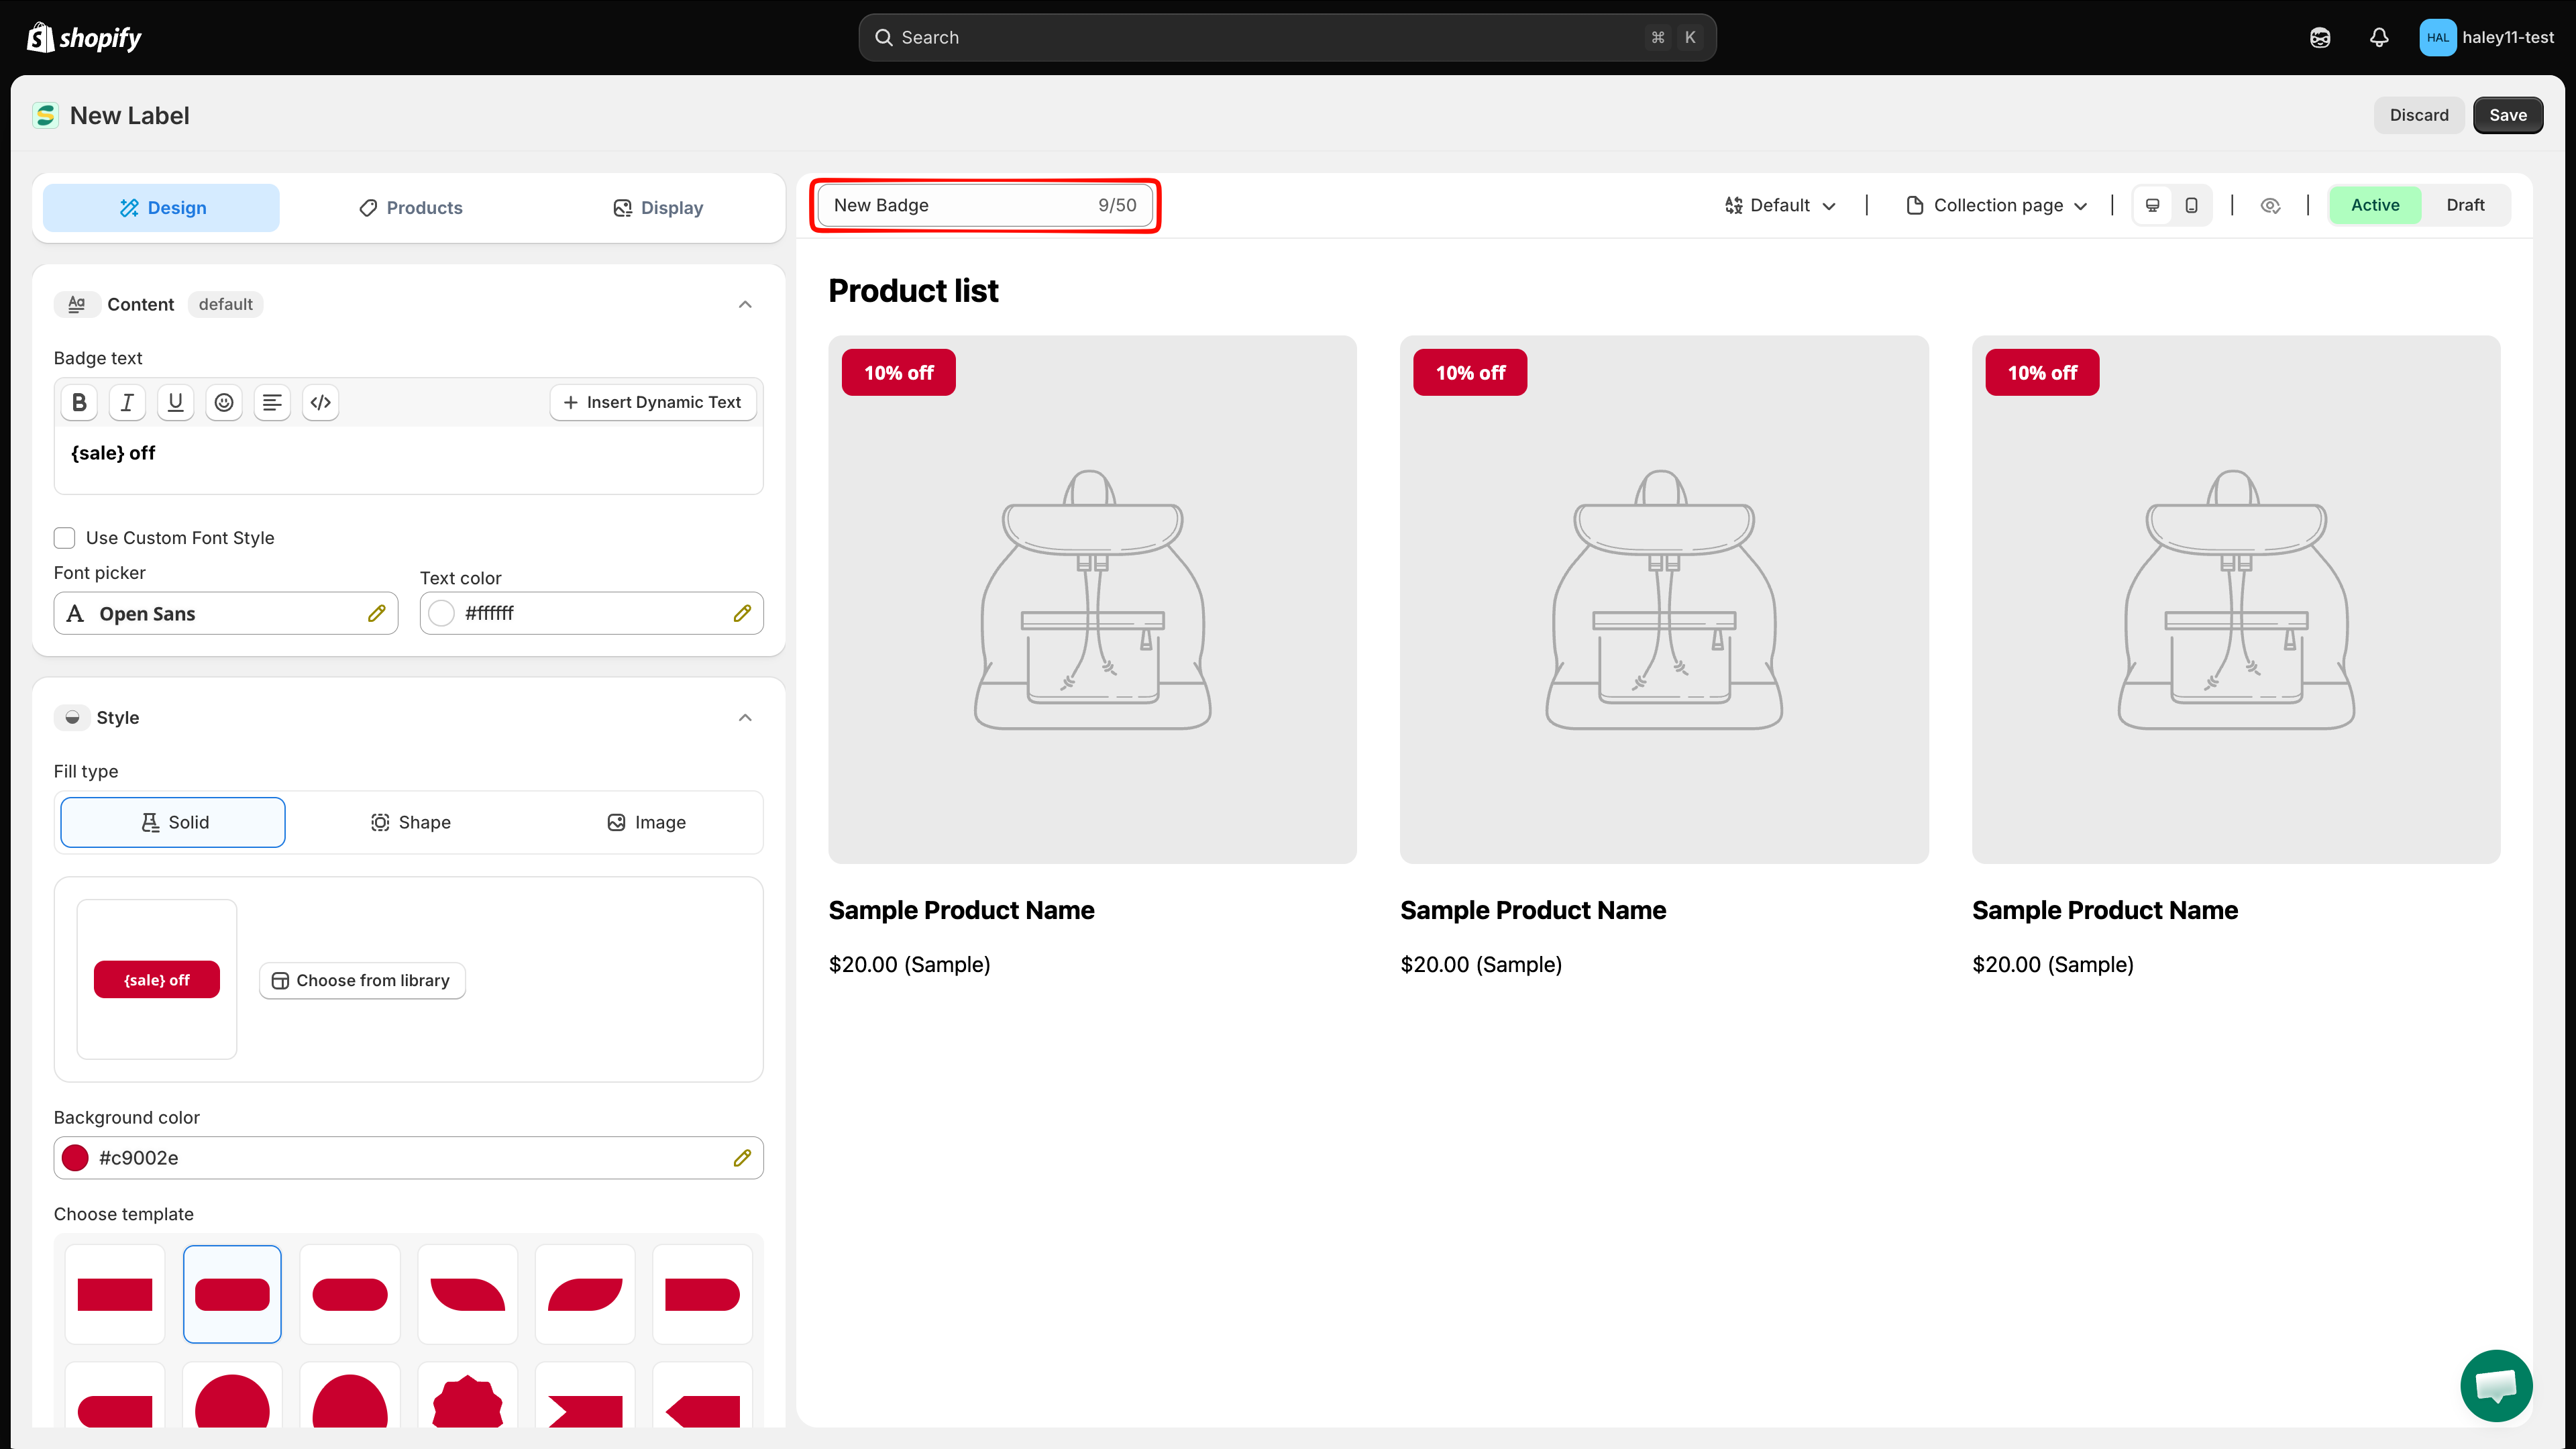
Name the badge

The editor opens with a default name such as New Badge. The name field sits in the toolbar above the preview — click it and type a descriptive internal name such as "Summer Sale" or "Low Stock Warning", up to 50 characters. A counter beside the field shows how much you have used. This name never appears on your storefront.

Badge name input field
Enter a descriptive name to identify your badge.
5

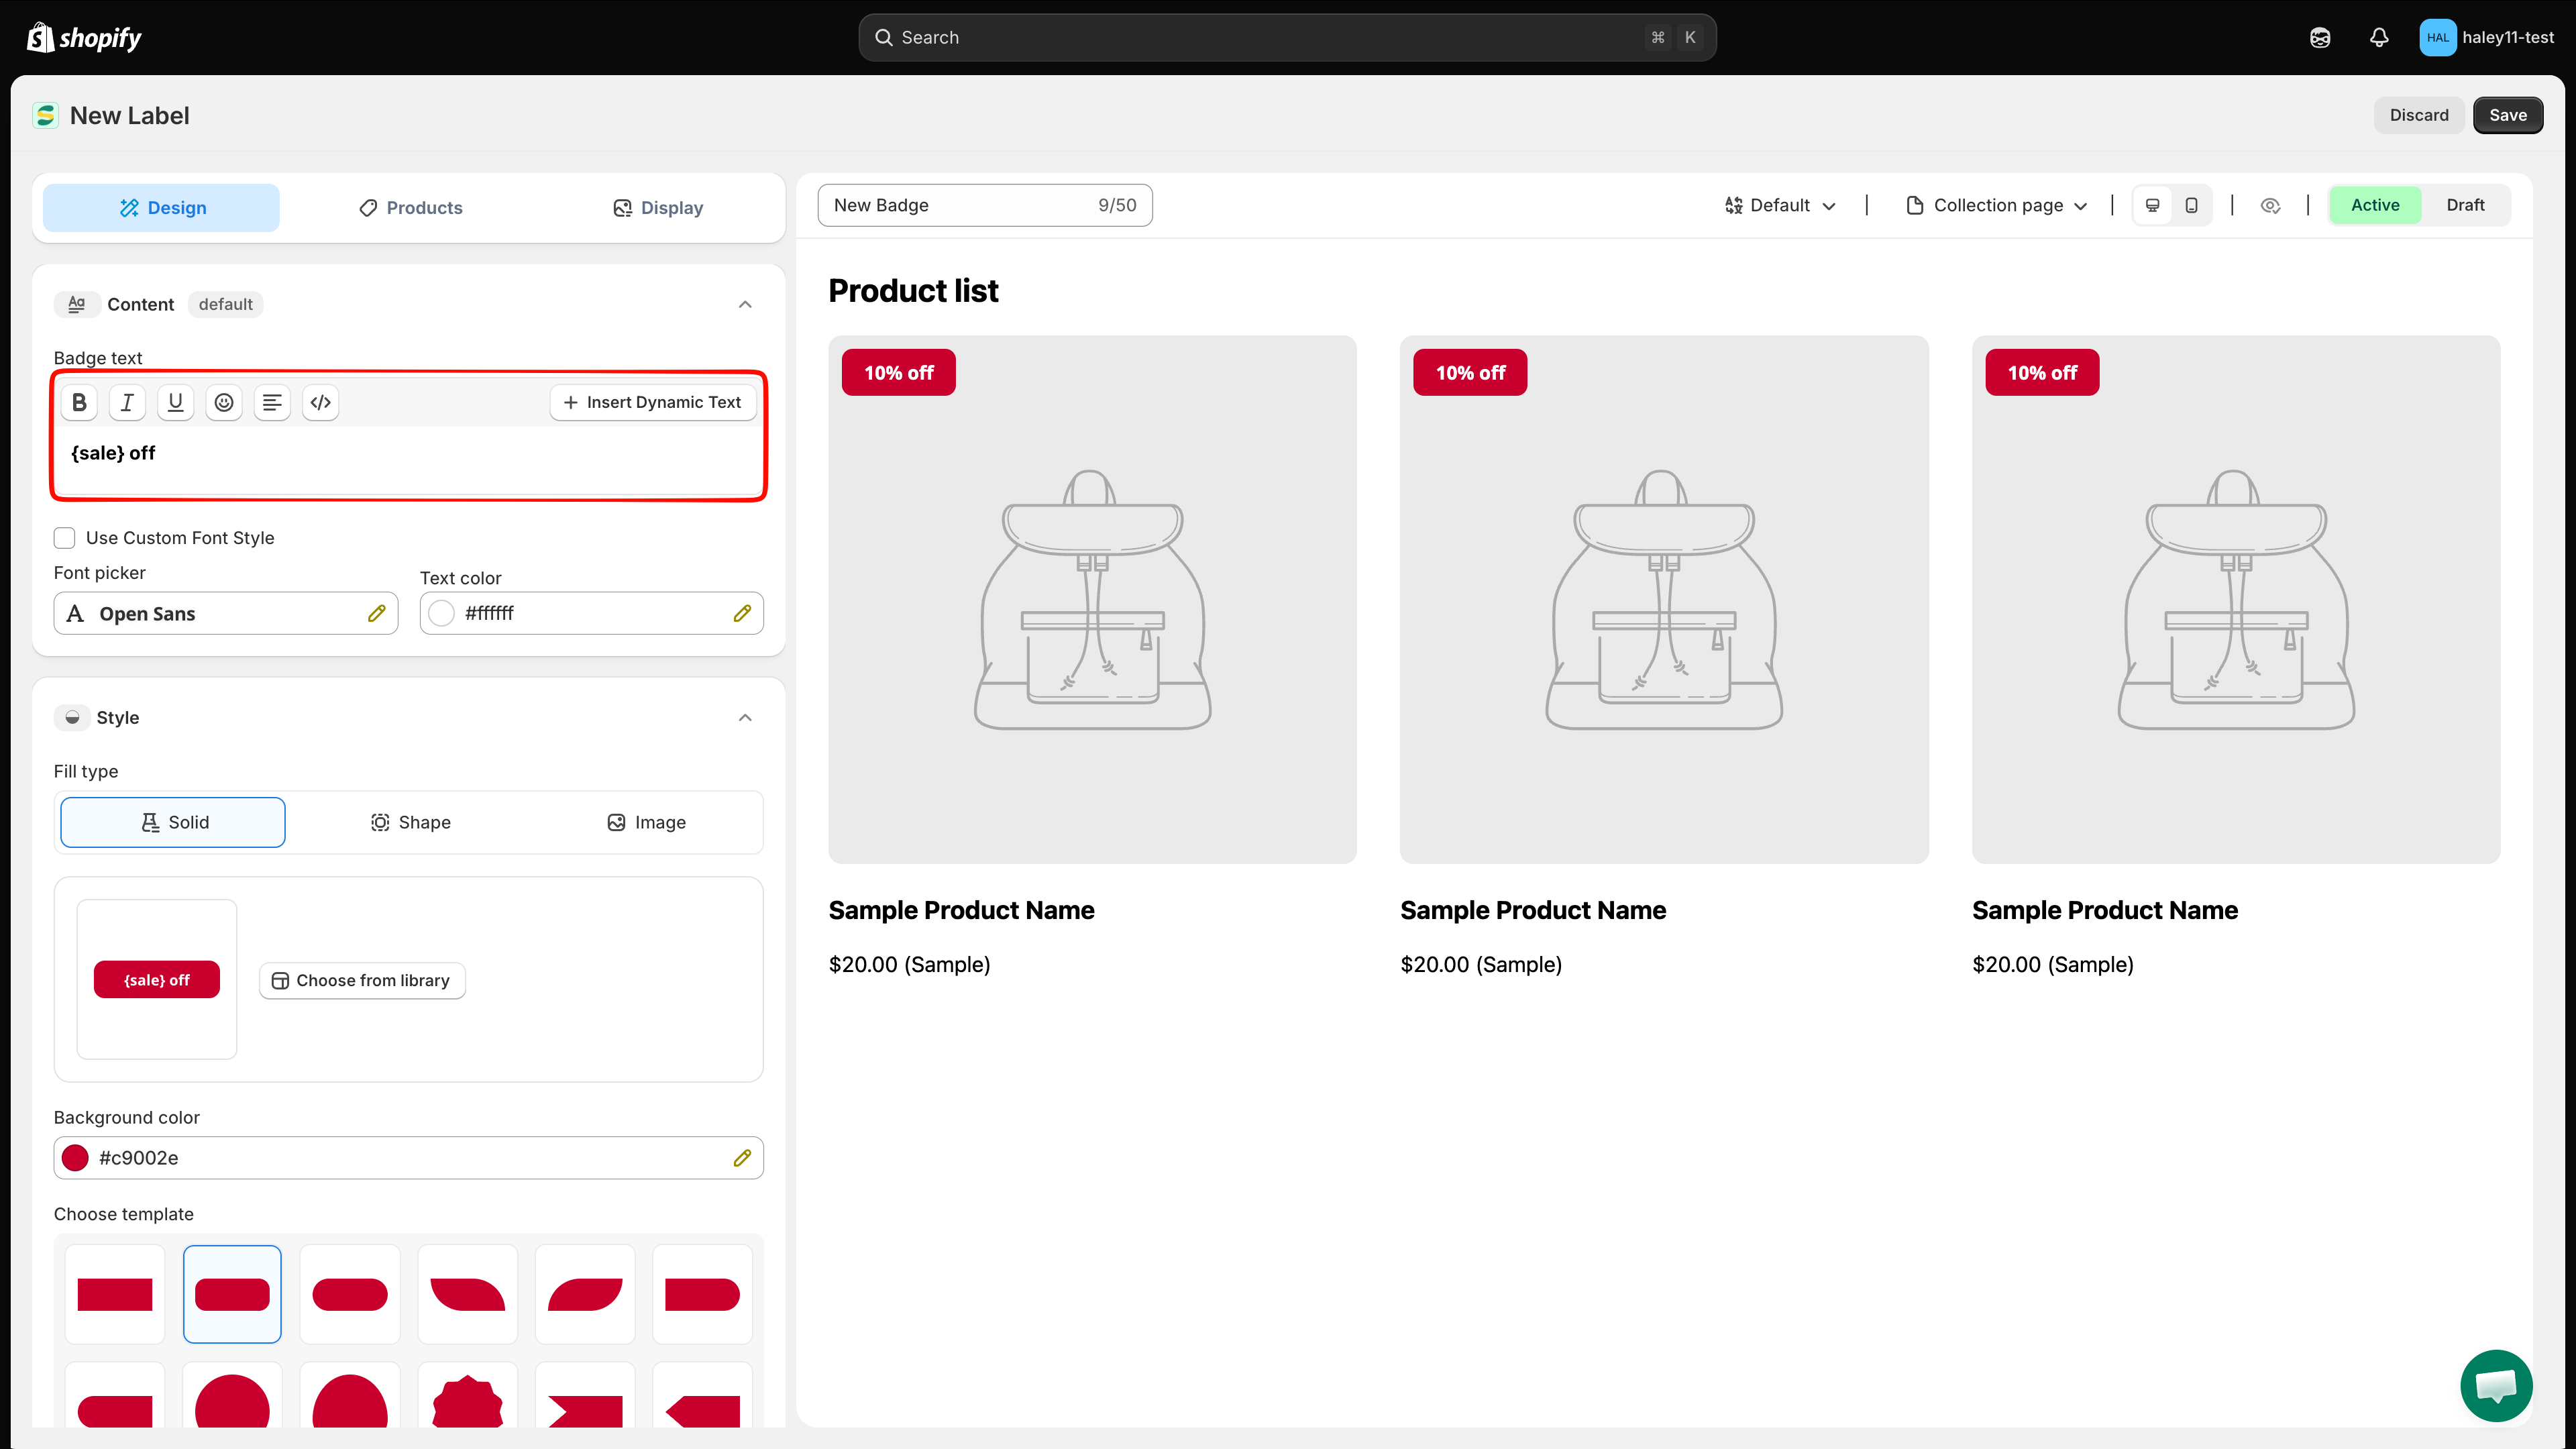
Edit text content

Use the rich text editor to write your badge message, with bold, italic, and other styling options.

To show live product data, insert dynamic variables like {sale} for the discount percentage or {inventory} for the stock count. Variables are replaced with real values on your storefront.

Rich text editor with dynamic variable options
Write your badge text and insert dynamic variables for live product data.
6

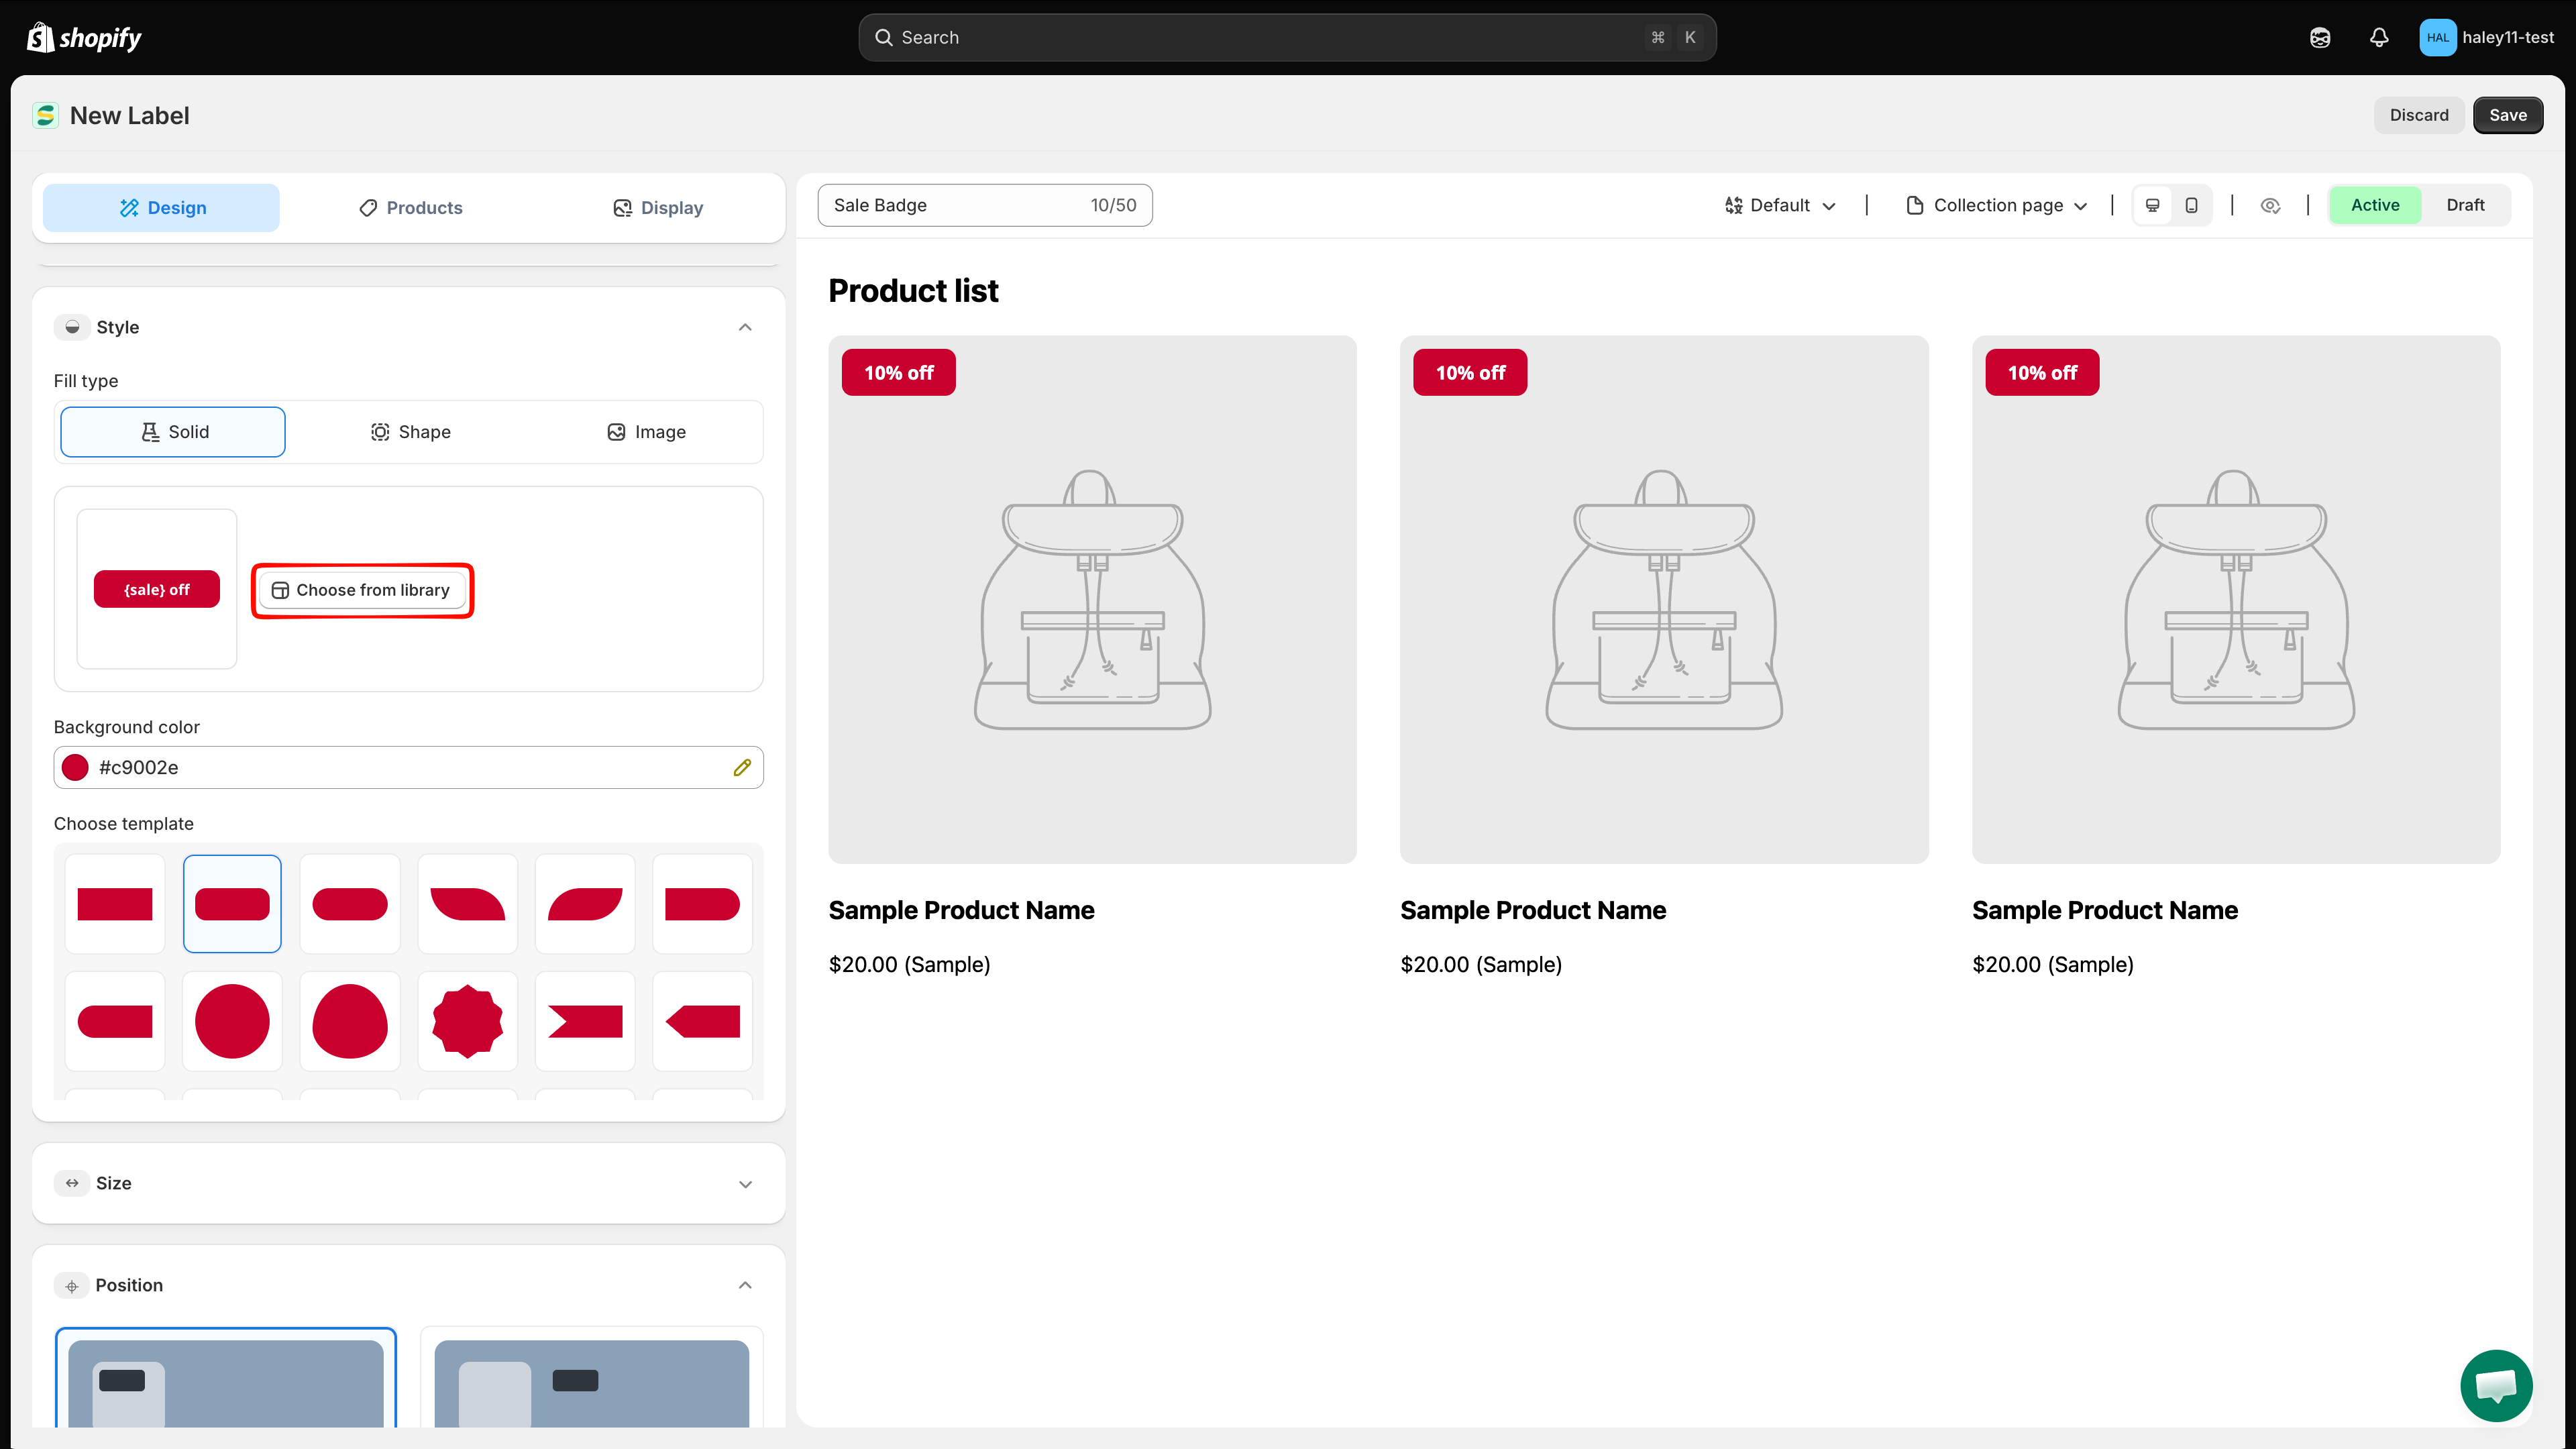
Choose a template background

Under Fill type, select Shape, then click Choose from library. The Template gallery includes filters such as Sales, Autotext, Stock, Free shipping, and Pre-order. Choose one template and continue customizing it in the editor.

Design panel with Choose from library highlighted
In Style, click Choose from library to open the Template gallery.
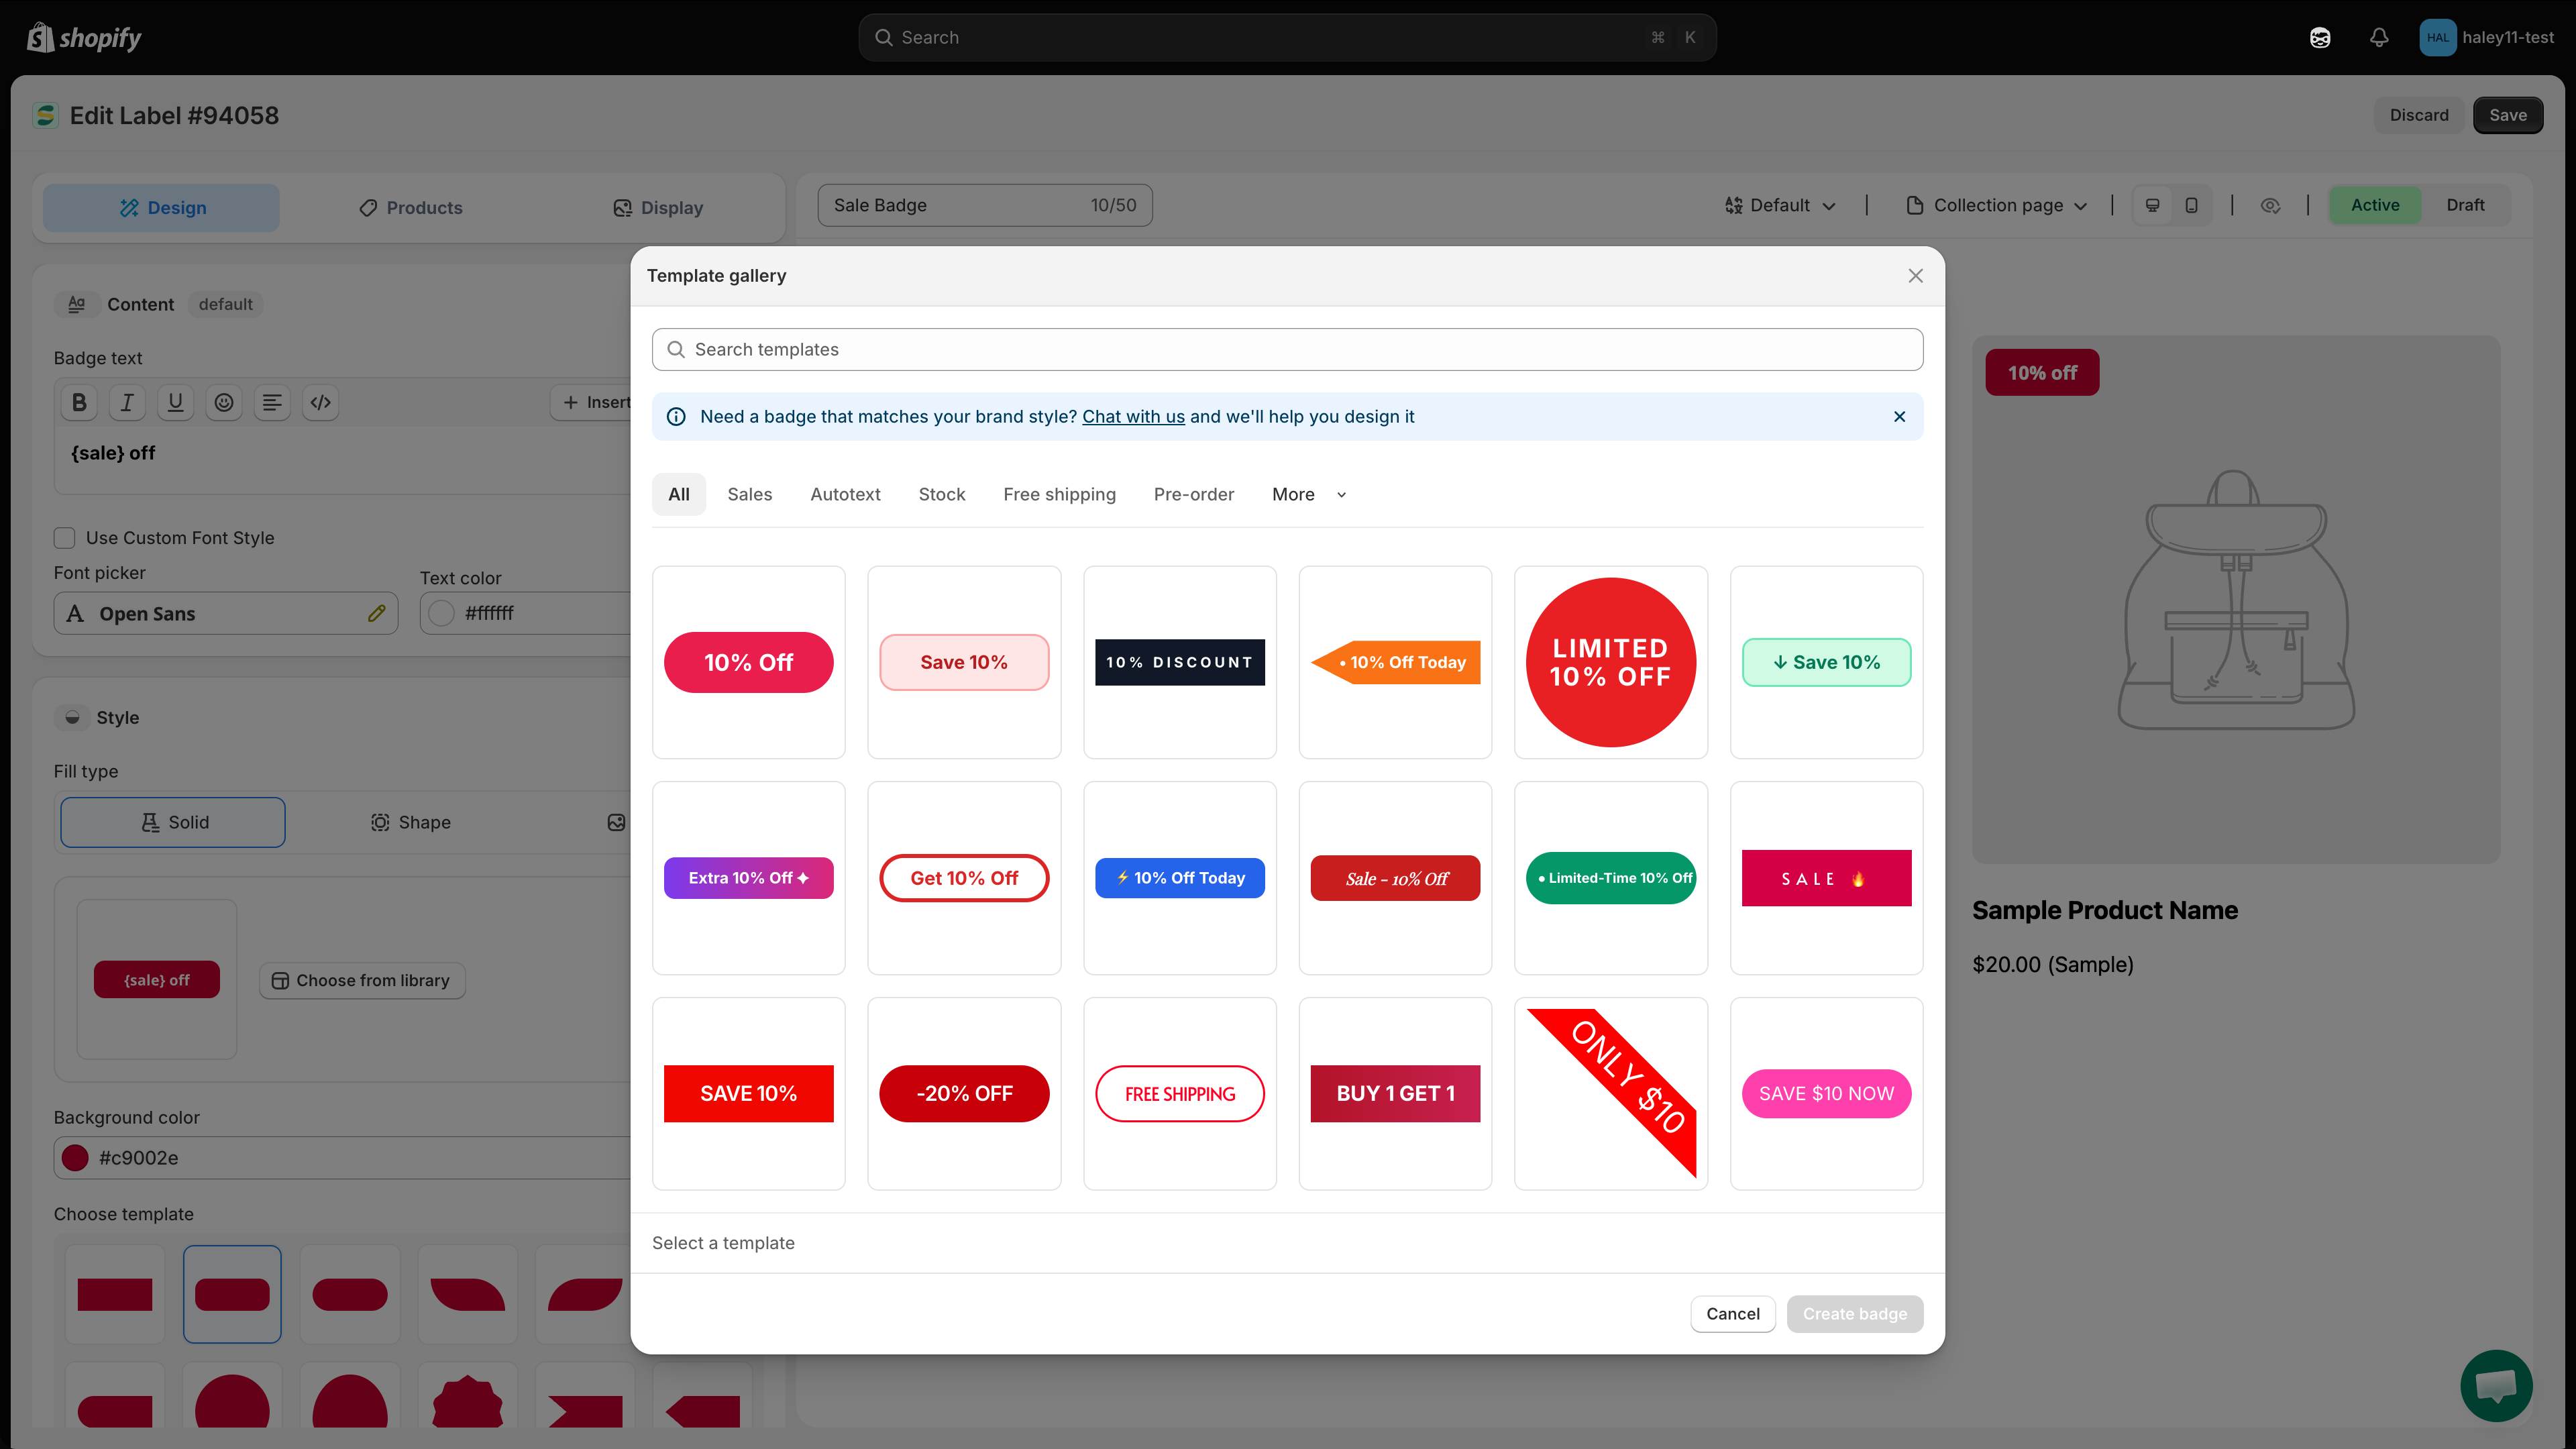
Template gallery with badge template filters
Browse the Template gallery and select a background preset.
7

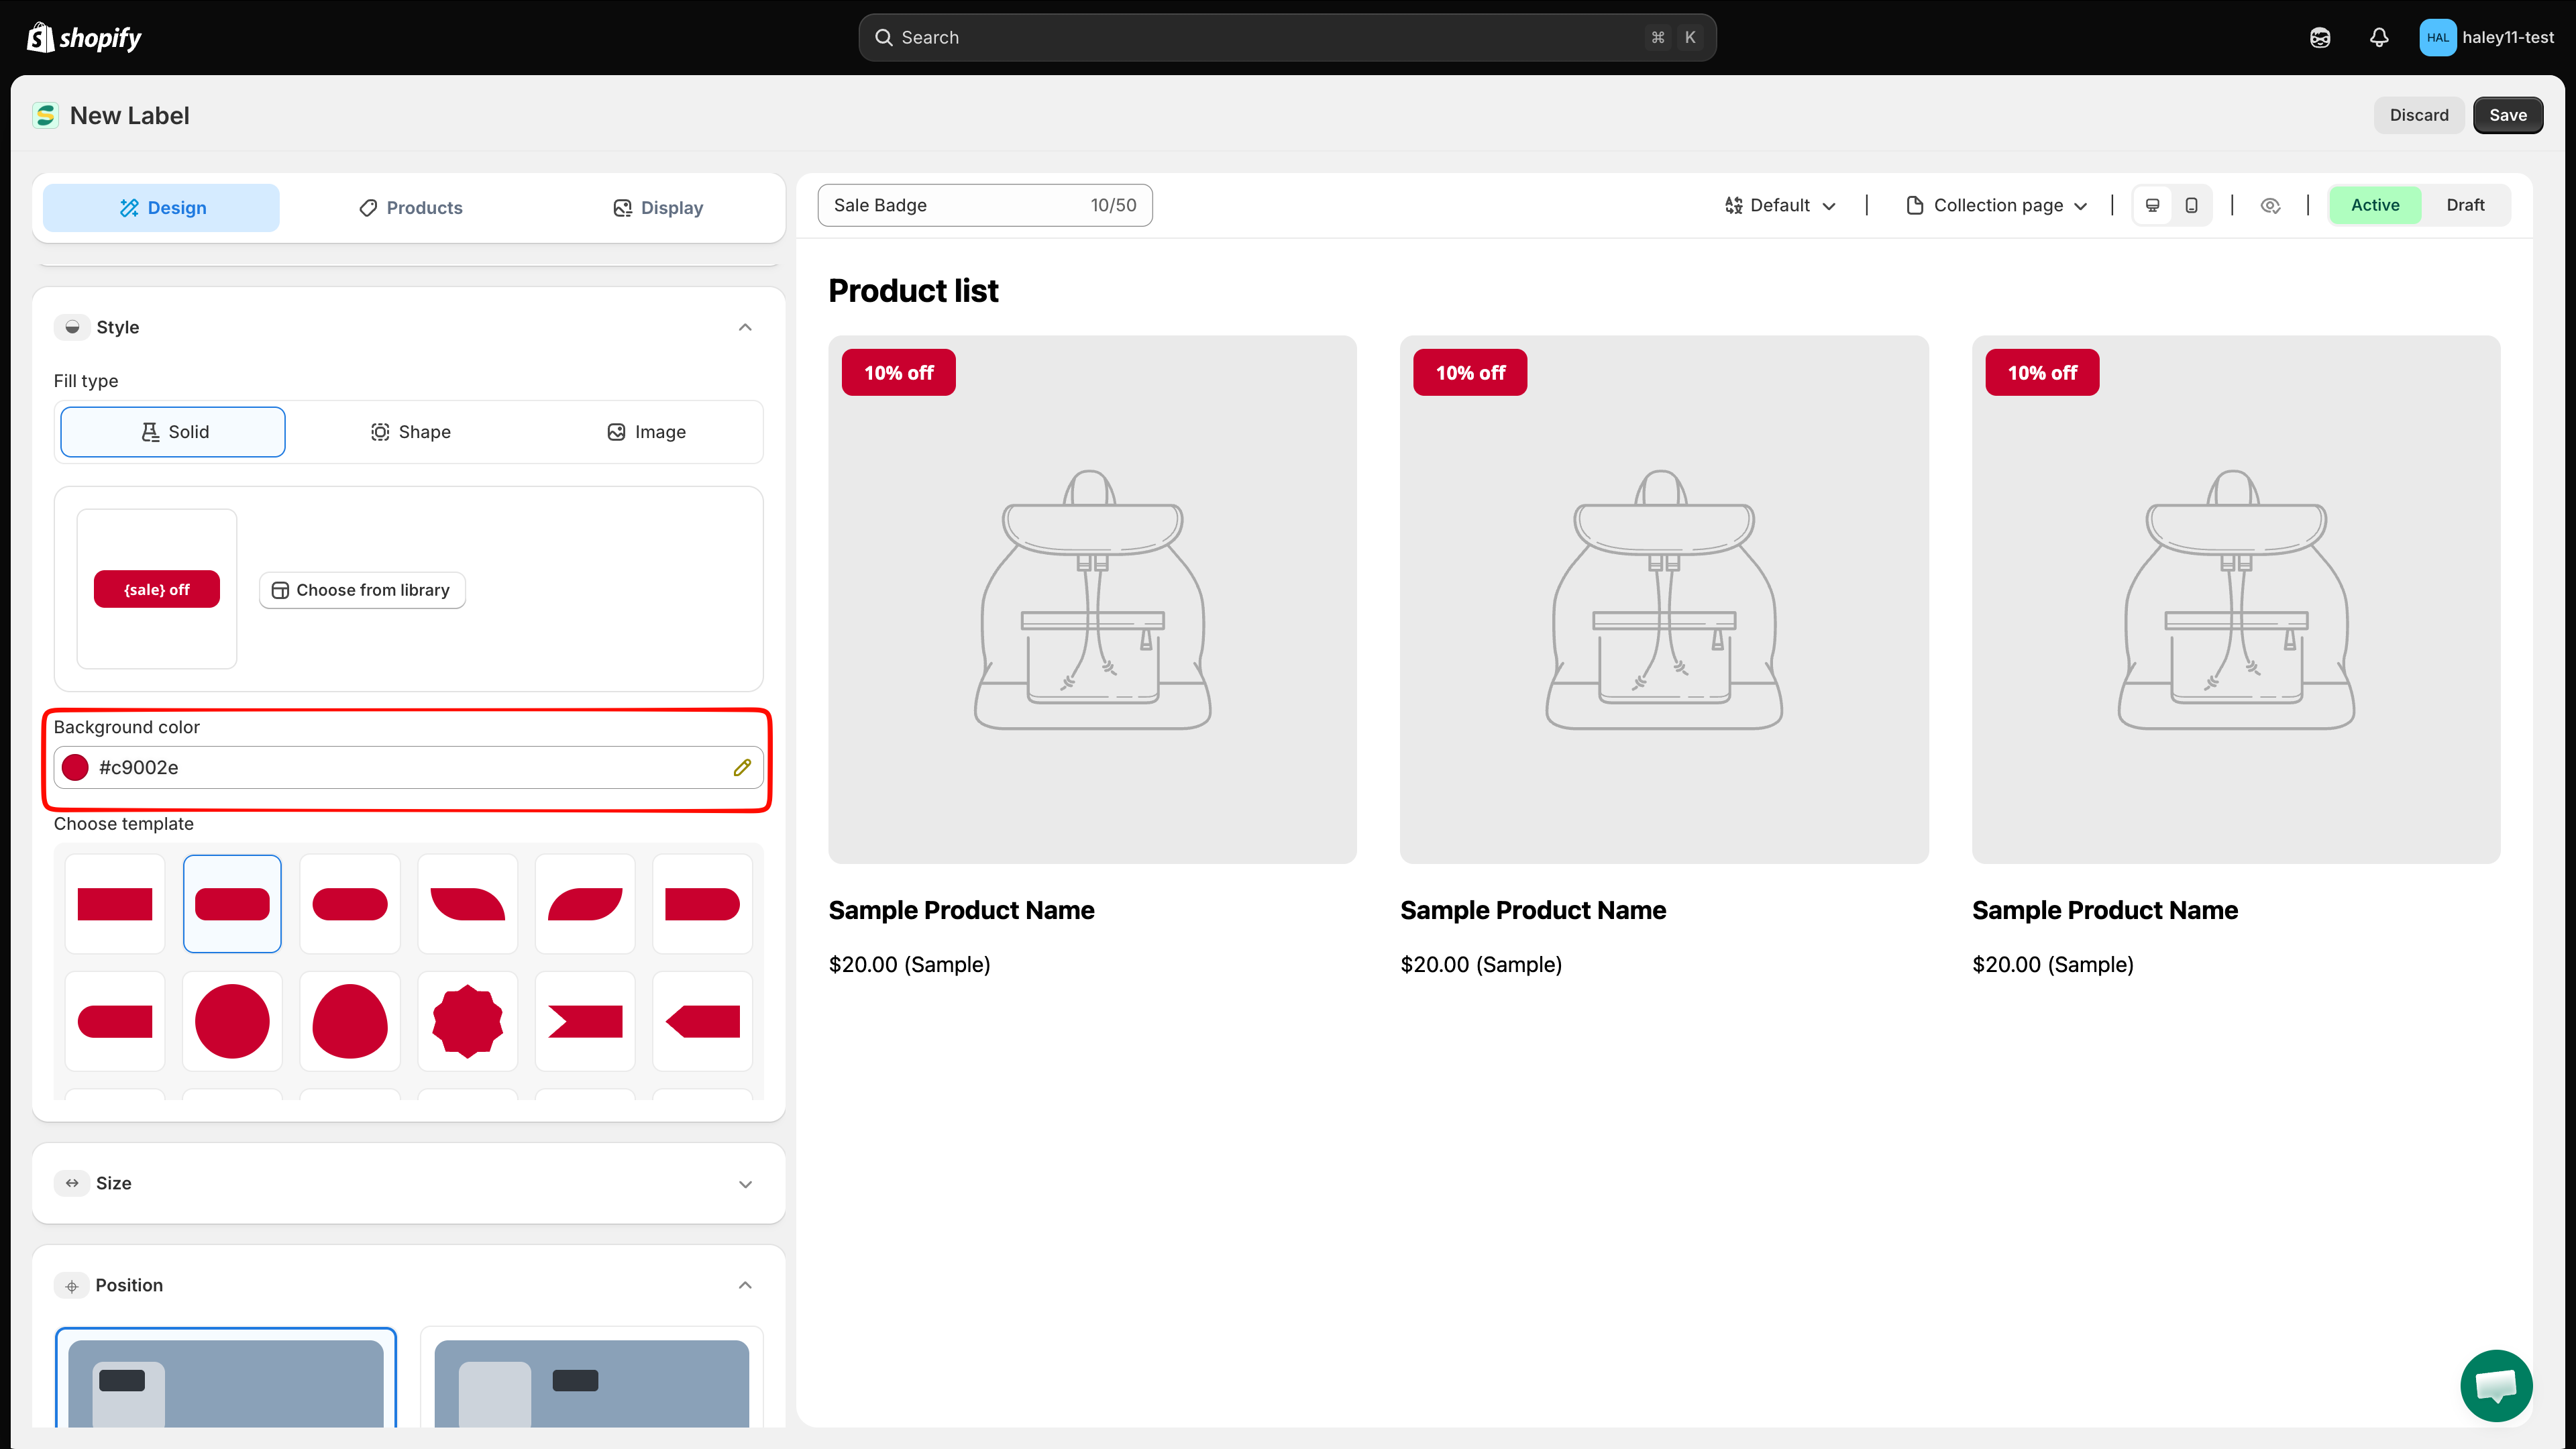
Set the background color

For a solid background, select Solid and choose its color. For a gradient, select Shape, set the Start color and End color, then choose a Gradient direction.

Background color picker with gradient options
Set a solid color or gradient for your badge background.
8

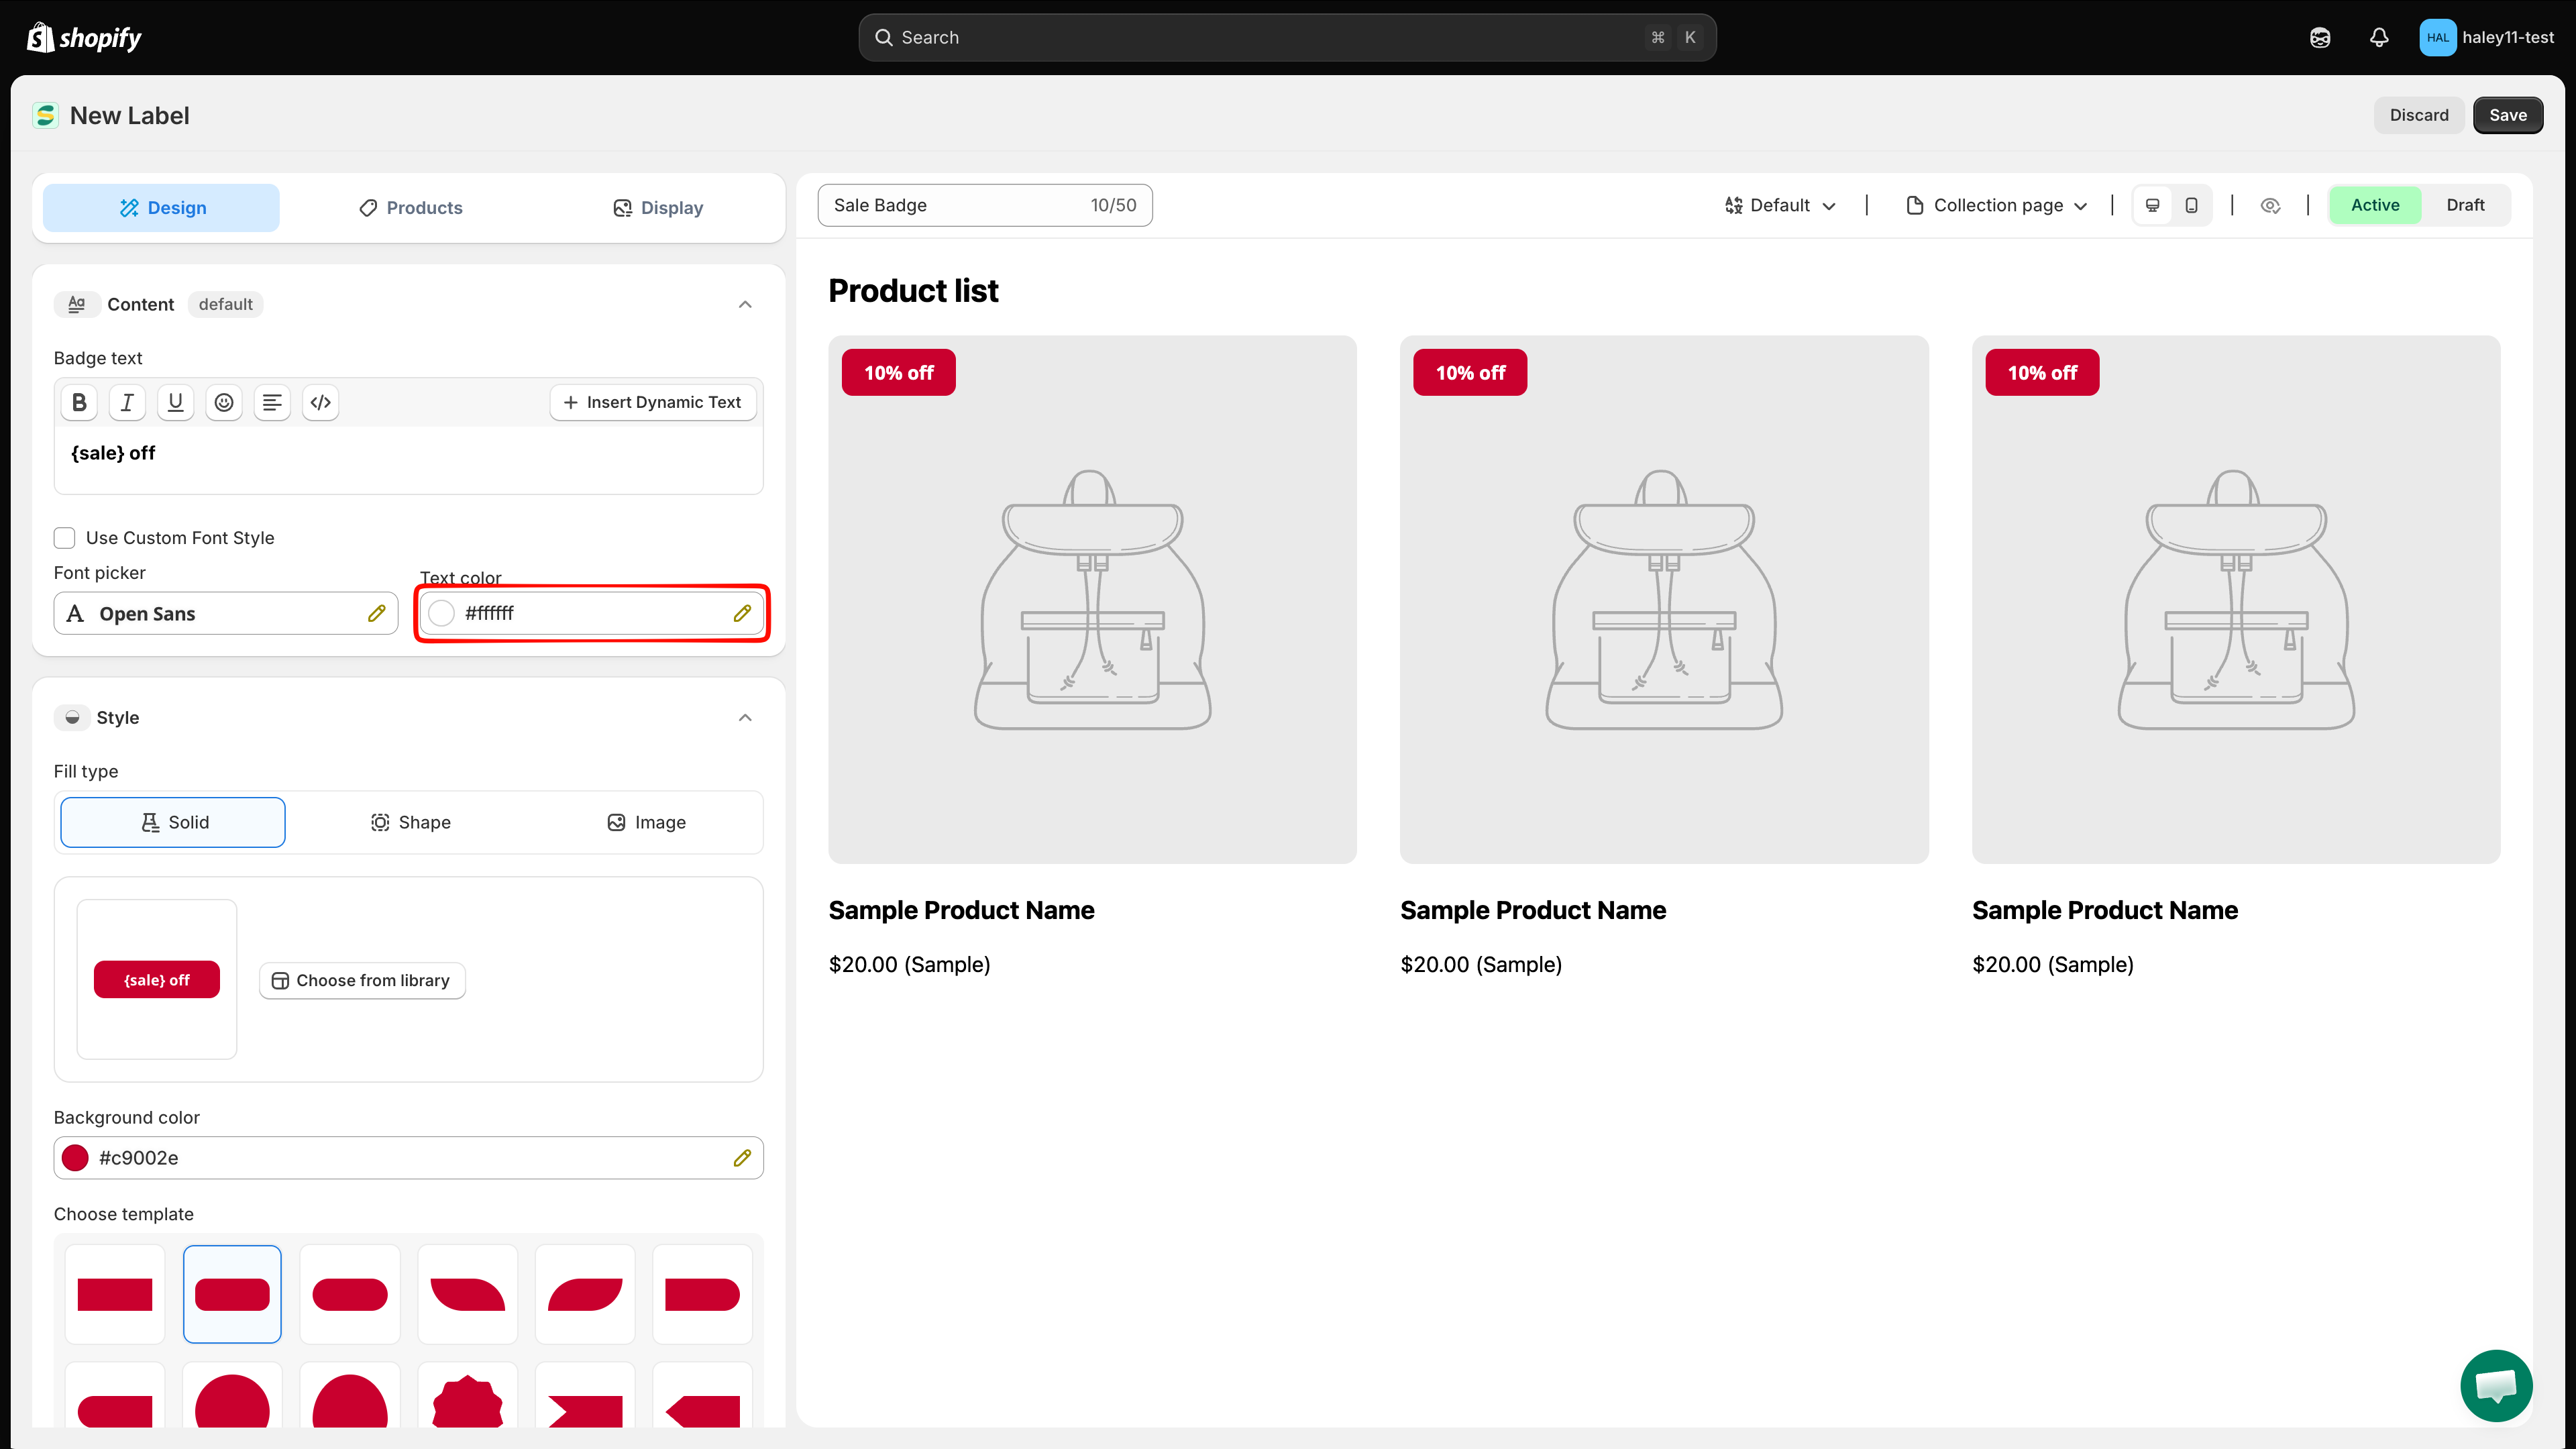
Set the text color

Pick a text color that contrasts well with your background color to keep your badge text easy to read.

Text color picker
Choose a text color that stands out against the background.
9

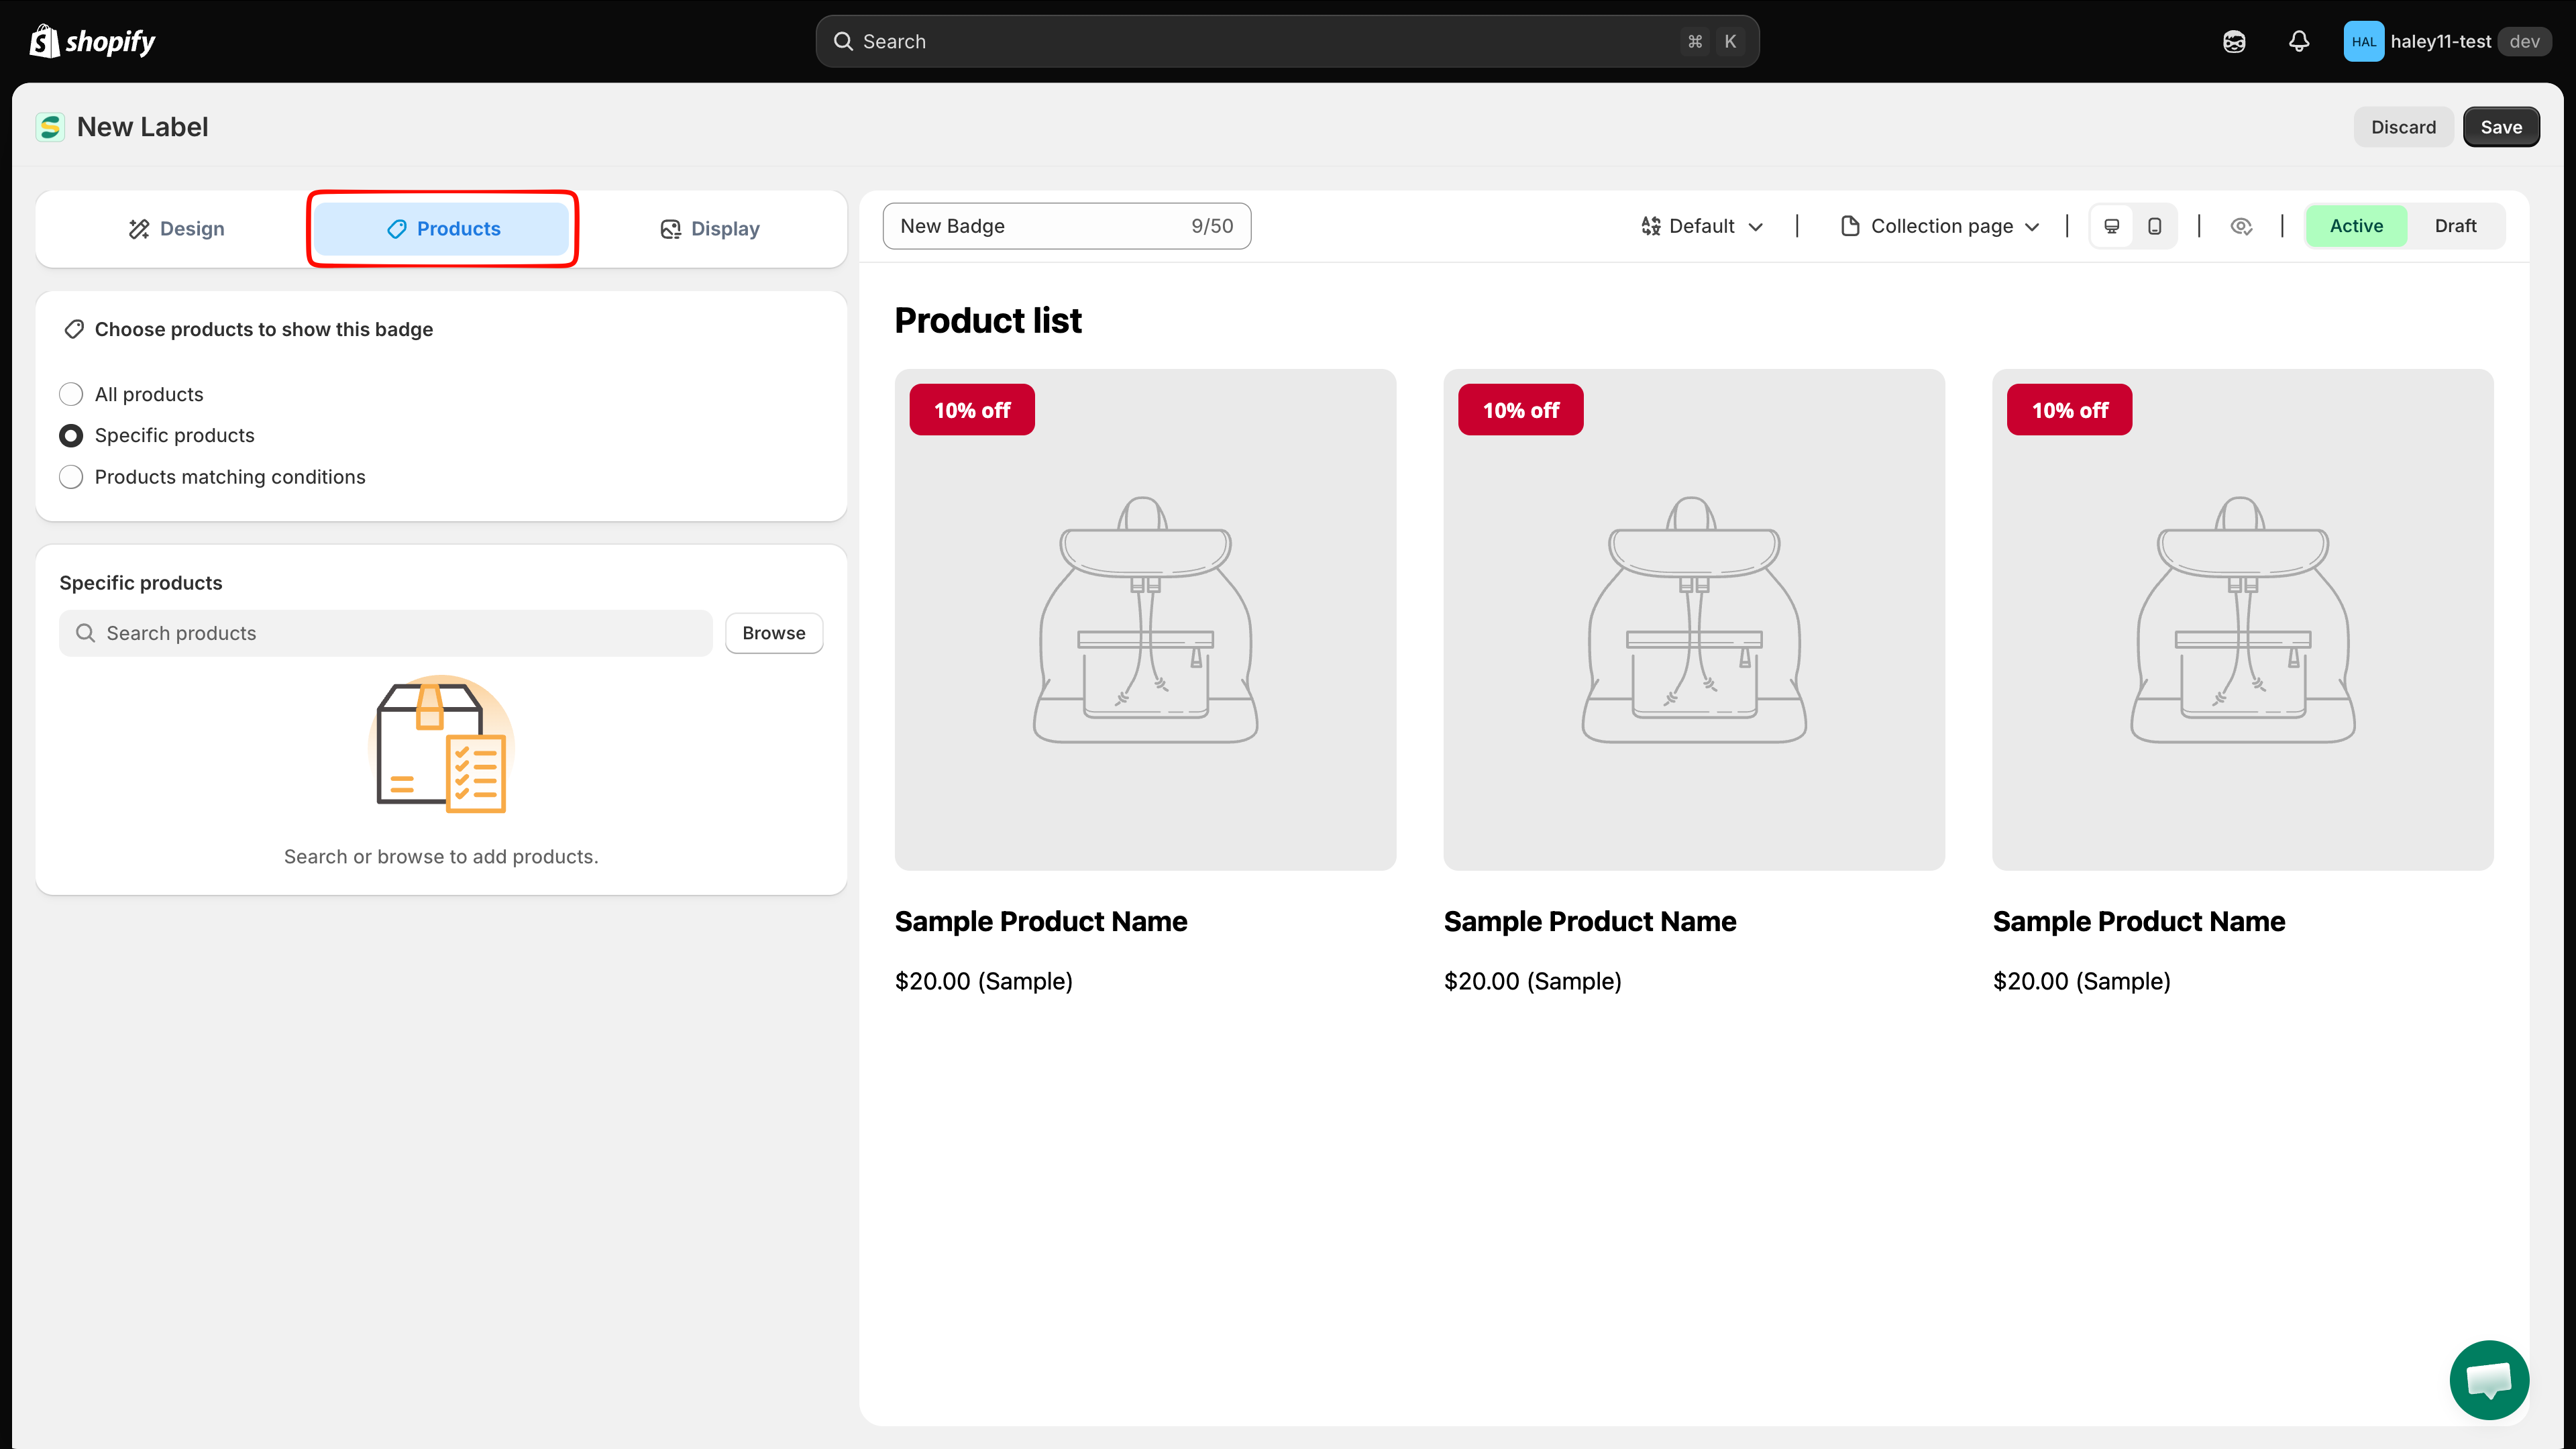
Choose which products show the badge

Open Products, then choose one targeting mode:

  • All products — Show the badge on every product in your store.

  • Specific products — Click Browse, search or filter your catalog, select the product checkboxes, then click Select. You can also use the Search products field to find products directly.

  • Products matching conditions — Click Add conditions, create one or more rules, then choose whether products must match all conditions or any condition.

Products tab showing all products, specific products, and products matching conditions
Choose the product scope for your text badge.
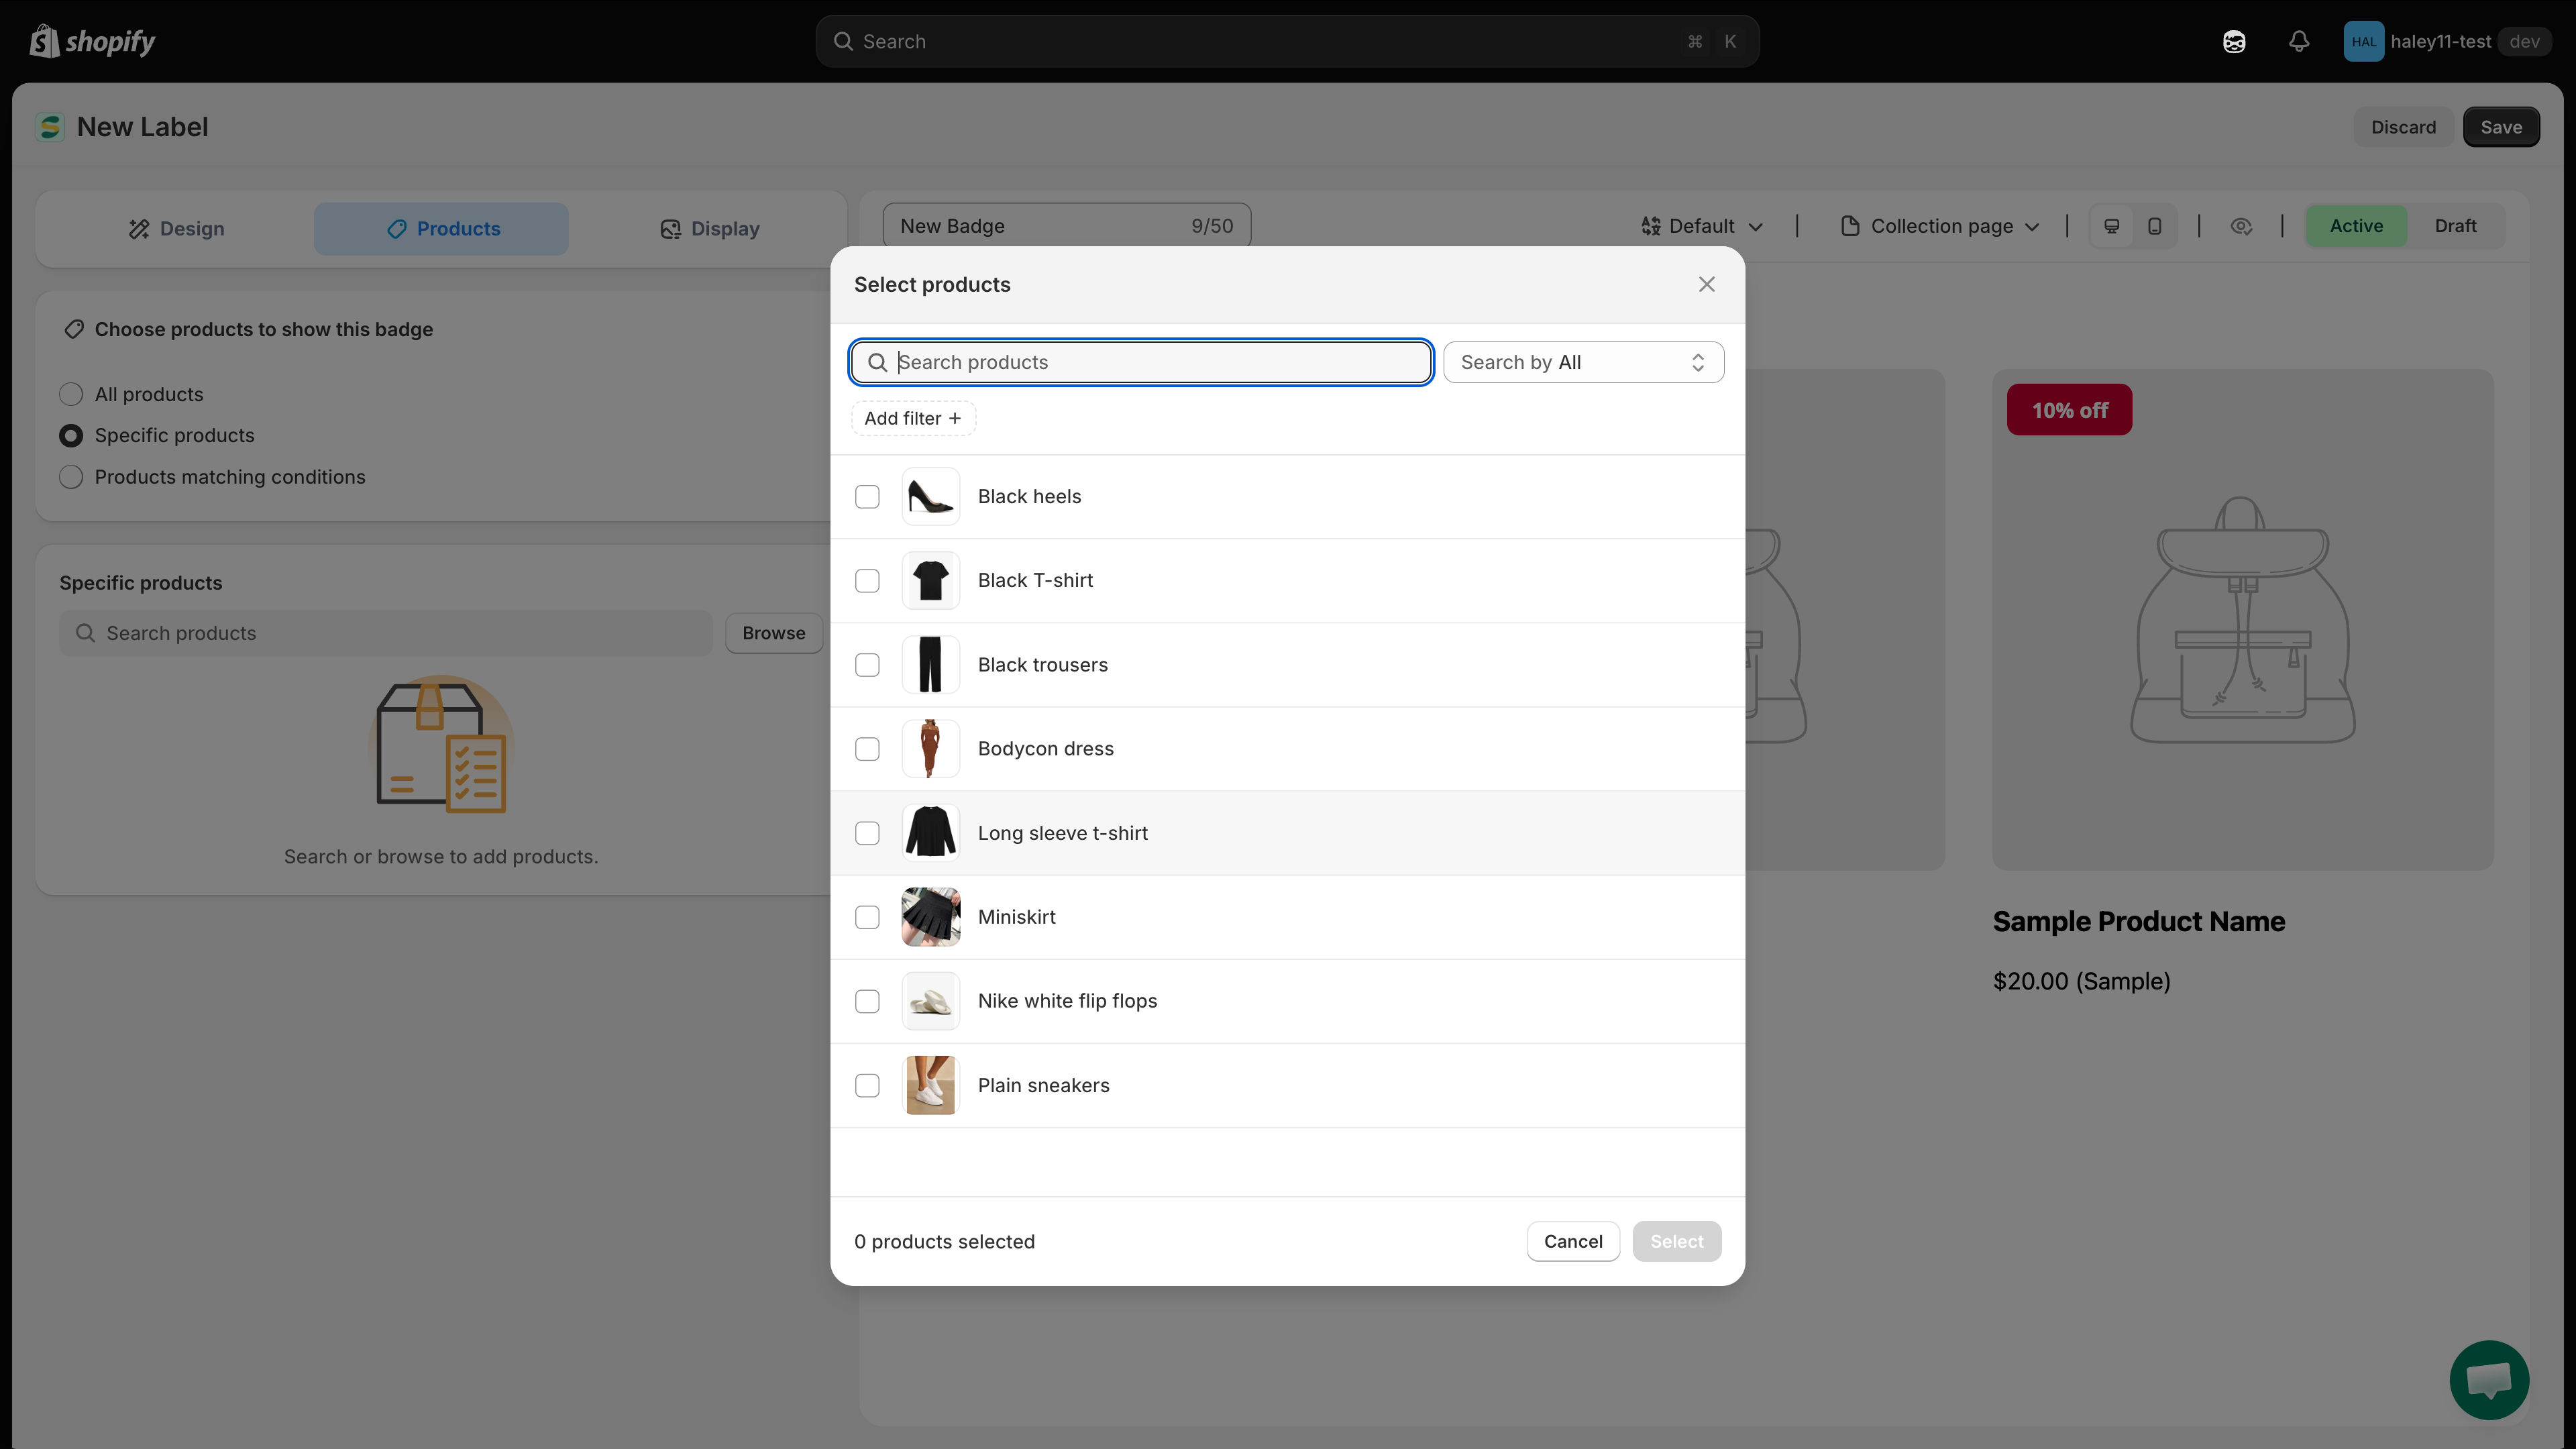
Select products dialog with search, filters, and product checkboxes
For Specific products, select products from the picker and click Select.
If you choose Specific products, select at least one product. An empty selection does not apply the badge to all products. For more targeting examples, see Target specific products.

10

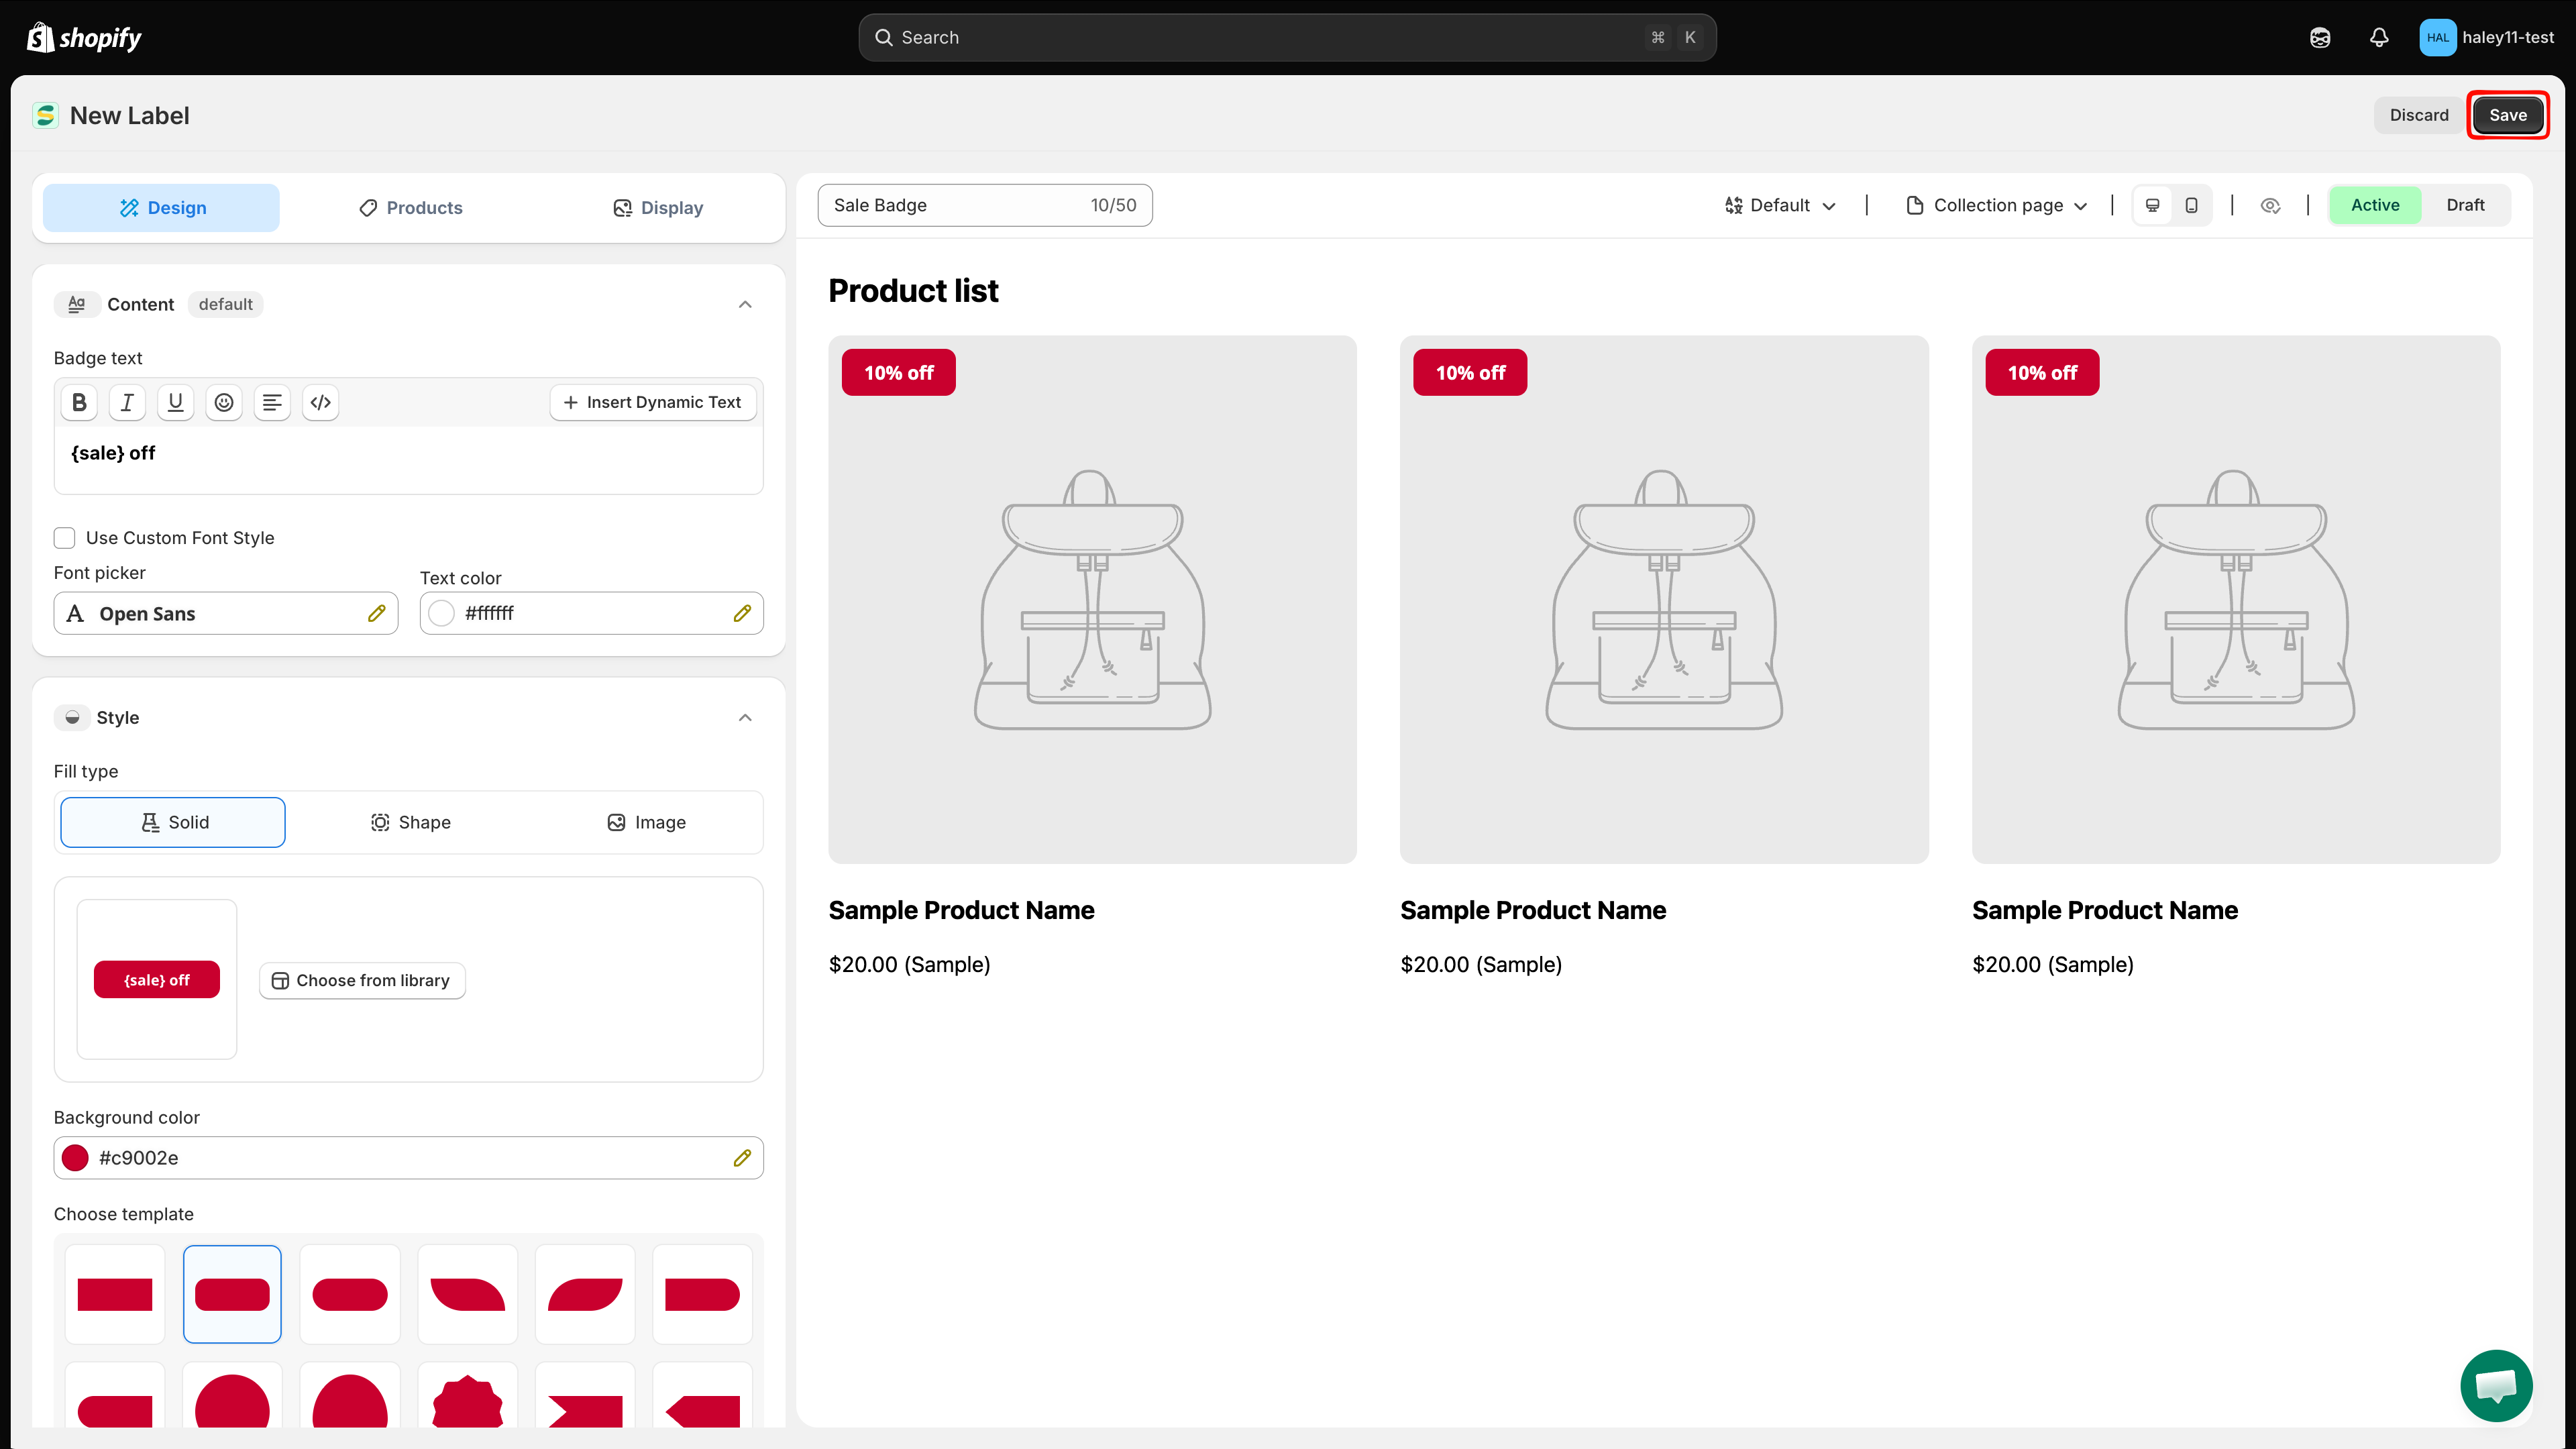
Save your badge

Set the status switch above the preview to Active, then click Save in the top-right corner. Leave it on Draft if the badge is not ready for your storefront — it saves without going live.

Customer, page, language, country, device, schedule, and priority settings live on the Display tab.

Save button on badge editor
Click Save to finish creating your text badge.

Next steps

Last updated

Was this helpful?