> For the complete documentation index, see [llms.txt](https://docs.samita.io/llms.txt). Markdown versions of documentation pages are available by appending `.md` to page URLs; this page is available as [Markdown](https://docs.samita.io/badges-and-labels/custom-css.md).

# Use custom CSS

Use custom CSS, z-index control, tooltip text, and SEO alt text for advanced badge customization.

For styling that goes beyond the visual editor, **Sami Product Labels** includes a built-in CSS editor. You can also control badge layering with z-index, add hover tooltips, and set alt text for image badges.

## How to add custom CSS

{% stepper %}
{% step %}

## Open the badge editor

From **Sami Product Labels**, go to **Badges & Labels**. Select **Create badge**, or select the **Edit badge/label** icon in the **Actions** column for an existing badge.
{% endstep %}

{% step %}

## Go to the Design tab

Select **Design** in the badge editor. This tab is selected by default when the editor opens.
{% endstep %}

{% step %}

## Scroll to Advanced Settings

Expand **Advanced settings** near the bottom of the Design tab.
{% endstep %}

{% step %}

## Enable "Custom css"

Under **Advanced**, turn on **Custom css**.
{% endstep %}

{% step %}

## Insert a selector and add your CSS

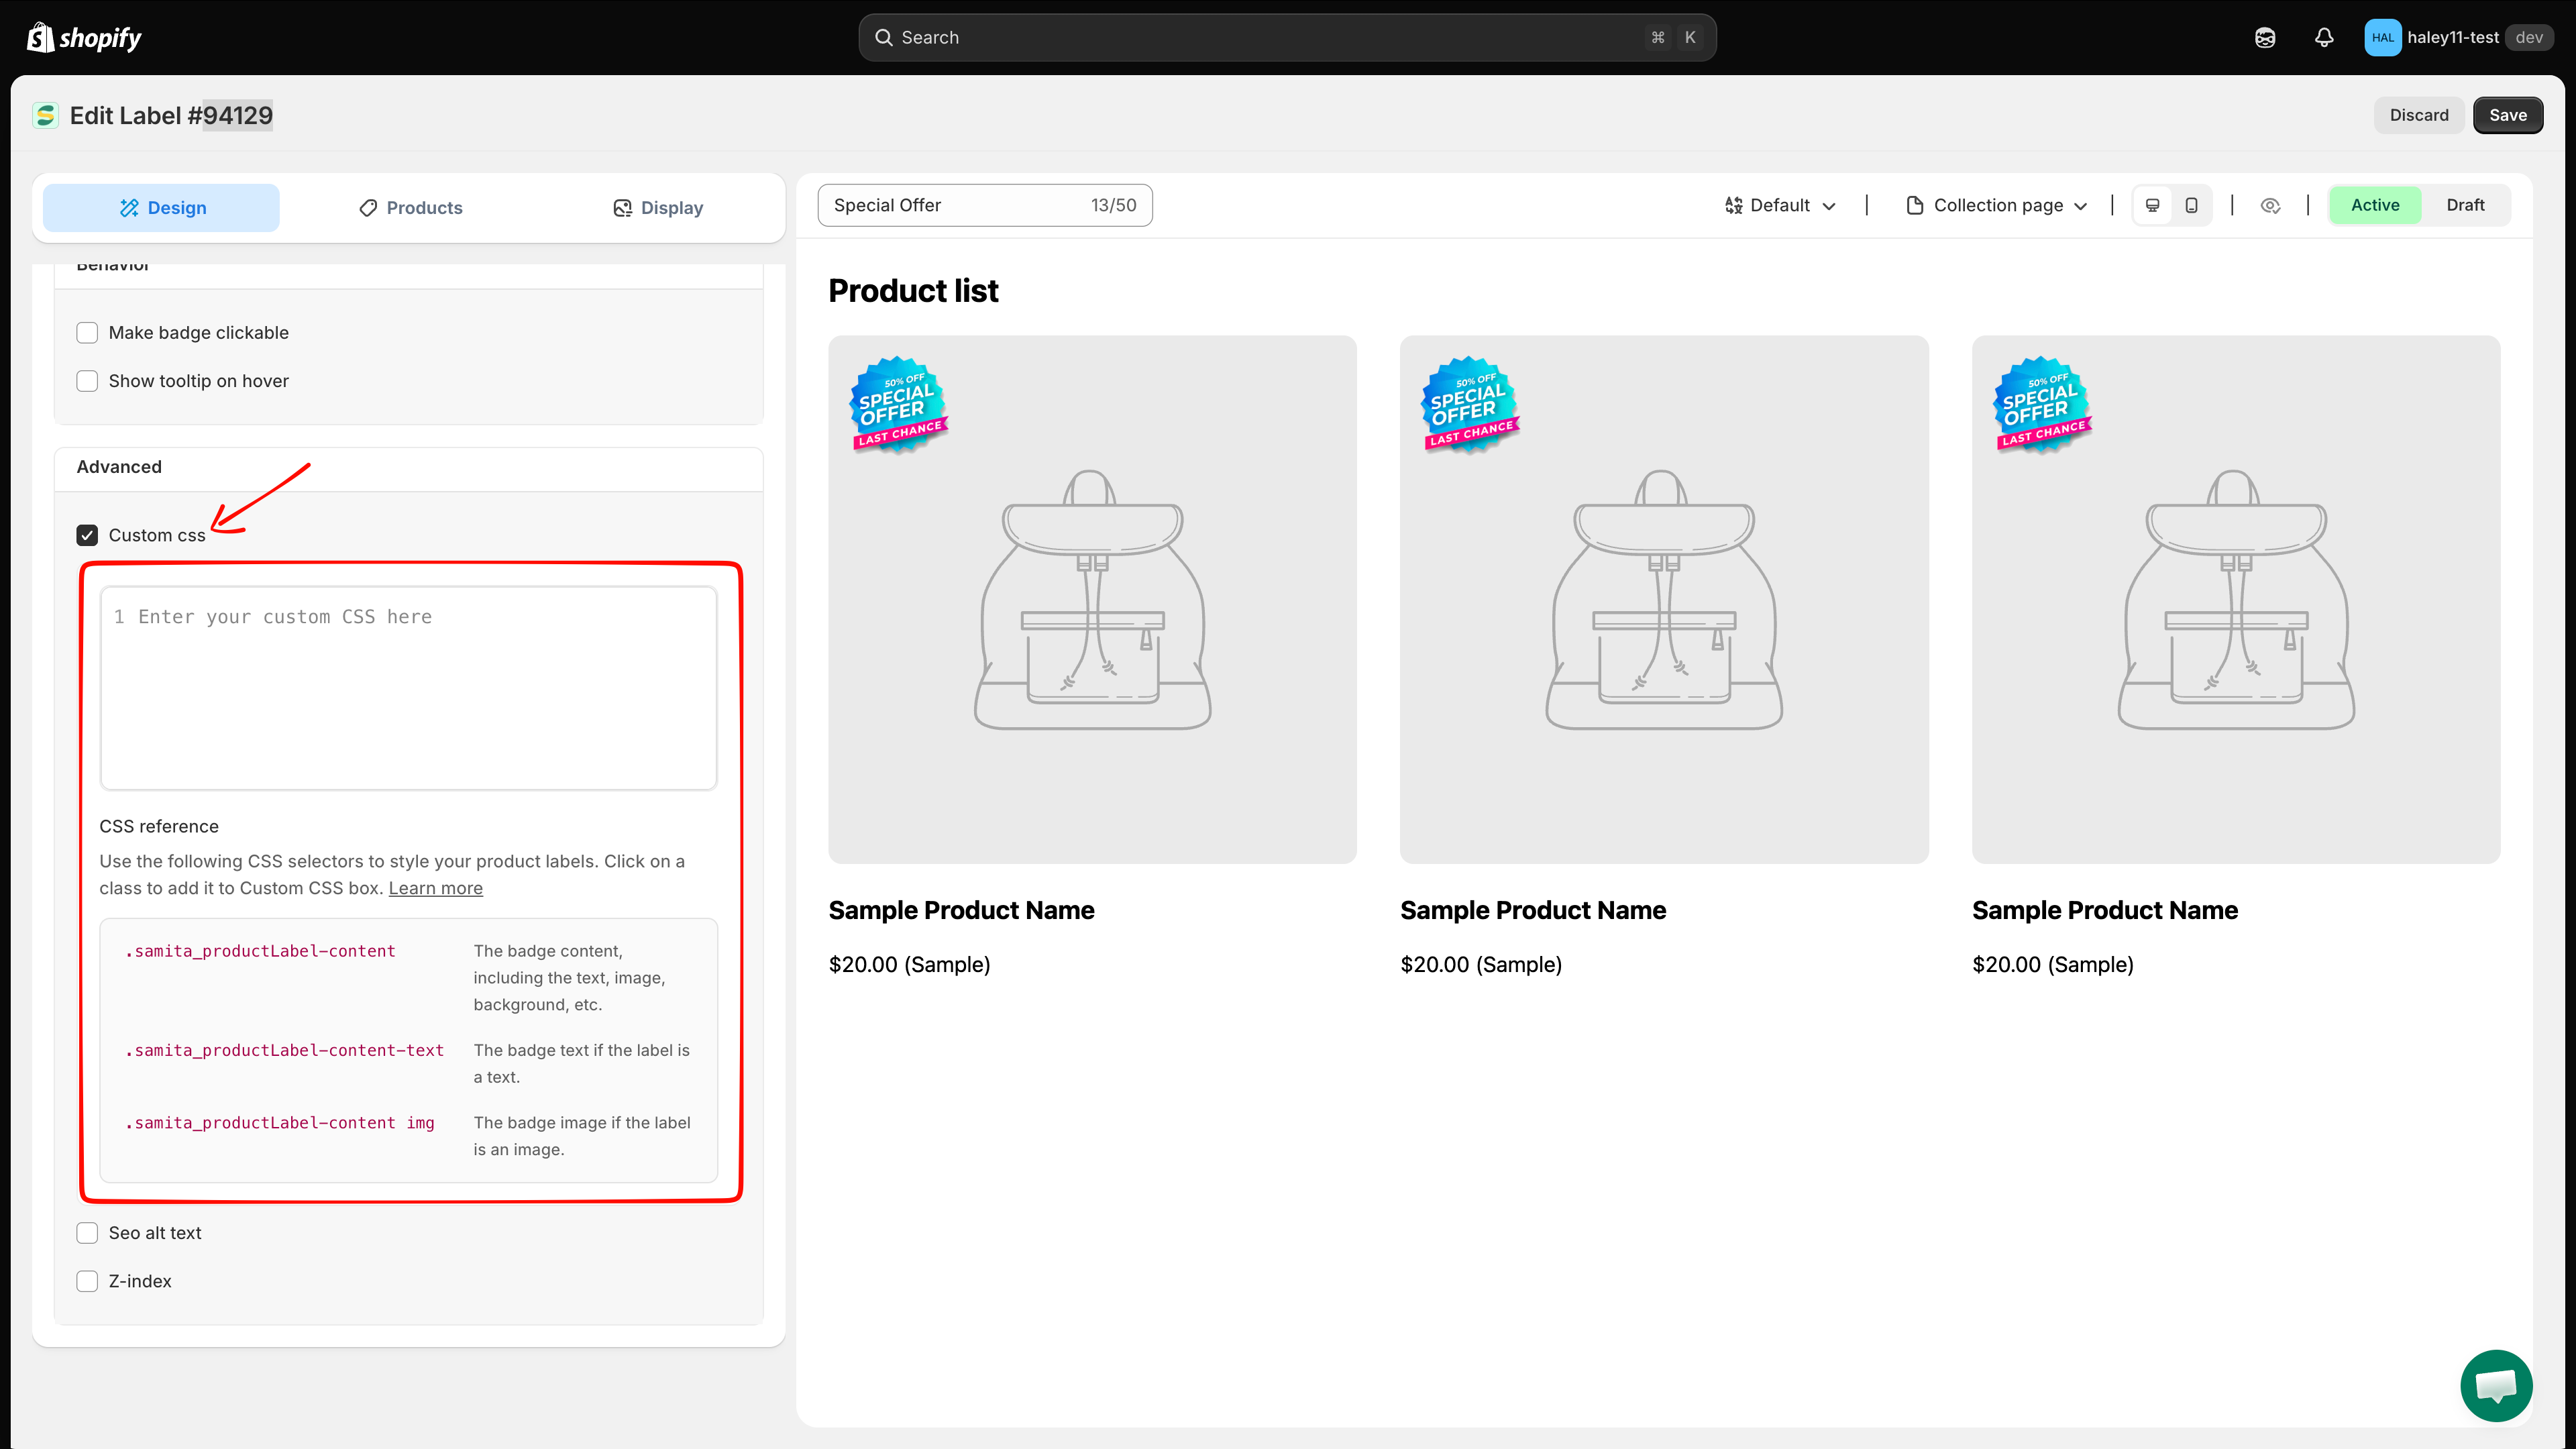
The CSS editor appears with three options under **CSS reference**:

* `.samita_productLabel-content` styles the entire badge.
* `.samita_productLabel-content-text` styles text badges.
* `.samita_productLabel-content img` styles image badges.

Select the option you need. The app inserts a selector scoped with the current badge ID, such as `.__content--94129`, into the editor. Keep that badge-specific part of the selector, then add only the declarations you need inside the braces.

```css
/* Use the badge ID inserted by the app in place of YOUR_BADGE_ID. */
.samita_productLabel-content.__content--YOUR_BADGE_ID {
  box-shadow: 0 0 15px rgba(255, 215, 0, 0.6);
}

.samita_productLabel-content.__content--YOUR_BADGE_ID:hover {
  transform: scale(1.1);
  transition: transform 0.2s ease;
}
```

<figure><img src="https://1598842017-files.gitbook.io/~/files/v0/b/gitbook-x-prod.appspot.com/o/spaces%2F1WRTlT5AcaLSAedbCJyZ%2Fuploads%2Fgit-blob-3473fe2197056f14de80c0d266f4c83394e4db01%2Fimage_52.png?alt=media" alt="Custom CSS editor and CSS reference selectors"><figcaption><p>Select a class under CSS reference to insert a badge-scoped selector into the Custom CSS editor.</p></figcaption></figure>
{% endstep %}

{% step %}

## Preview and save

Check the live preview while you edit. When the result looks correct, select **Save**, then verify the badge on the relevant collection or product page in your storefront.
{% endstep %}
{% endstepper %}

{% hint style="warning" %}
Custom CSS is saved with this badge, but its selectors still determine which storefront elements it can affect. Keep the badge-scoped selector generated by the app. A broad selector such as `.samita_productLabel-content` on its own can also match other badges.
{% endhint %}

## Z-index control

Fix a badge that's hidden behind a product image overlay, sticky header, or another badge.

1. In **Advanced settings**, enable **Z-index**.
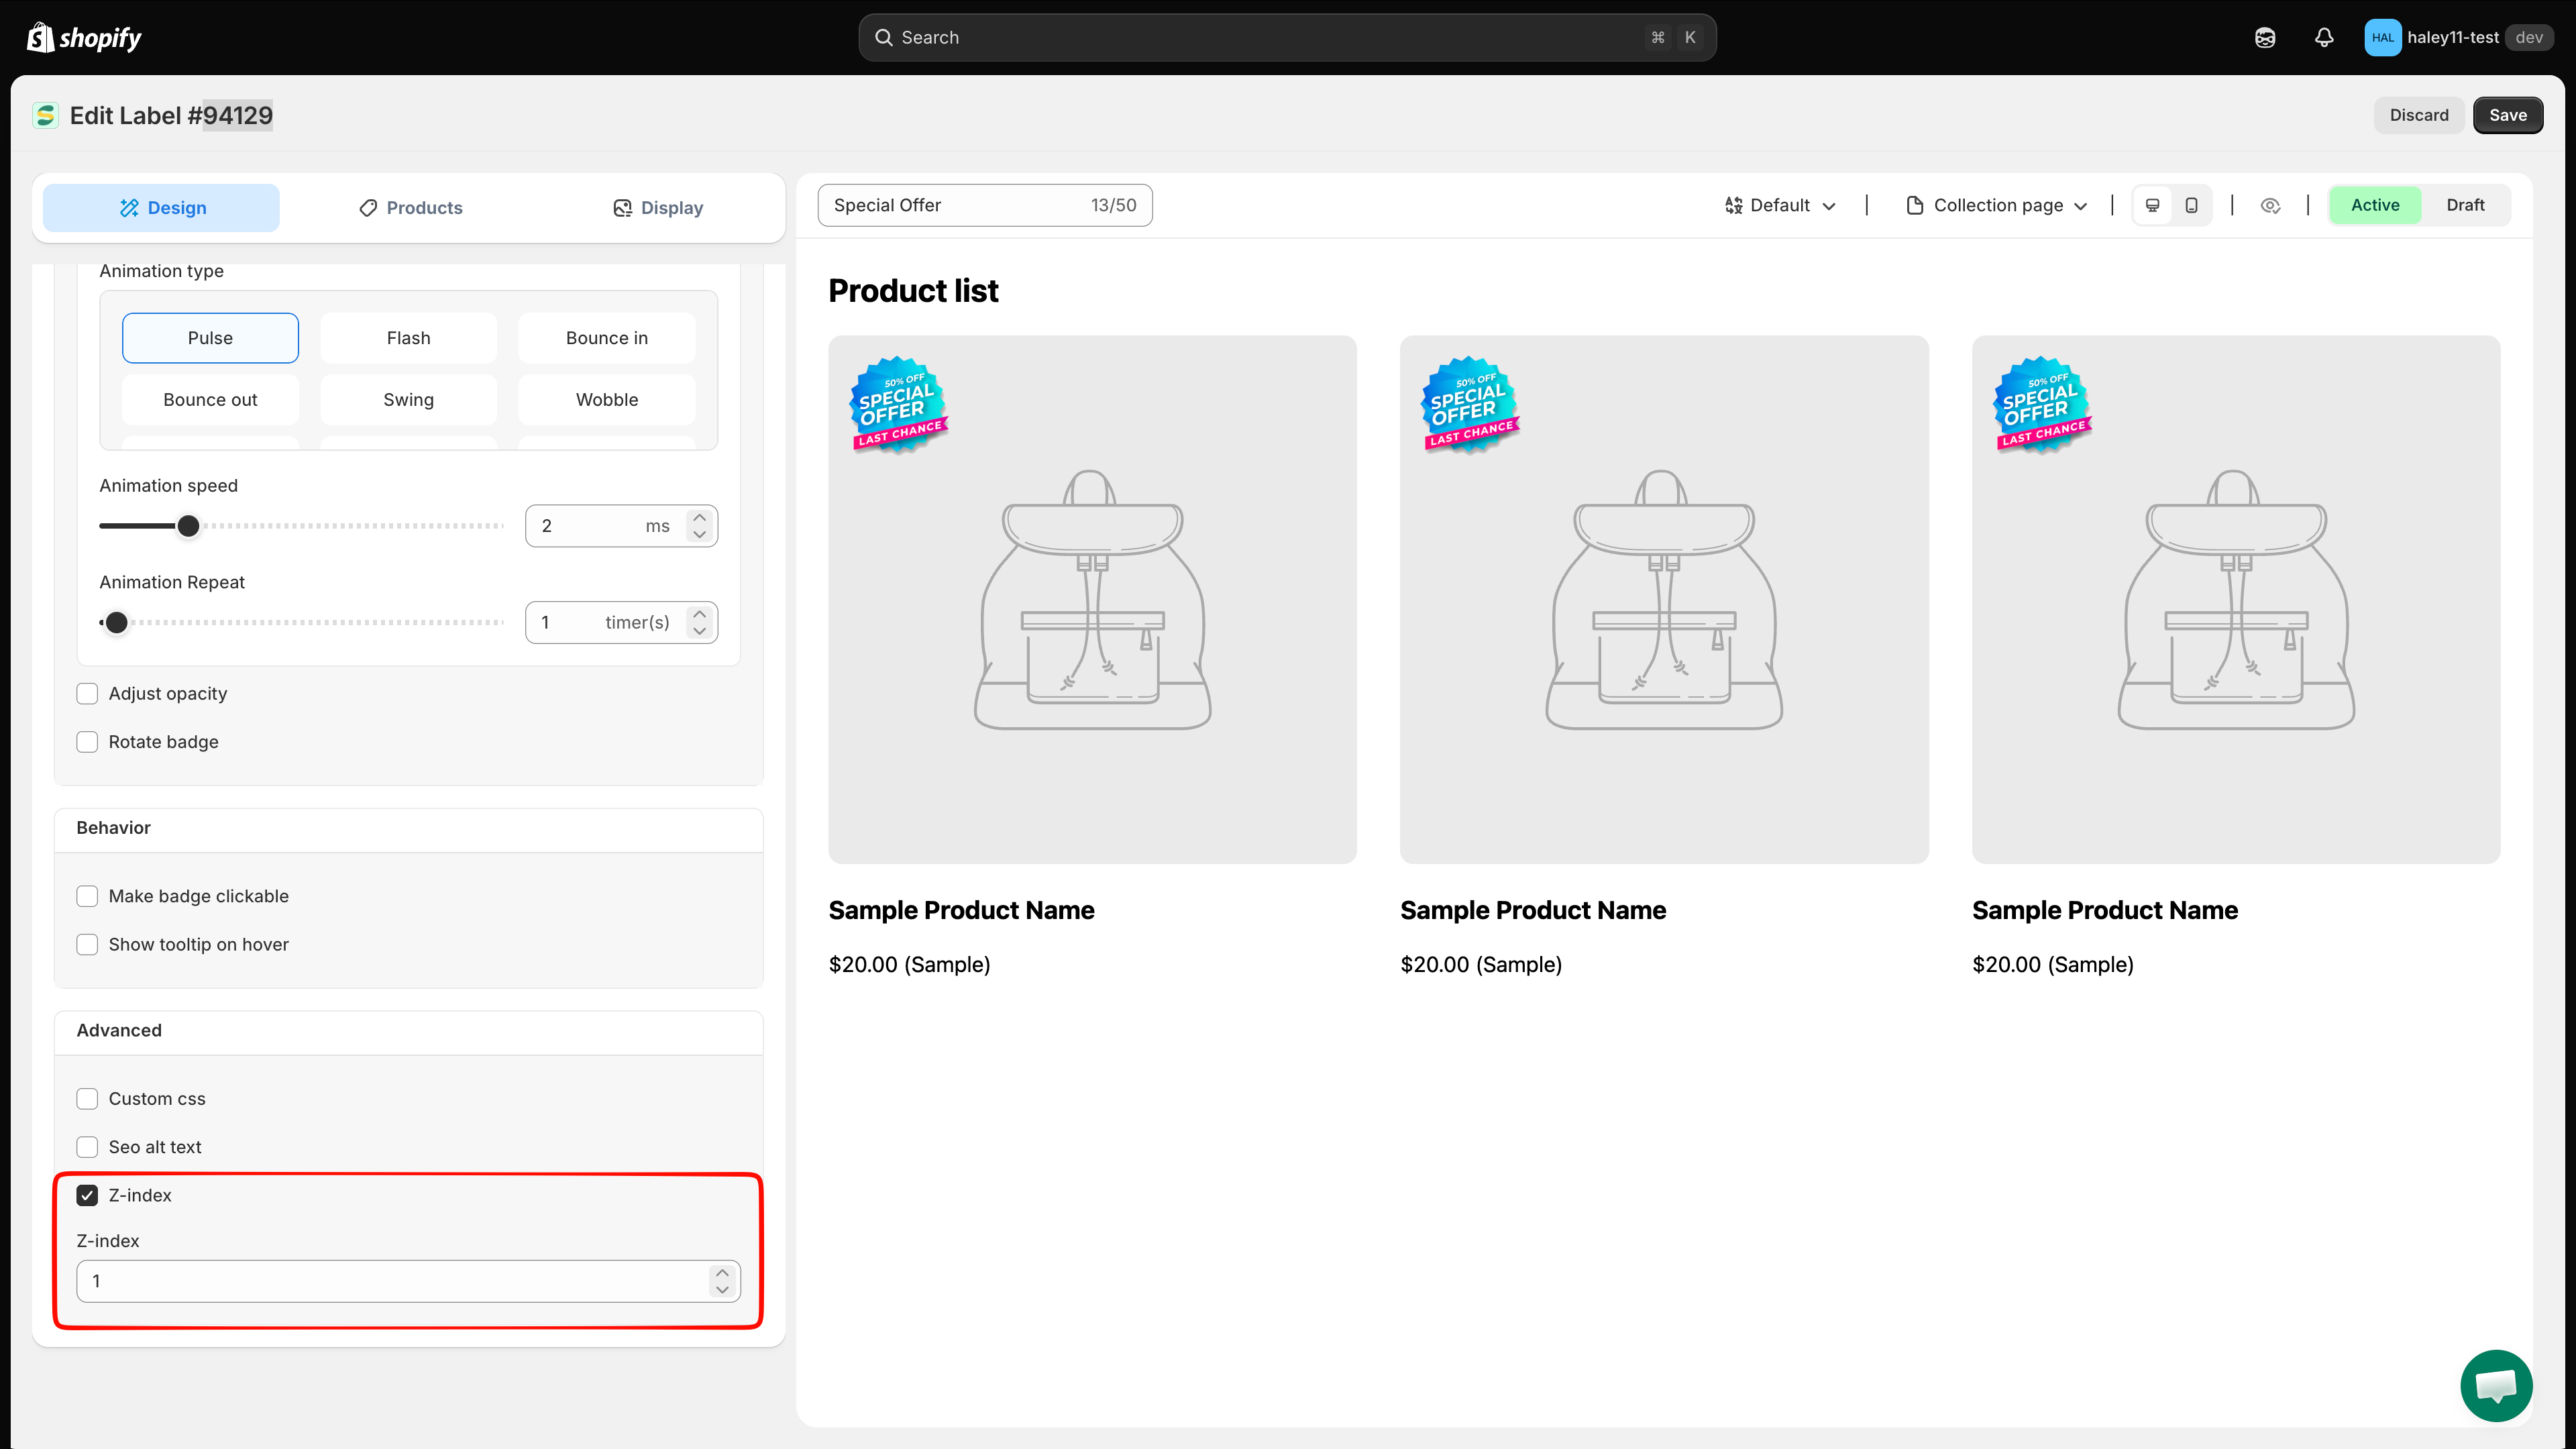
2. Enter a value from 1 to 100. Higher values place the badge in front of elements with lower z-index values.

<figure><img src="https://1598842017-files.gitbook.io/~/files/v0/b/gitbook-x-prod.appspot.com/o/spaces%2F1WRTlT5AcaLSAedbCJyZ%2Fuploads%2Fgit-blob-f1bcff8774fea820307b70d27544badd47d44ea0%2Fimage_53.png?alt=media" alt="Z-index control toggle and value field"><figcaption><p>Set a z-index value to control badge layering.</p></figcaption></figure>

{% hint style="info" %}
Z-index is also affected by the stacking context created by your theme. If raising the badge value does not bring it forward, a parent container in the theme may need its own CSS adjustment.
{% endhint %}

## Tooltip on hover

Add a tooltip that appears when customers hover over your badge — useful for explaining what "New Arrival" or "Limited Edition" means without cluttering the product image.

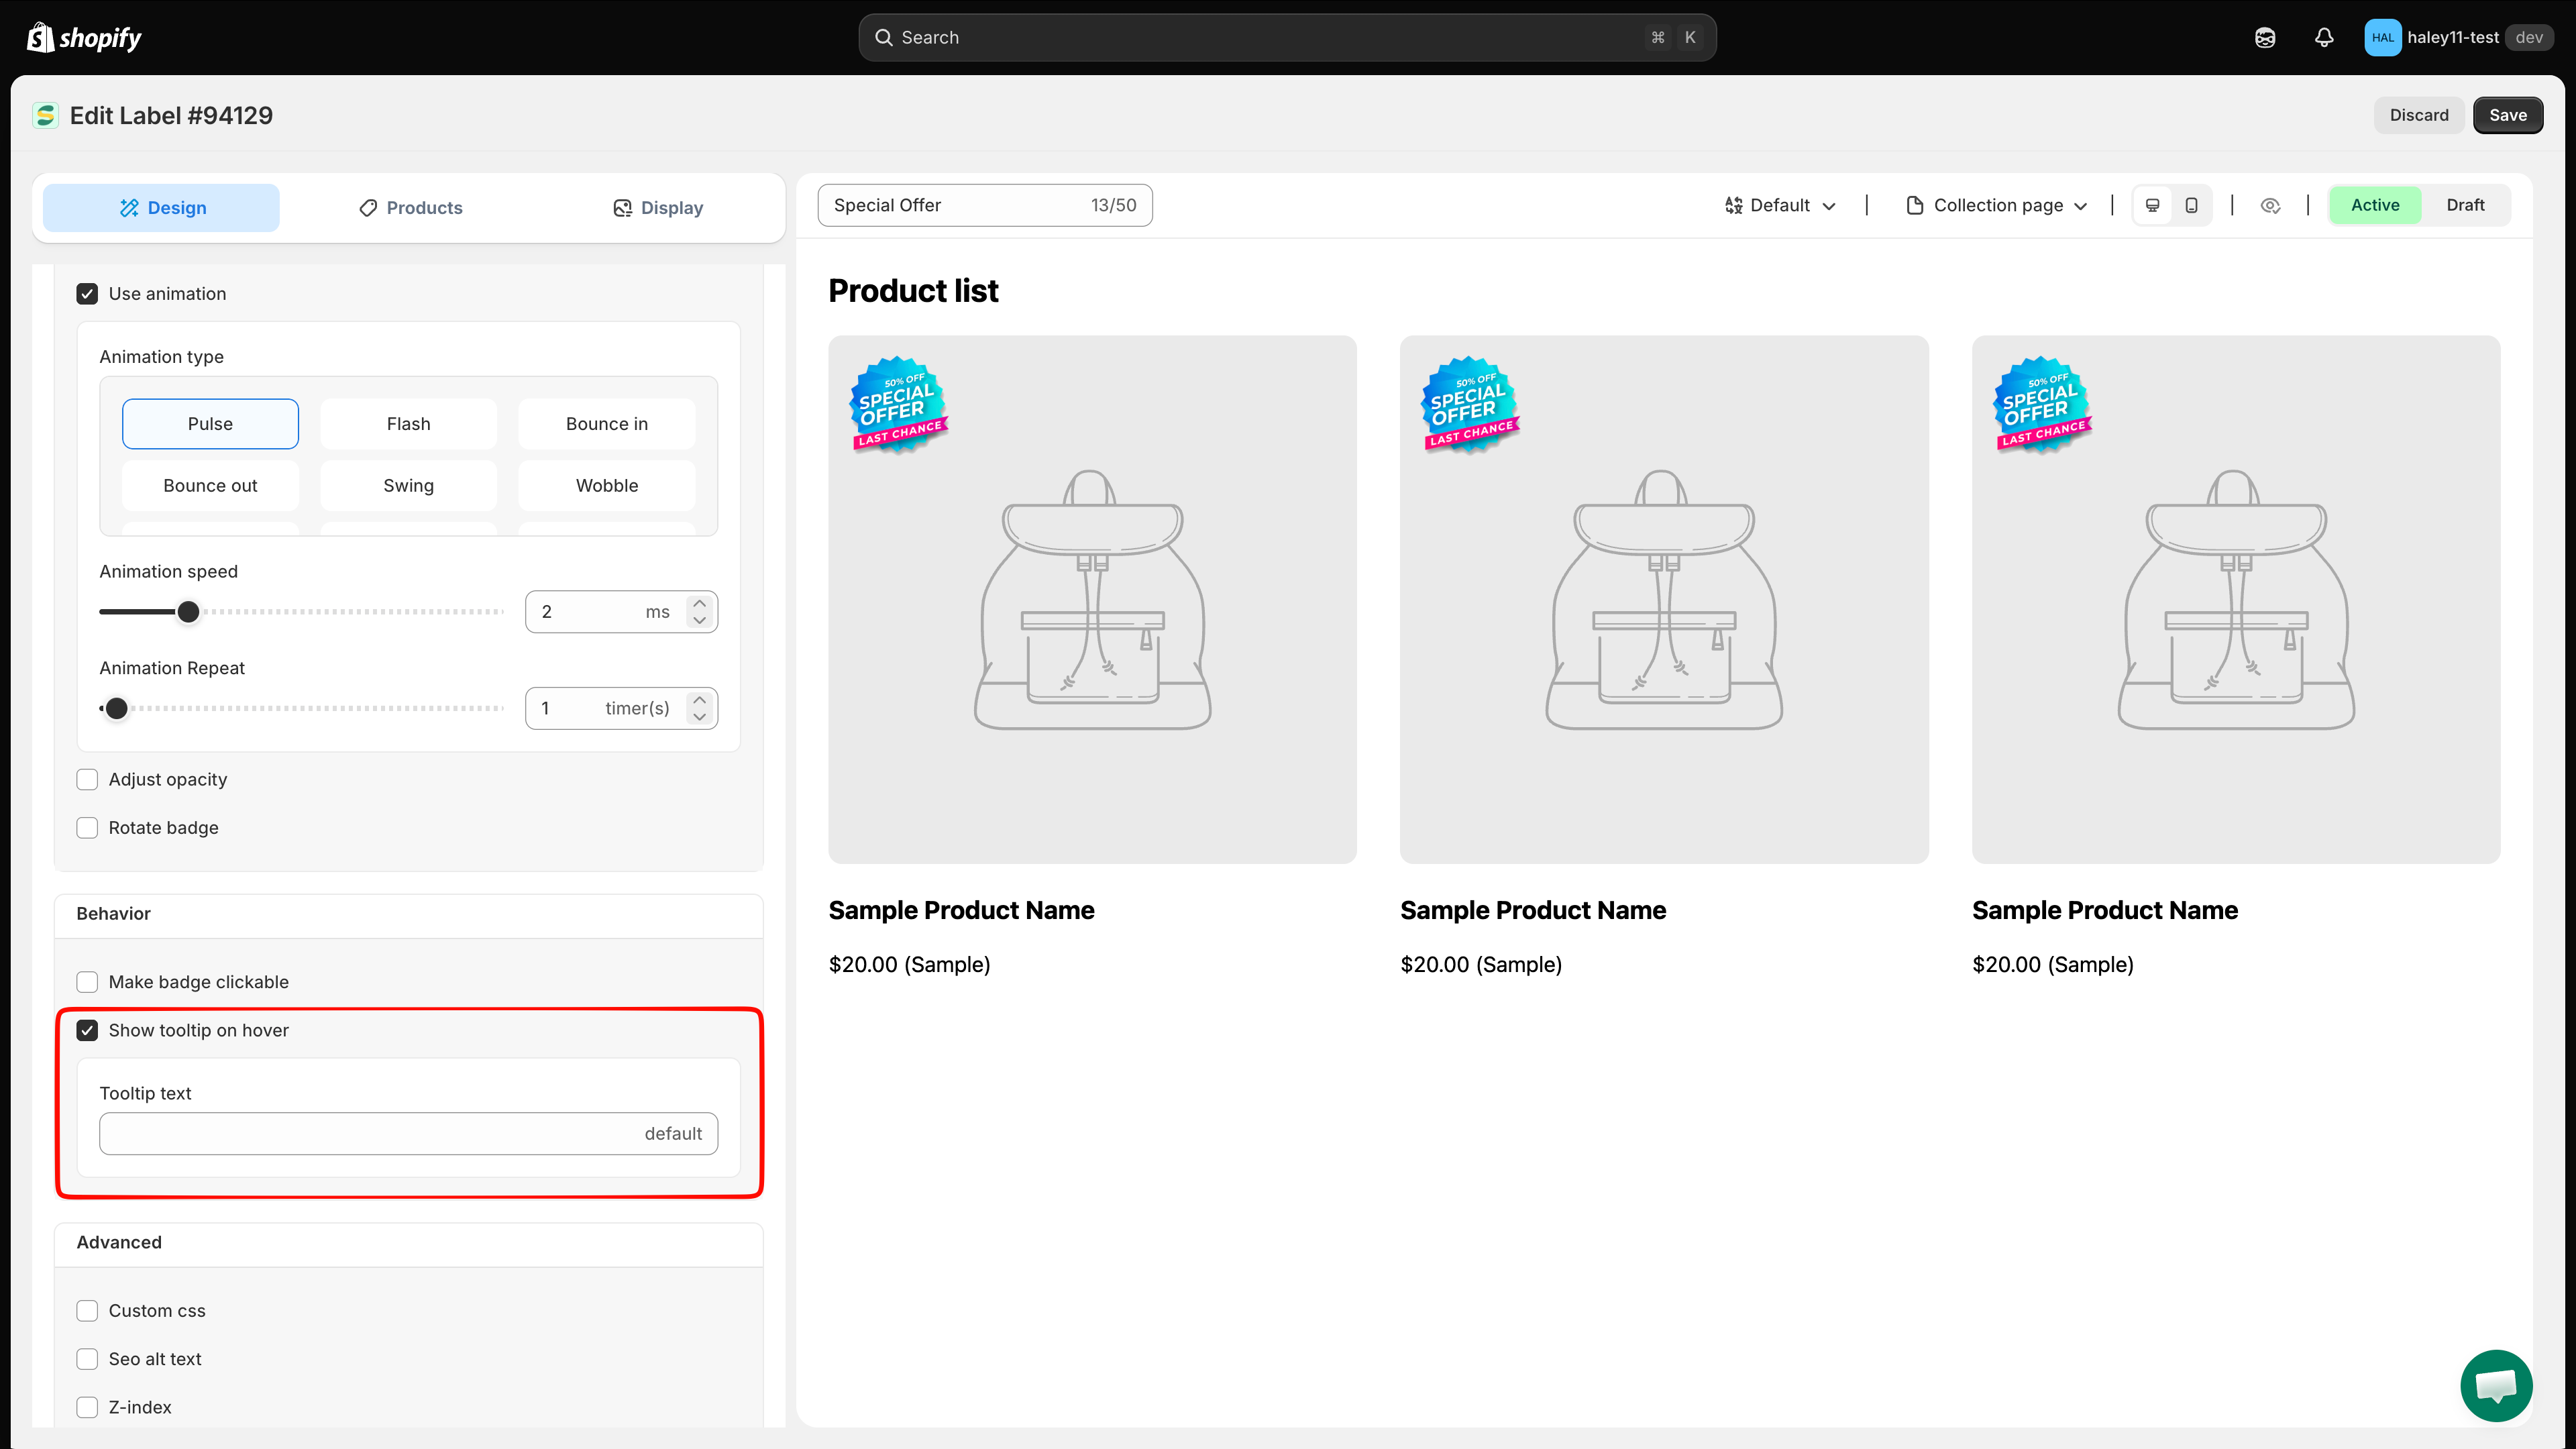
1. In **Advanced settings**, enable **Show tooltip on hover**.
2. Enter the tooltip text that should appear on hover.

<figure><img src="https://1598842017-files.gitbook.io/~/files/v0/b/gitbook-x-prod.appspot.com/o/spaces%2F1WRTlT5AcaLSAedbCJyZ%2Fuploads%2Fgit-blob-9cf839b94553281f542bffa5595e37aa86799e71%2Fimage_54.png?alt=media" alt="Tooltip toggle and text field in Advanced Settings"><figcaption><p>Add tooltip text that displays when customers hover over the badge.</p></figcaption></figure>

Do not put essential information only in the tooltip. Touchscreen users and customers navigating with a keyboard may not trigger a hover state.

## SEO alt text for image badges

Set alt text so screen readers can describe the meaning of an image badge. Descriptive alt text can also support image SEO.

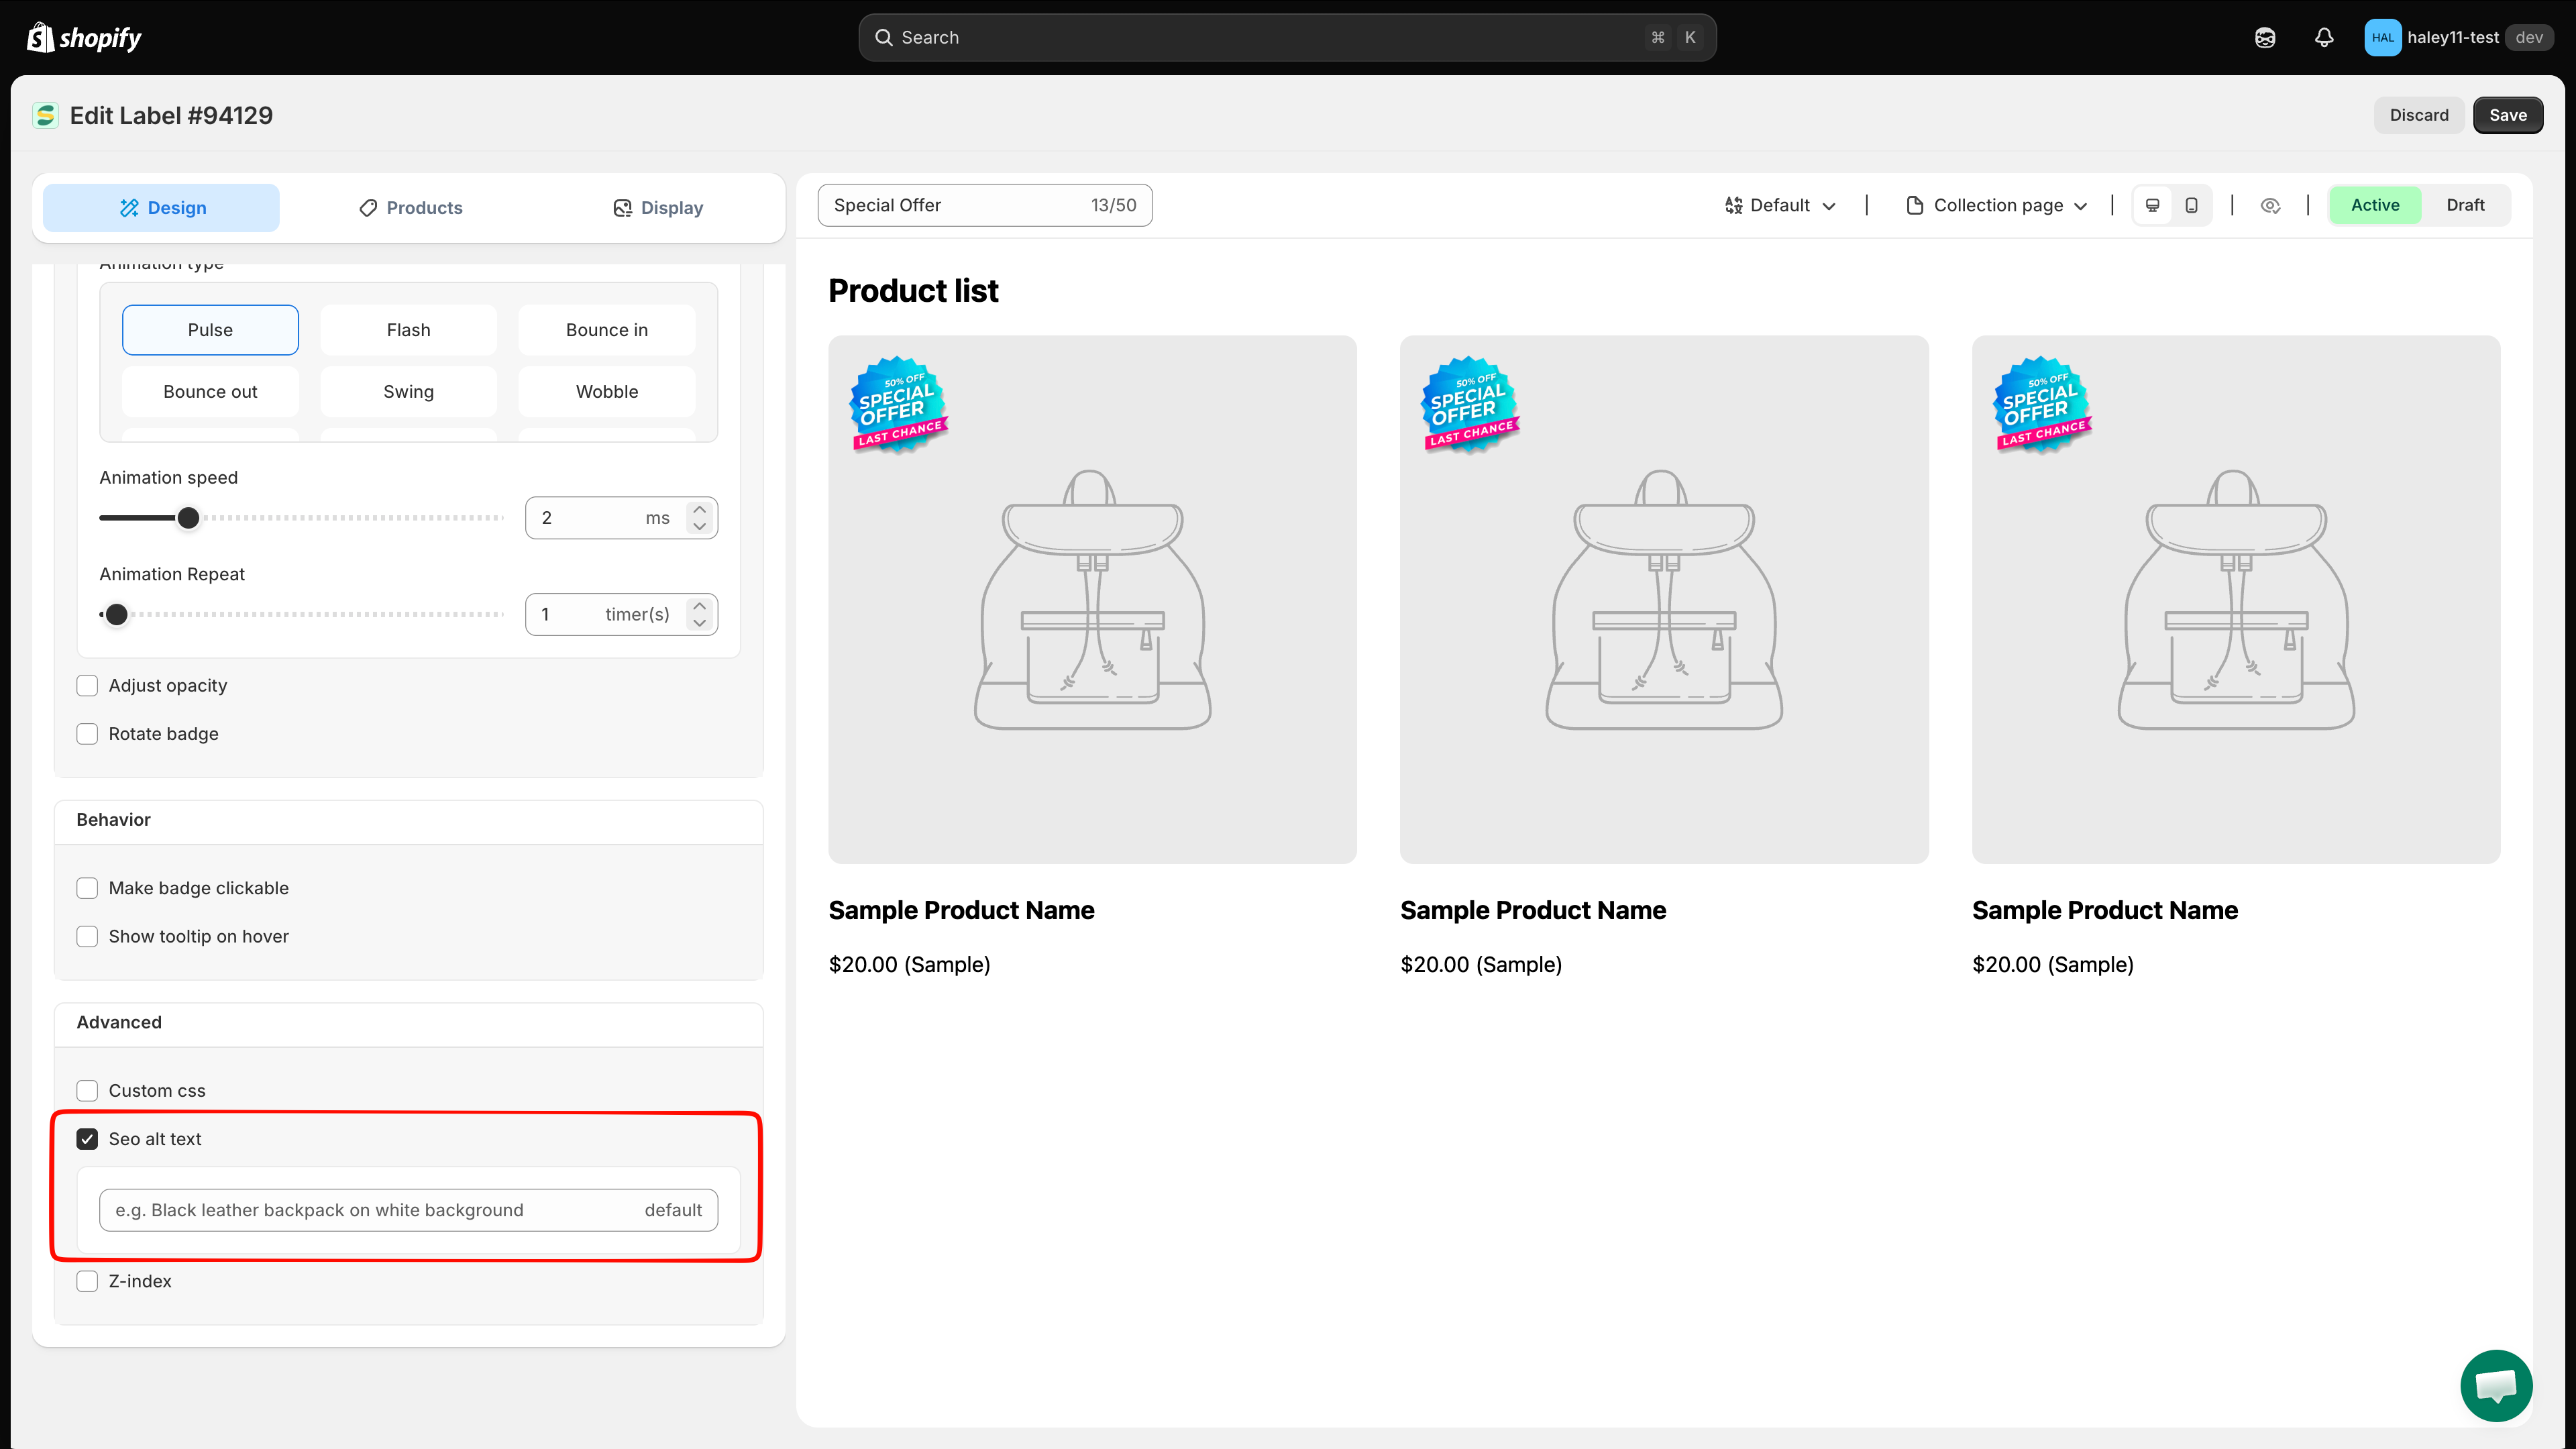
1. In **Advanced settings**, enable **Seo alt text**.
2. Enter a concise description of the message conveyed by the badge, such as "20% off sale badge" or "Free shipping label". Avoid keyword stuffing and phrases such as "image of."

<figure><img src="https://1598842017-files.gitbook.io/~/files/v0/b/gitbook-x-prod.appspot.com/o/spaces%2F1WRTlT5AcaLSAedbCJyZ%2Fuploads%2Fgit-blob-aedf52b609d6777fe5b7443486ec04a0d5b94697%2Fimage_55.png?alt=media" alt="Alt text field for badge SEO and accessibility"><figcaption><p>Set alt text for accessibility and SEO.</p></figcaption></figure>

## Next steps

* [Change badge style](/badges-and-labels/change-style.md) — Customize your badge using the visual editor controls.
* [Change badge position](/badges-and-labels/change-position.md) — Place your badge at the right location on the page.

{% hint style="success" %}
**Need support?**

If you run into any difficulty while following these steps, contact us at <support@samita.io>.
{% endhint %}


---

# Agent Instructions
This documentation is published with GitBook. GitBook is the documentation platform designed so that both humans and AI agents can read, navigate, and reason over technical content effectively. Learn more at gitbook.com.

## Querying This Documentation
If you need additional information that is not directly available in this page, you can query the documentation dynamically by asking a question.

Perform an HTTP GET request on the current page URL with the `ask` query parameter, and the optional `goal` query parameter:

```
GET https://docs.samita.io/badges-and-labels/custom-css.md?ask=<question>&goal=<endgoal>
```

`ask` is the immediate question: it should be specific, self-contained, and written in natural language.
`goal` is optional and describes the broader end goal you are ultimately trying to accomplish on behalf of the user. GitBook uses it to tailor the answer towards what is most useful for that goal.

The response will contain a direct answer to the question and relevant excerpts and sources from the documentation.

Use this mechanism when the answer is not explicitly present in the current page, you need clarification or additional context, or you want to retrieve related documentation sections.