For the complete documentation index, see llms.txt. This page is also available as Markdown.

Manage locks

View, enable, disable, duplicate, preview, and delete your locks from the Locks list.

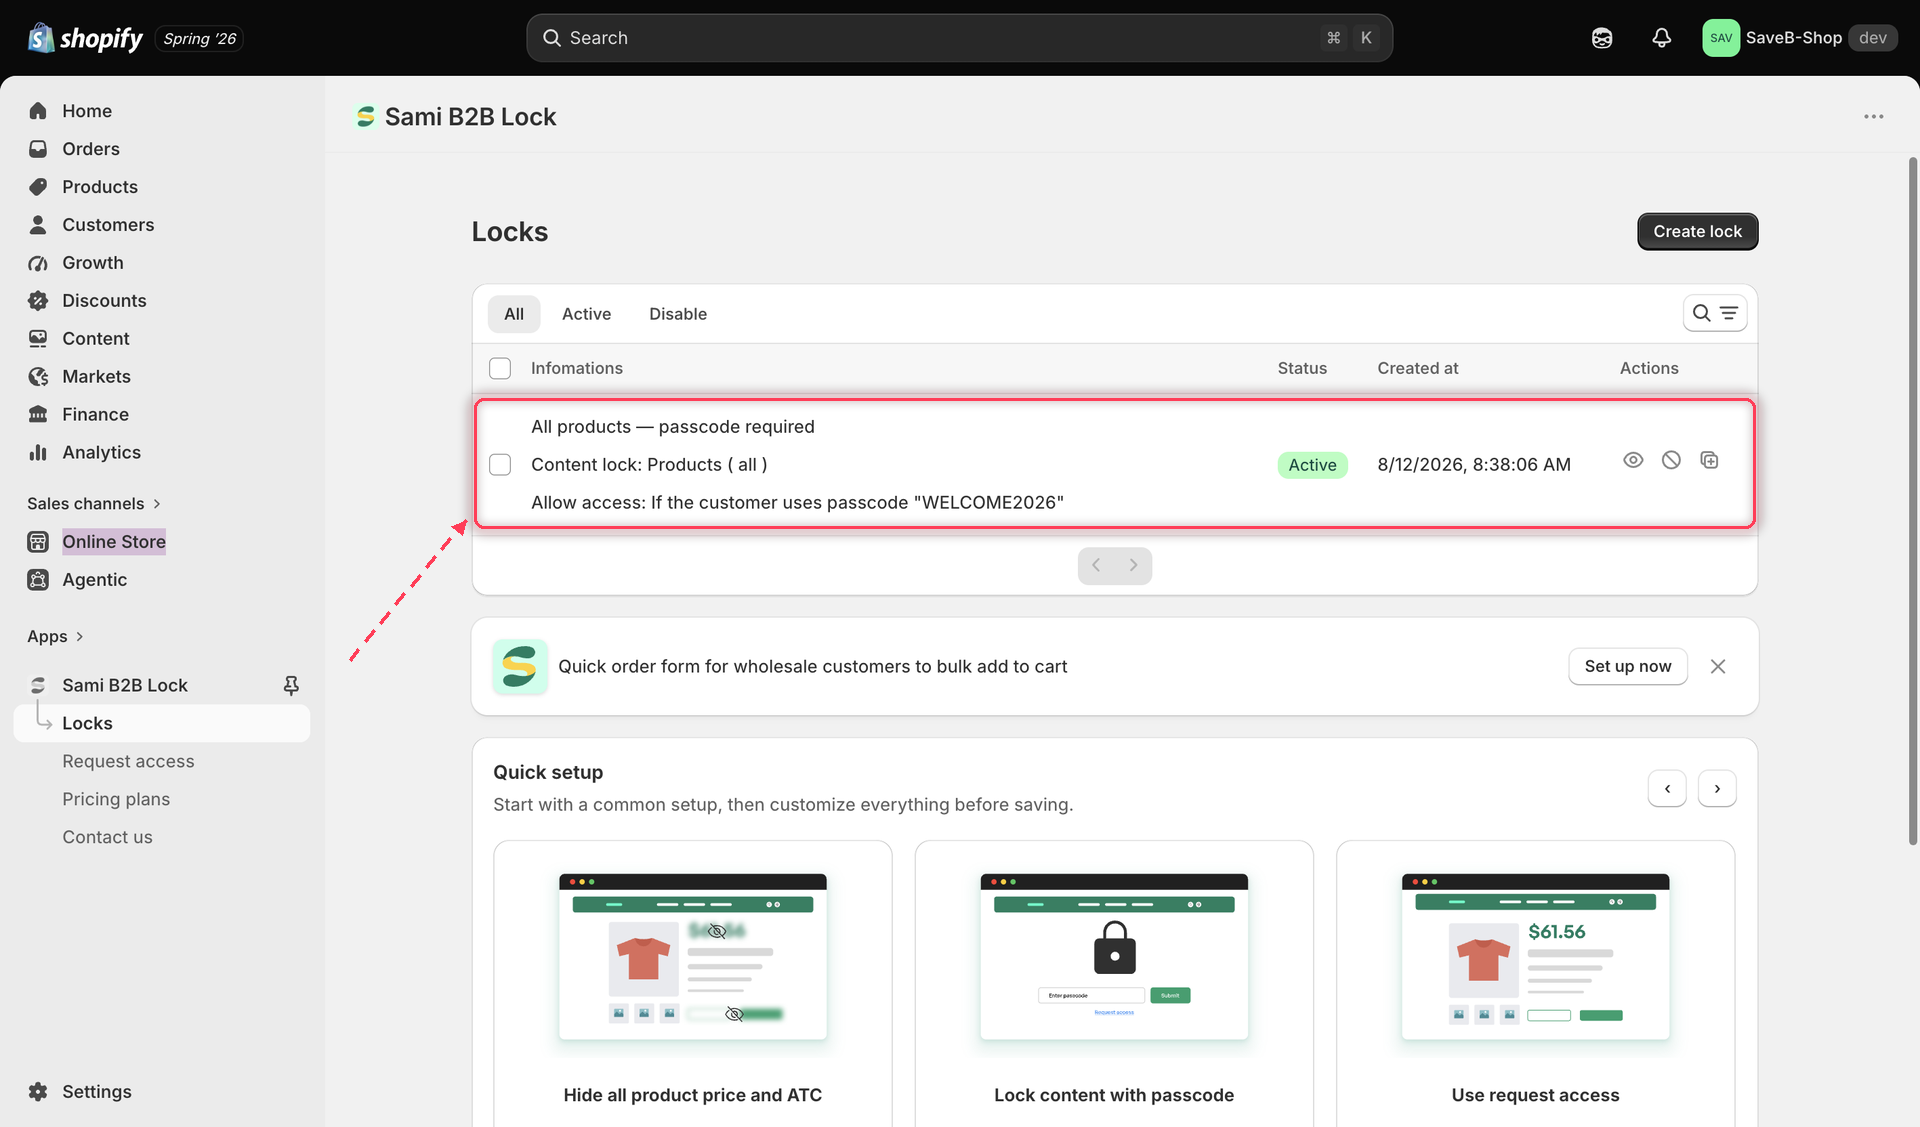
The Locks page is where every lock you create lives. It's the first screen you land on when you open the app, and the place to come back to whenever you need to check on, adjust, or clean up your locks.

The Locks list showing several locks with their status, content type, and action icons.
The Locks list shows every lock you've created, with its status and quick actions.
Viewing your locks

Each row in the list shows a lock's name, its status (Active or Disable), and the content type it protects. Click anywhere on a row to open that lock's editor and review or change its content, access rules, or behavior. You can filter the list (all, active, disabled) and search to find a specific lock quickly.

Enabling and disabling a lock

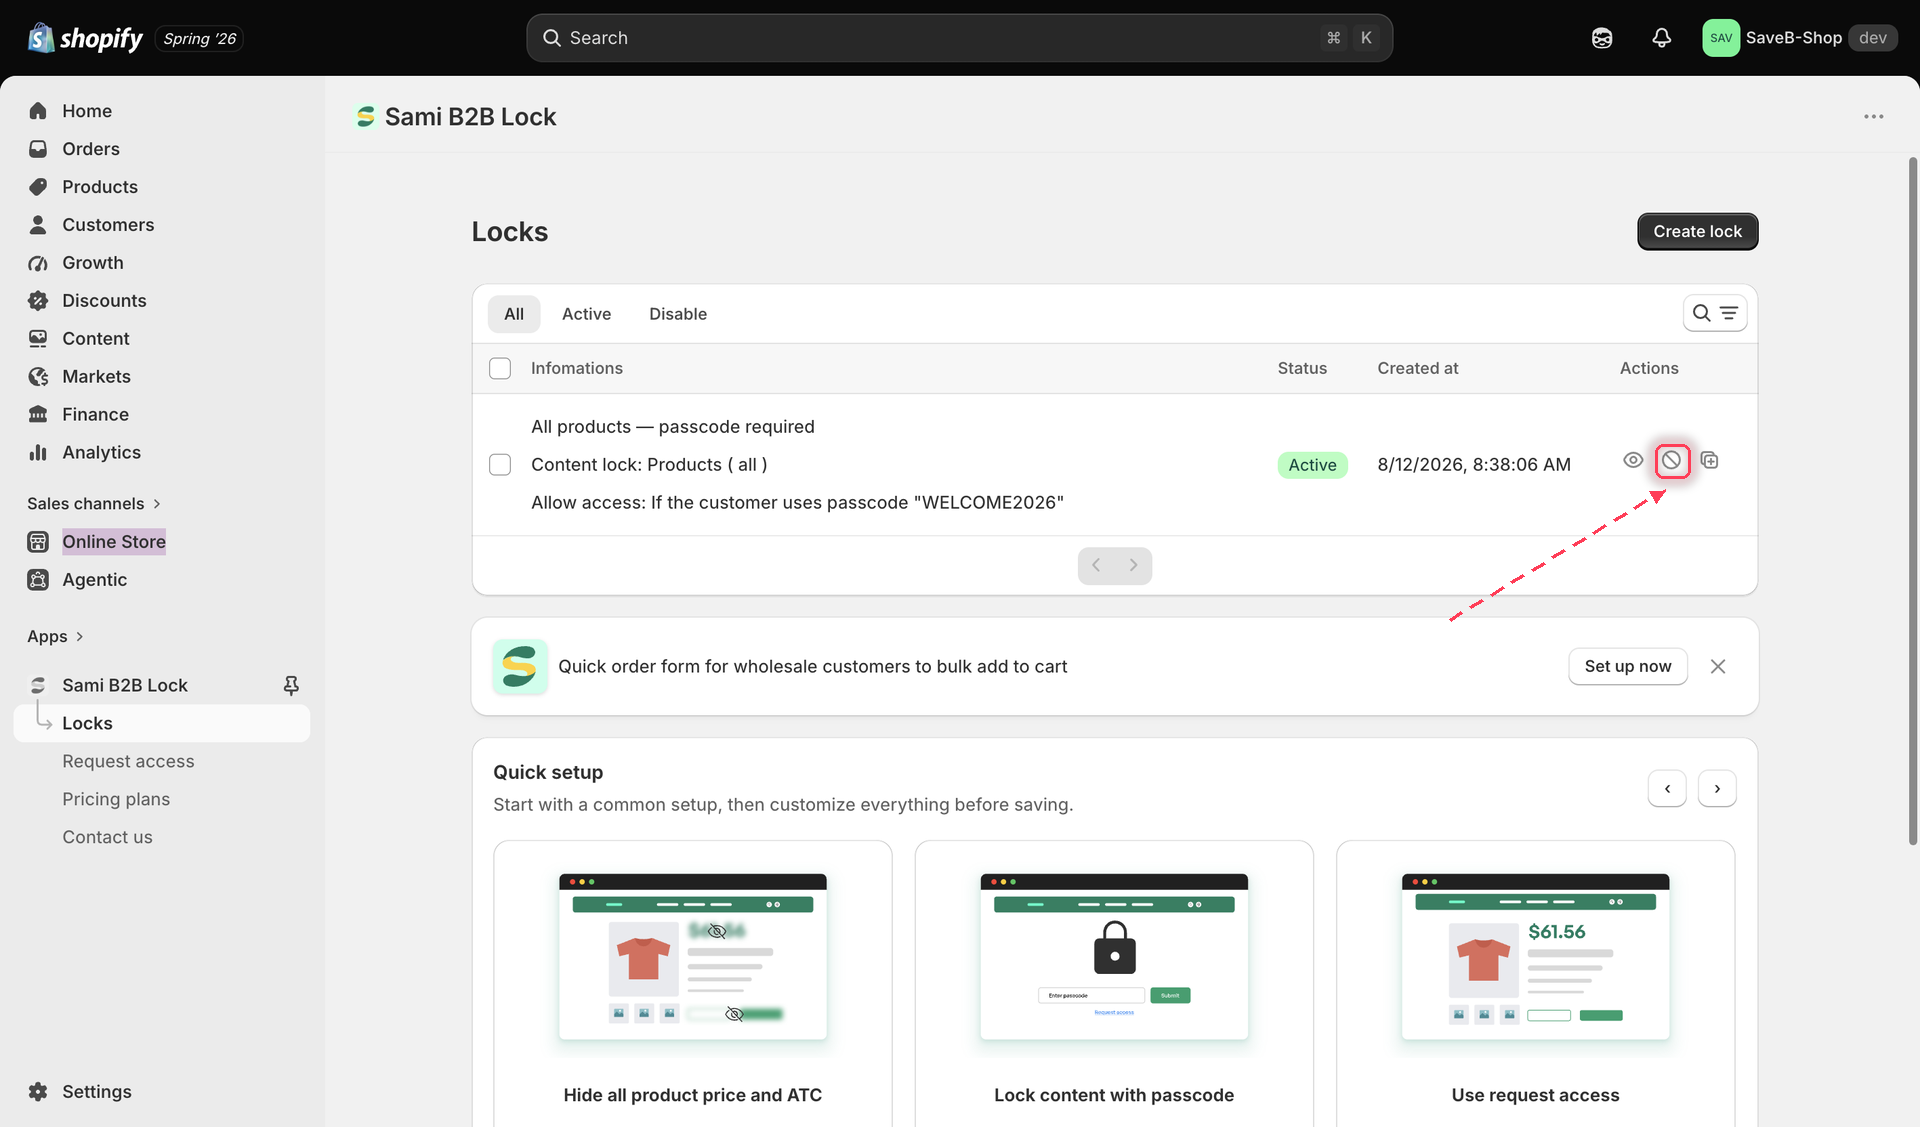
Every lock has a quick toggle to turn it on or off without opening it. An active lock enforces its rules on the storefront immediately; a disabled lock stops protecting its content until you turn it back on, but keeps its full configuration so you can re-enable it later.

The enable and disable action icon on a lock row in the Locks list.
Use the status icon on a lock row to enable or disable it without opening the editor.
Previewing a lock

Each lock row has a Preview action that opens the locked page on your live storefront in a new tab, so you can see exactly what a blocked visitor sees before you rely on it.

Duplicating a lock

Use the Duplicate action on a lock row to create a copy of that lock with the same content selection, access rules, and behavior. This is useful when you want to reuse most of a lock's setup but change one detail, like the content it targets or a single access rule, without rebuilding it from scratch.

Deleting locks

Select one or more locks using the checkboxes, then use the bulk Delete action to remove them. Deleting a lock is permanent — the content it protected becomes publicly visible again as soon as it's removed, so review what a lock covers before deleting it.

Getting started: the first-install setup guide

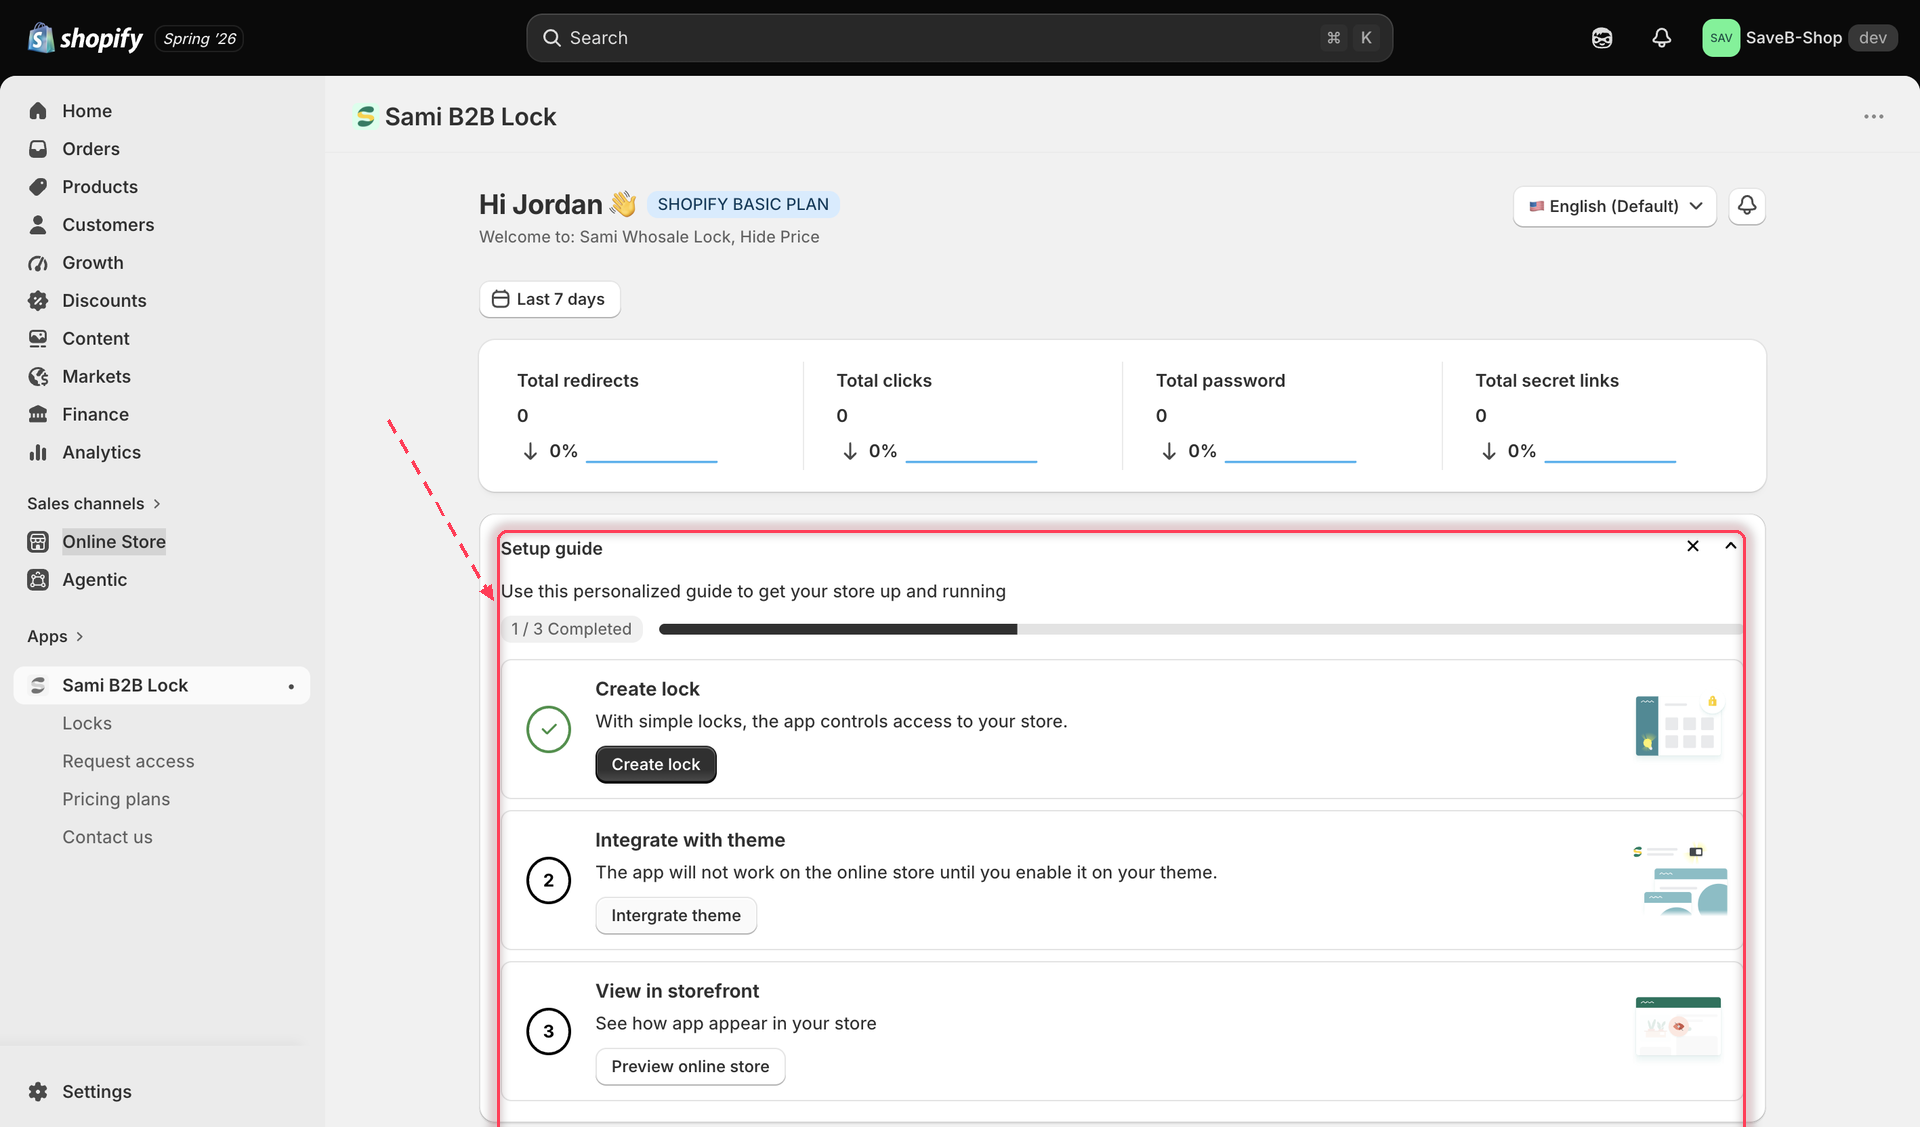
The first time you open the app, a 3-step setup guide walks you through getting protection live:

  1. Create lock — build your first lock.

  2. Integrate with theme — turn on the app embed in your theme so the lock can actually run on your storefront (see Enable the app embed).

  3. View in storefront — confirm the lock is working by visiting the protected page.

A progress indicator tracks which of these steps you've completed (for example "1 / 3 Completed").

The app dashboard's Setup guide card showing the three steps and a completion progress bar
The Setup guide on the dashboard tracks your progress through the three setup steps.
Quick Setup templates

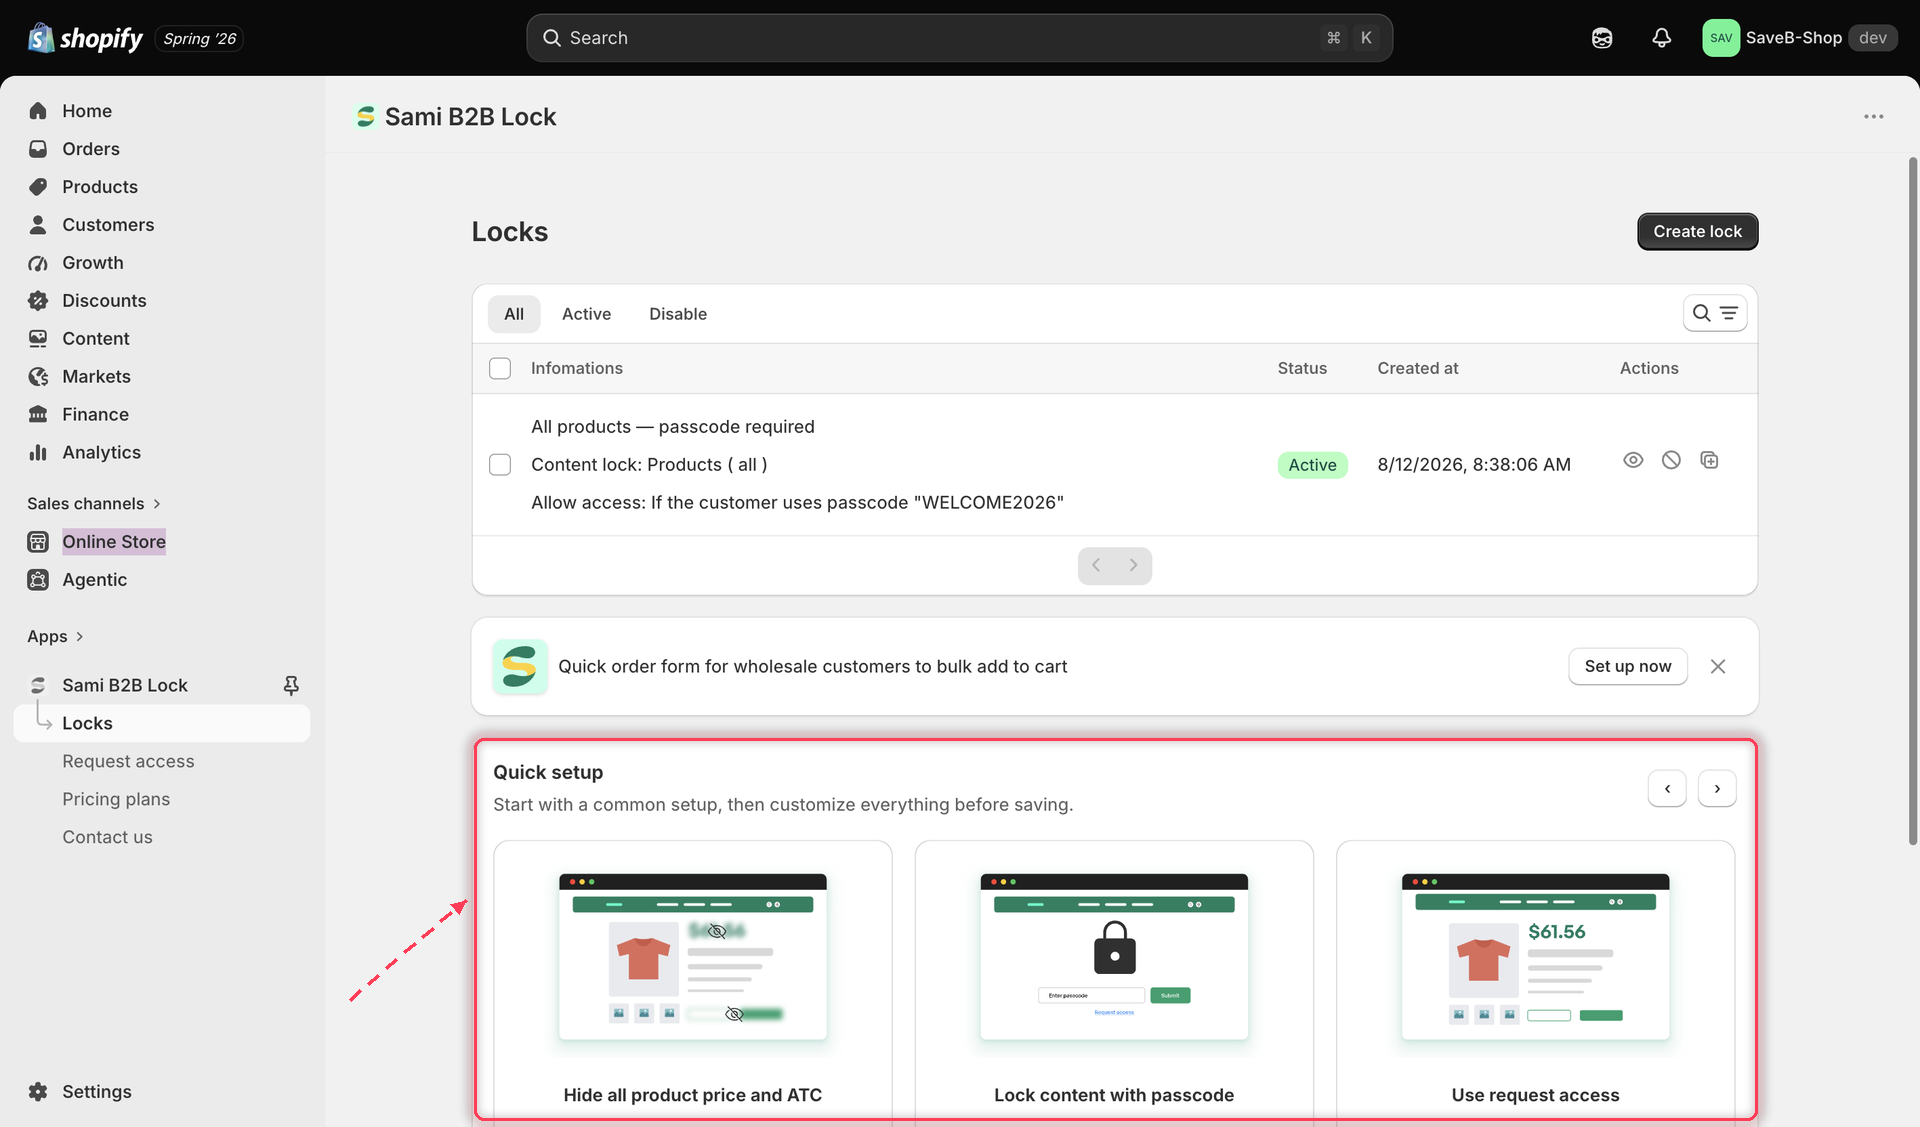
If you don't have any locks yet, the Locks page shows an empty state with a Quick Setup carousel of ready-made templates. Each one pre-fills a working lock that you can review, adjust, and save — a faster starting point than building a lock from a blank editor.

The Quick Setup carousel on the empty Locks page, showing several template cards.
The Quick Setup carousel offers ready-made lock templates when you don't have any locks yet.

The available templates are:

  • Hide all product price and Add to cart

  • Lock content with passcode

  • Use request access

  • Wholesale-only products — pre-fills a customer-tag rule for a "wholesale" tag applied to price and Add to cart

  • Selected customers can view page

  • Lock checkout

Some content types and access rules used by these templates may require a paid plan. If a template needs a feature your current plan doesn't include, the app will prompt you to upgrade before applying it.

Last updated

Was this helpful?