
Estimated delivery date overview
Show shoppers when their order will be dispatched and delivered, before they buy.
An estimated delivery date answers the question shoppers ask right before they commit: when will this actually arrive? Instead of a ticking clock, it shows a calculated delivery window — “Order within the next 4h 12m for delivery between Mar 14 – Mar 16” — and optionally an order-progress bar from Ordered through Dispatched to Delivered.
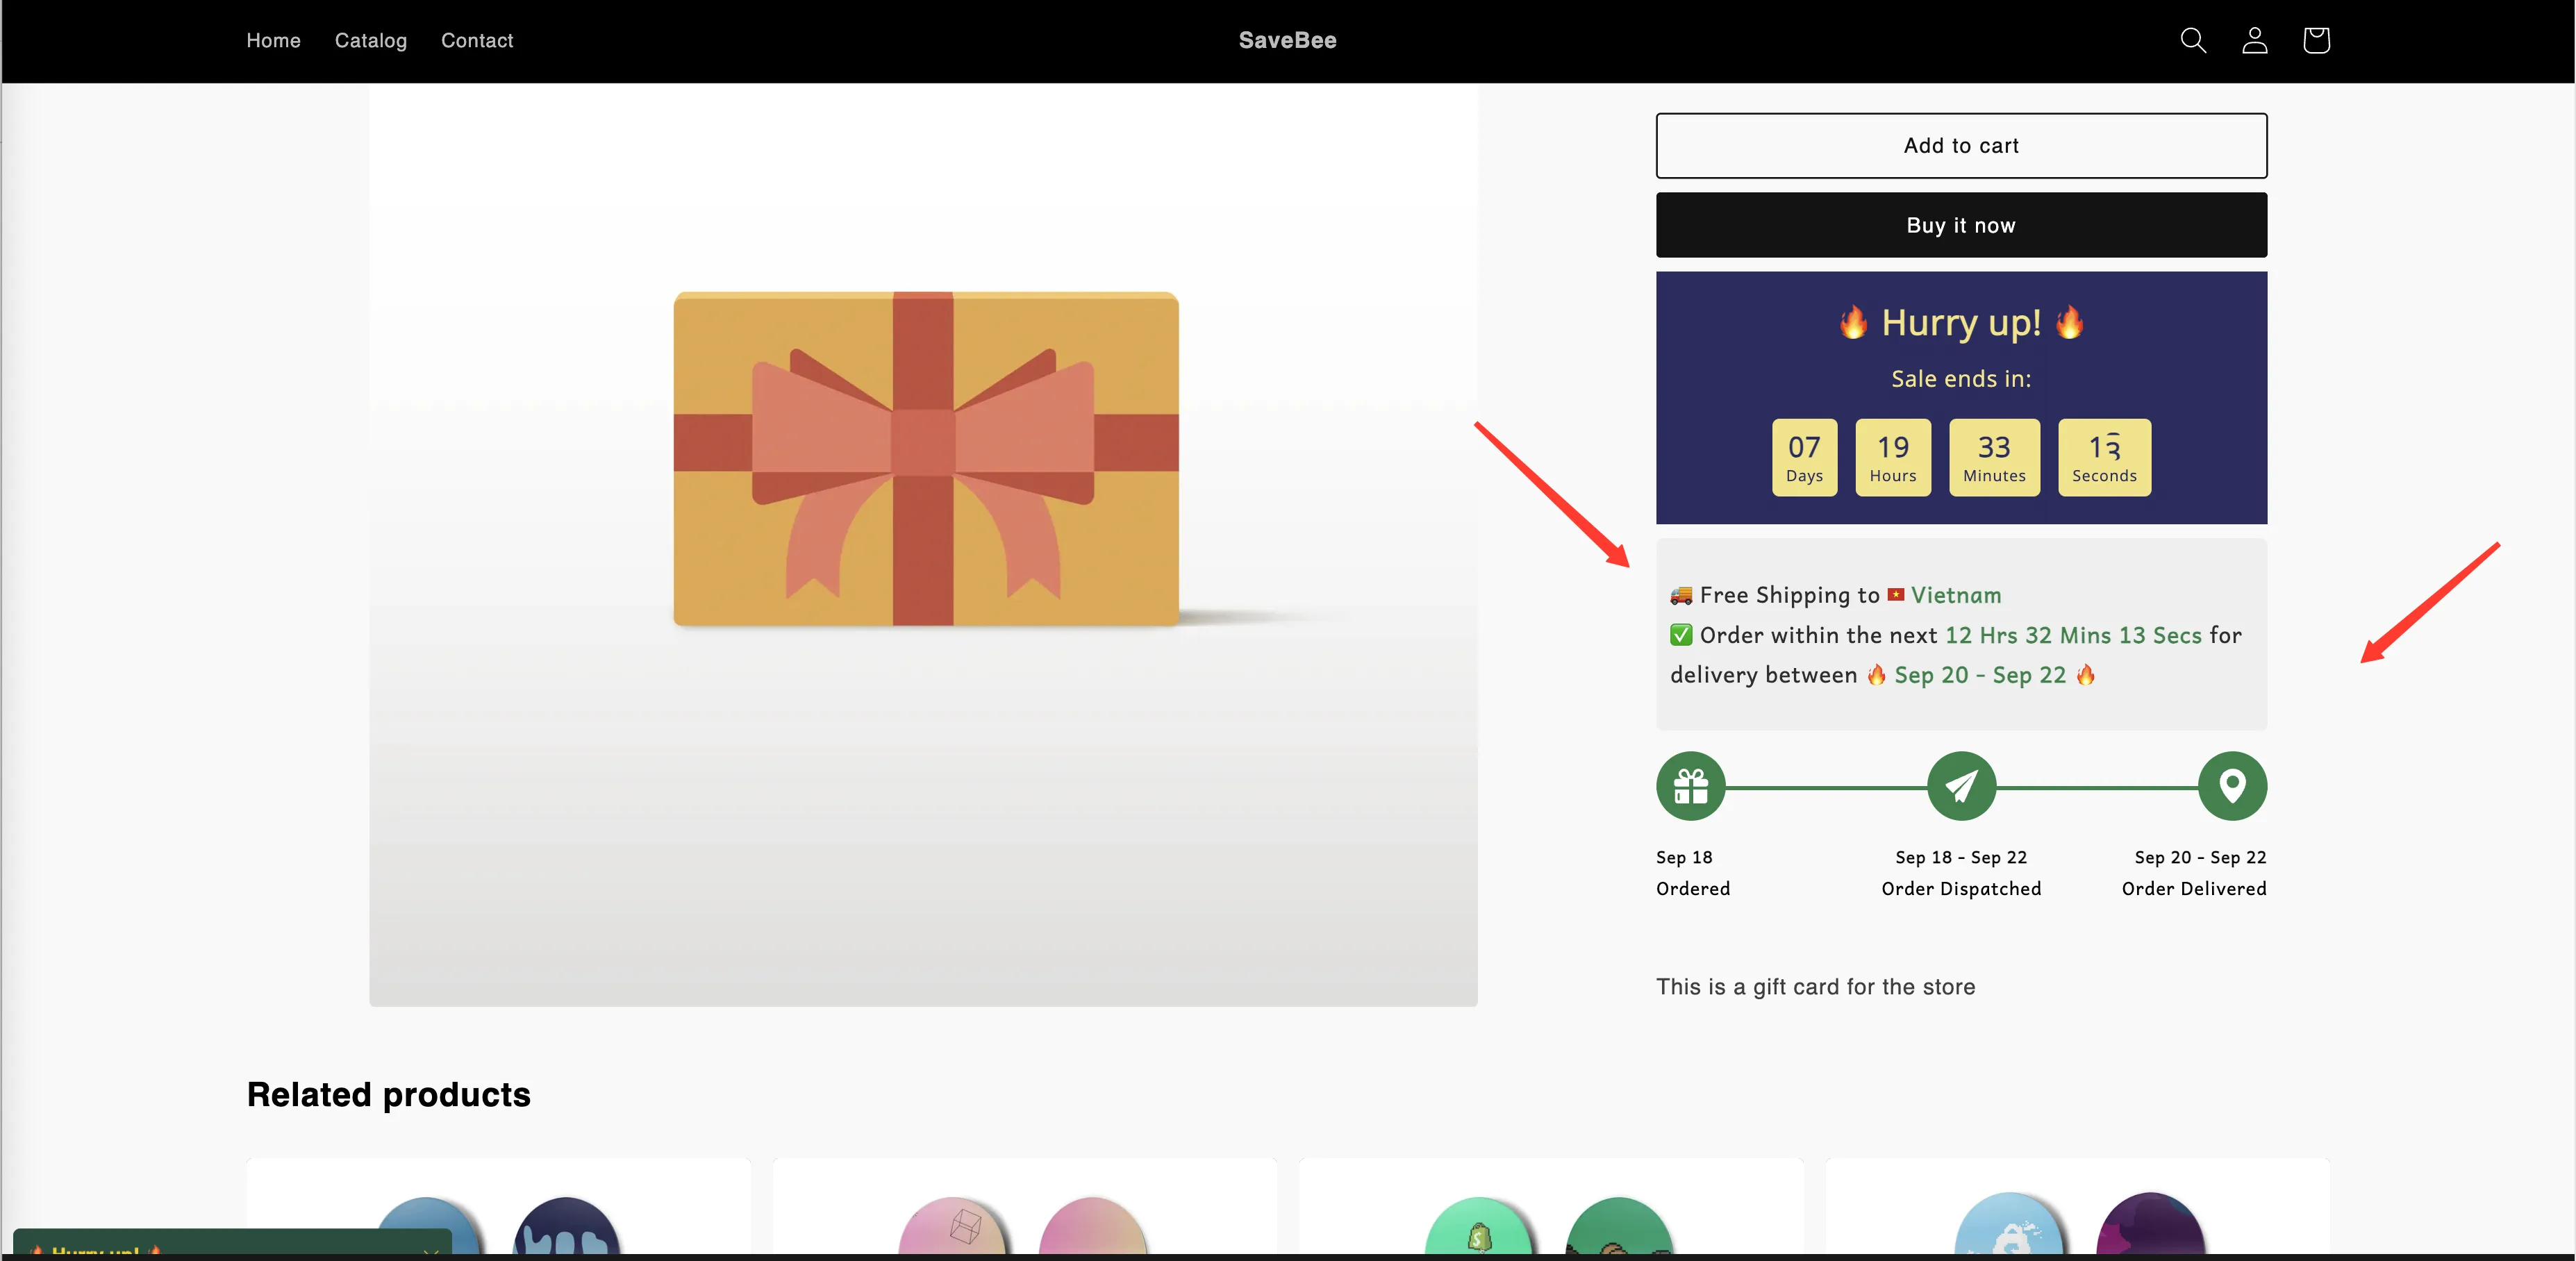
A delivery date on a product page: message above, progress bar below.
What it’s made of
Section titled “What it’s made of”| Part | What it does | Guide |
|---|---|---|
| Layout | Which of the message and progress bar appear, and in which order | Create an estimated delivery date |
| Message | The sentence shoppers read, built from text and variables | Delivery variables |
| Progress bar | The Ordered → Dispatched → Delivered strip, with icons and labels | Create an estimated delivery date |
| Date ranges | How many working days dispatch and delivery each take | Date range settings |
| Cut-off time | The daily deadline for today’s orders to count | Cut-off time |
How the dates are worked out
Section titled “How the dates are worked out”The app doesn’t read your real fulfilment data. It calculates a window from the rules you give it:
- Start from today — or tomorrow, if the cut-off time for today has already passed.
- Add the dispatch range, counting only the weekdays you marked as dispatch working days.
- Add the delivery range, counting only the weekdays you marked as delivery working days.
- Skip any dates you’ve listed as holidays.
- Format the result using the date format you chose.
The minimum and maximum of each range give you the two ends of the window, which you place in the message with {delivered_min_date} and {delivered_max_date}.
Where to start
Section titled “Where to start”If you’re setting one up for the first time, follow Create an estimated delivery date — it runs from creating the countdown through to checking it on your storefront.
Come back to the other pages when you’re tuning it:
- Date range settings — dispatch and delivery ranges, working days, holidays, and date formats.
- Cut-off time — the daily deadline, including setting a different one per weekday.
- Delivery variables — the seven tokens you can put in the message.