
Quickstart
Install the app, build your first badge, and see it live on your storefront in a few minutes.
This walkthrough takes you from installing Sami AI Product Labels & Badge to a badge live on your product pages.
-
Install the app
Section titled “Install the app”Open the Shopify App Store listing and click Install, then review and approve the requested permissions.
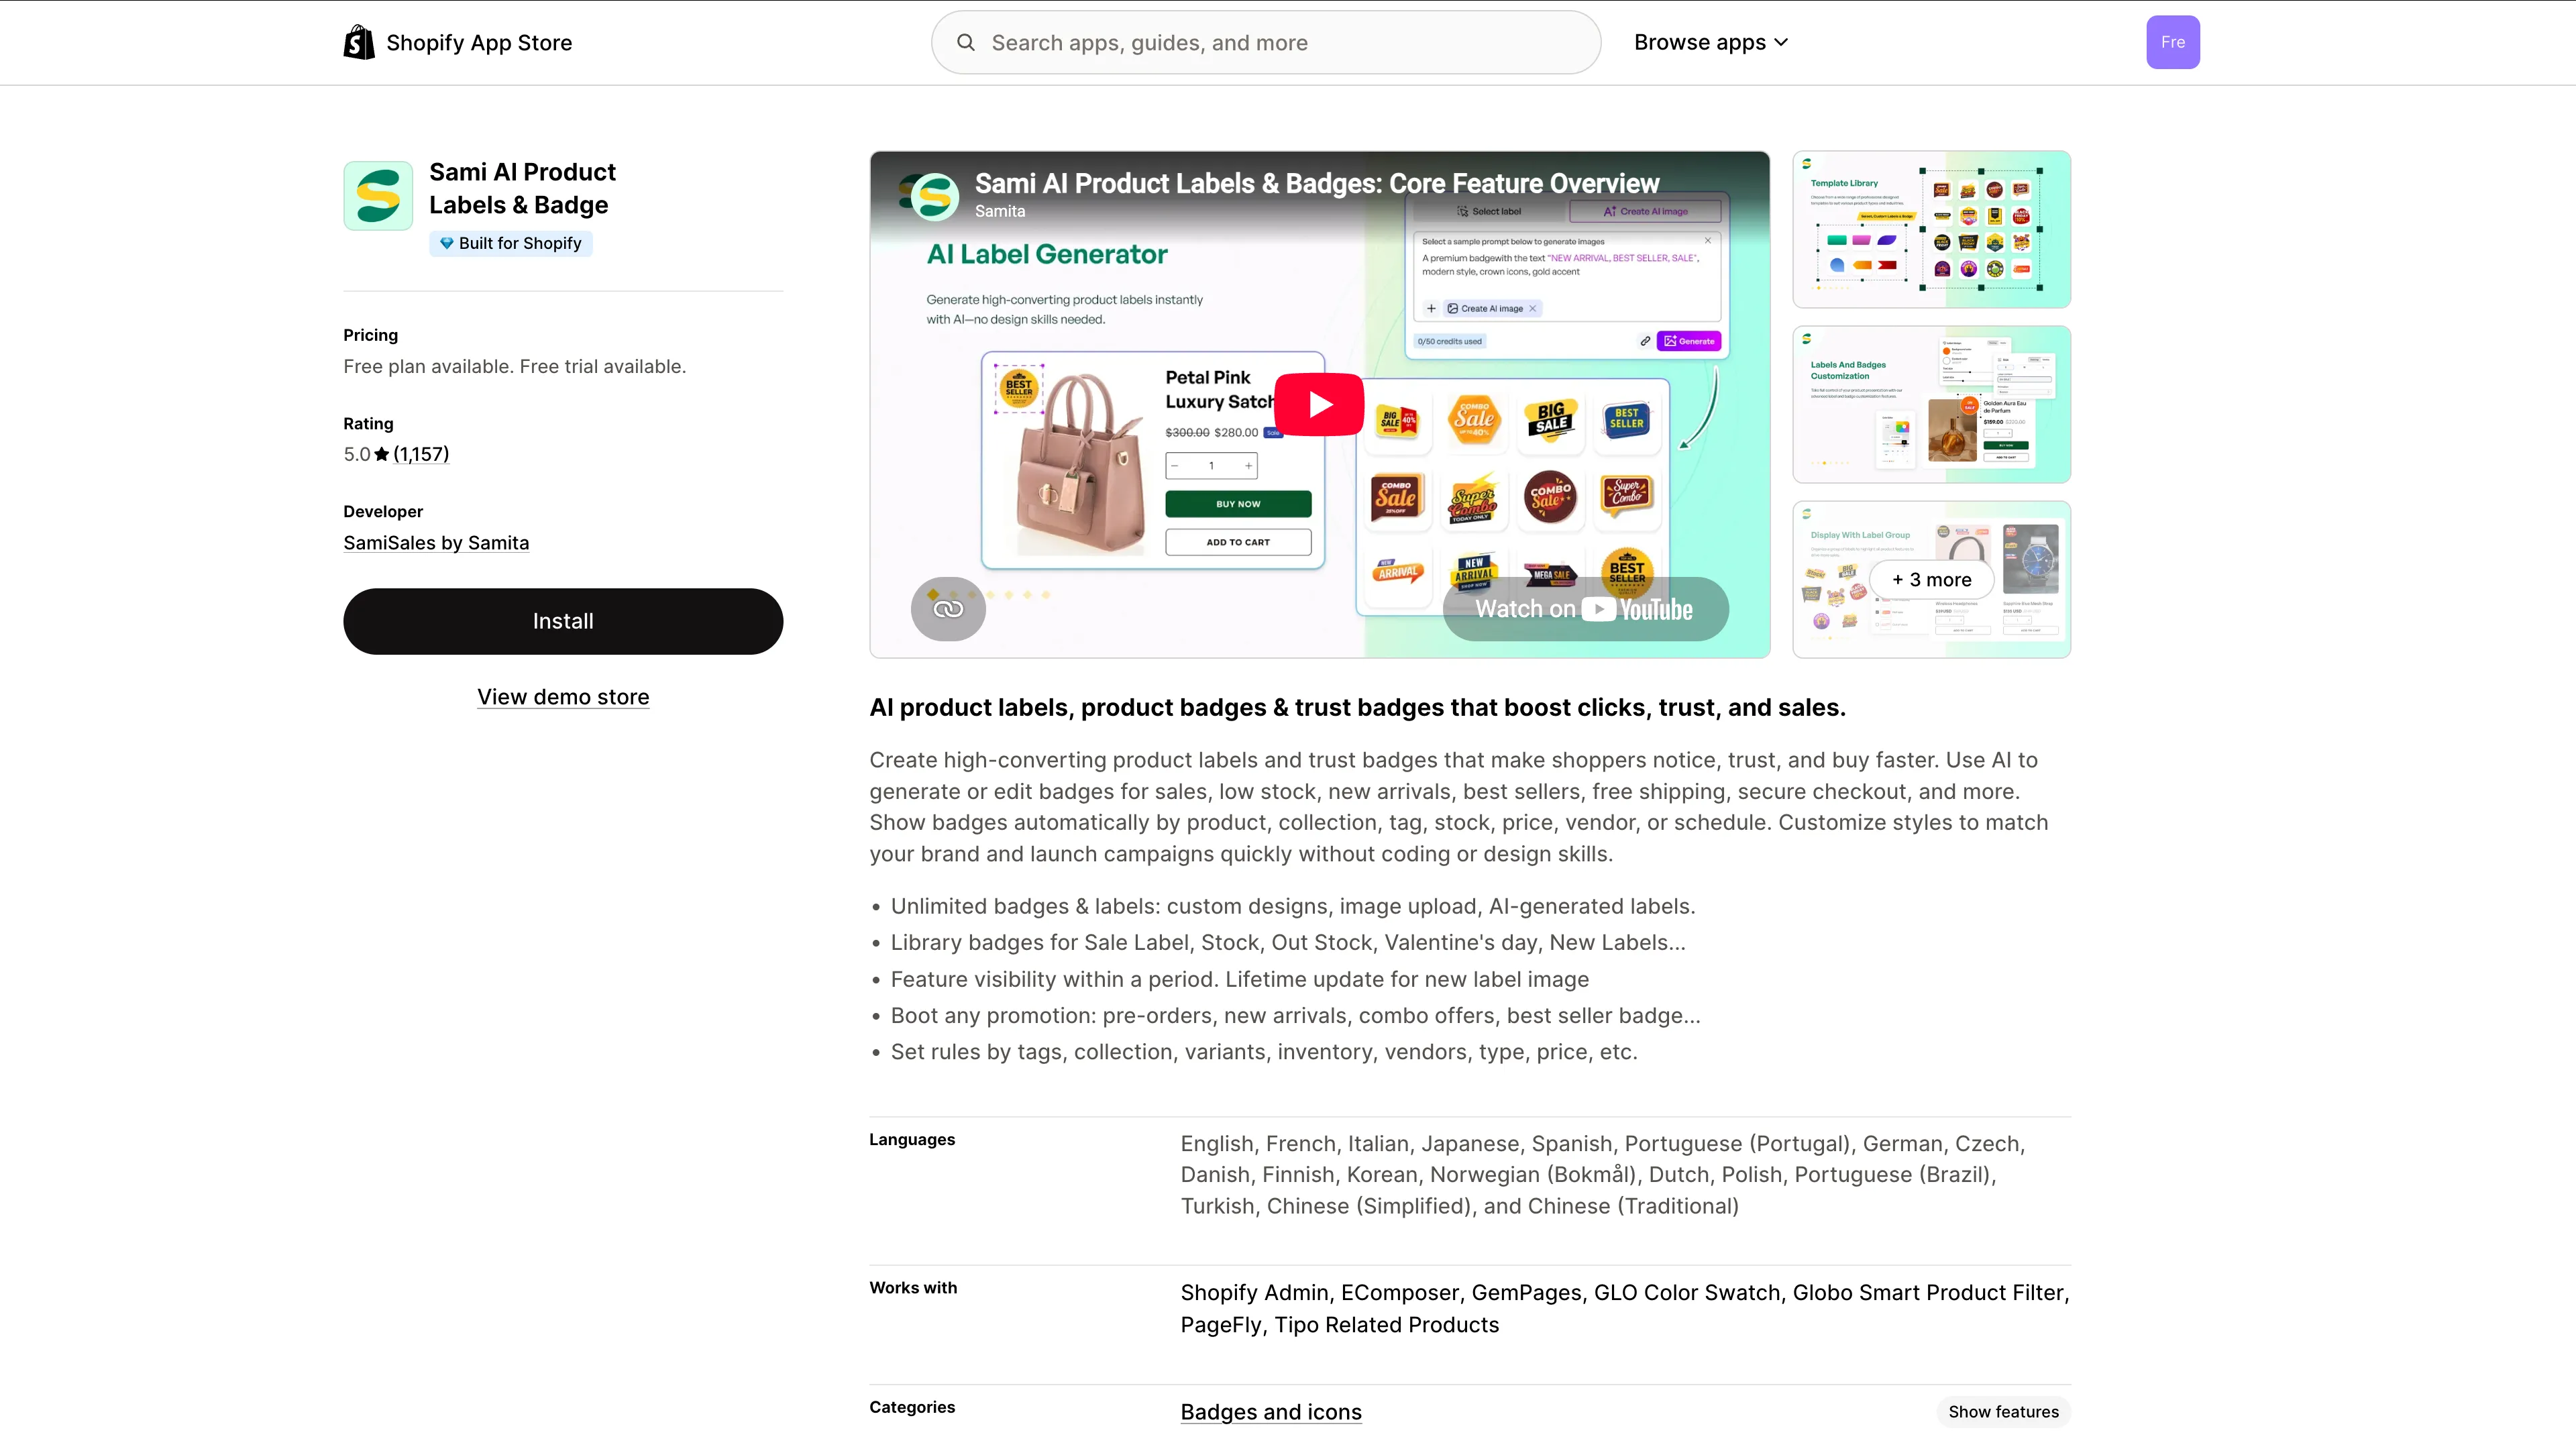
Click Install on the app listing page.
-
Enable the app embed
Section titled “Enable the app embed”On the Dashboard, check the status chip beside Explore outstanding features. If it reads App embed inactive, turn the embed on in your theme editor.
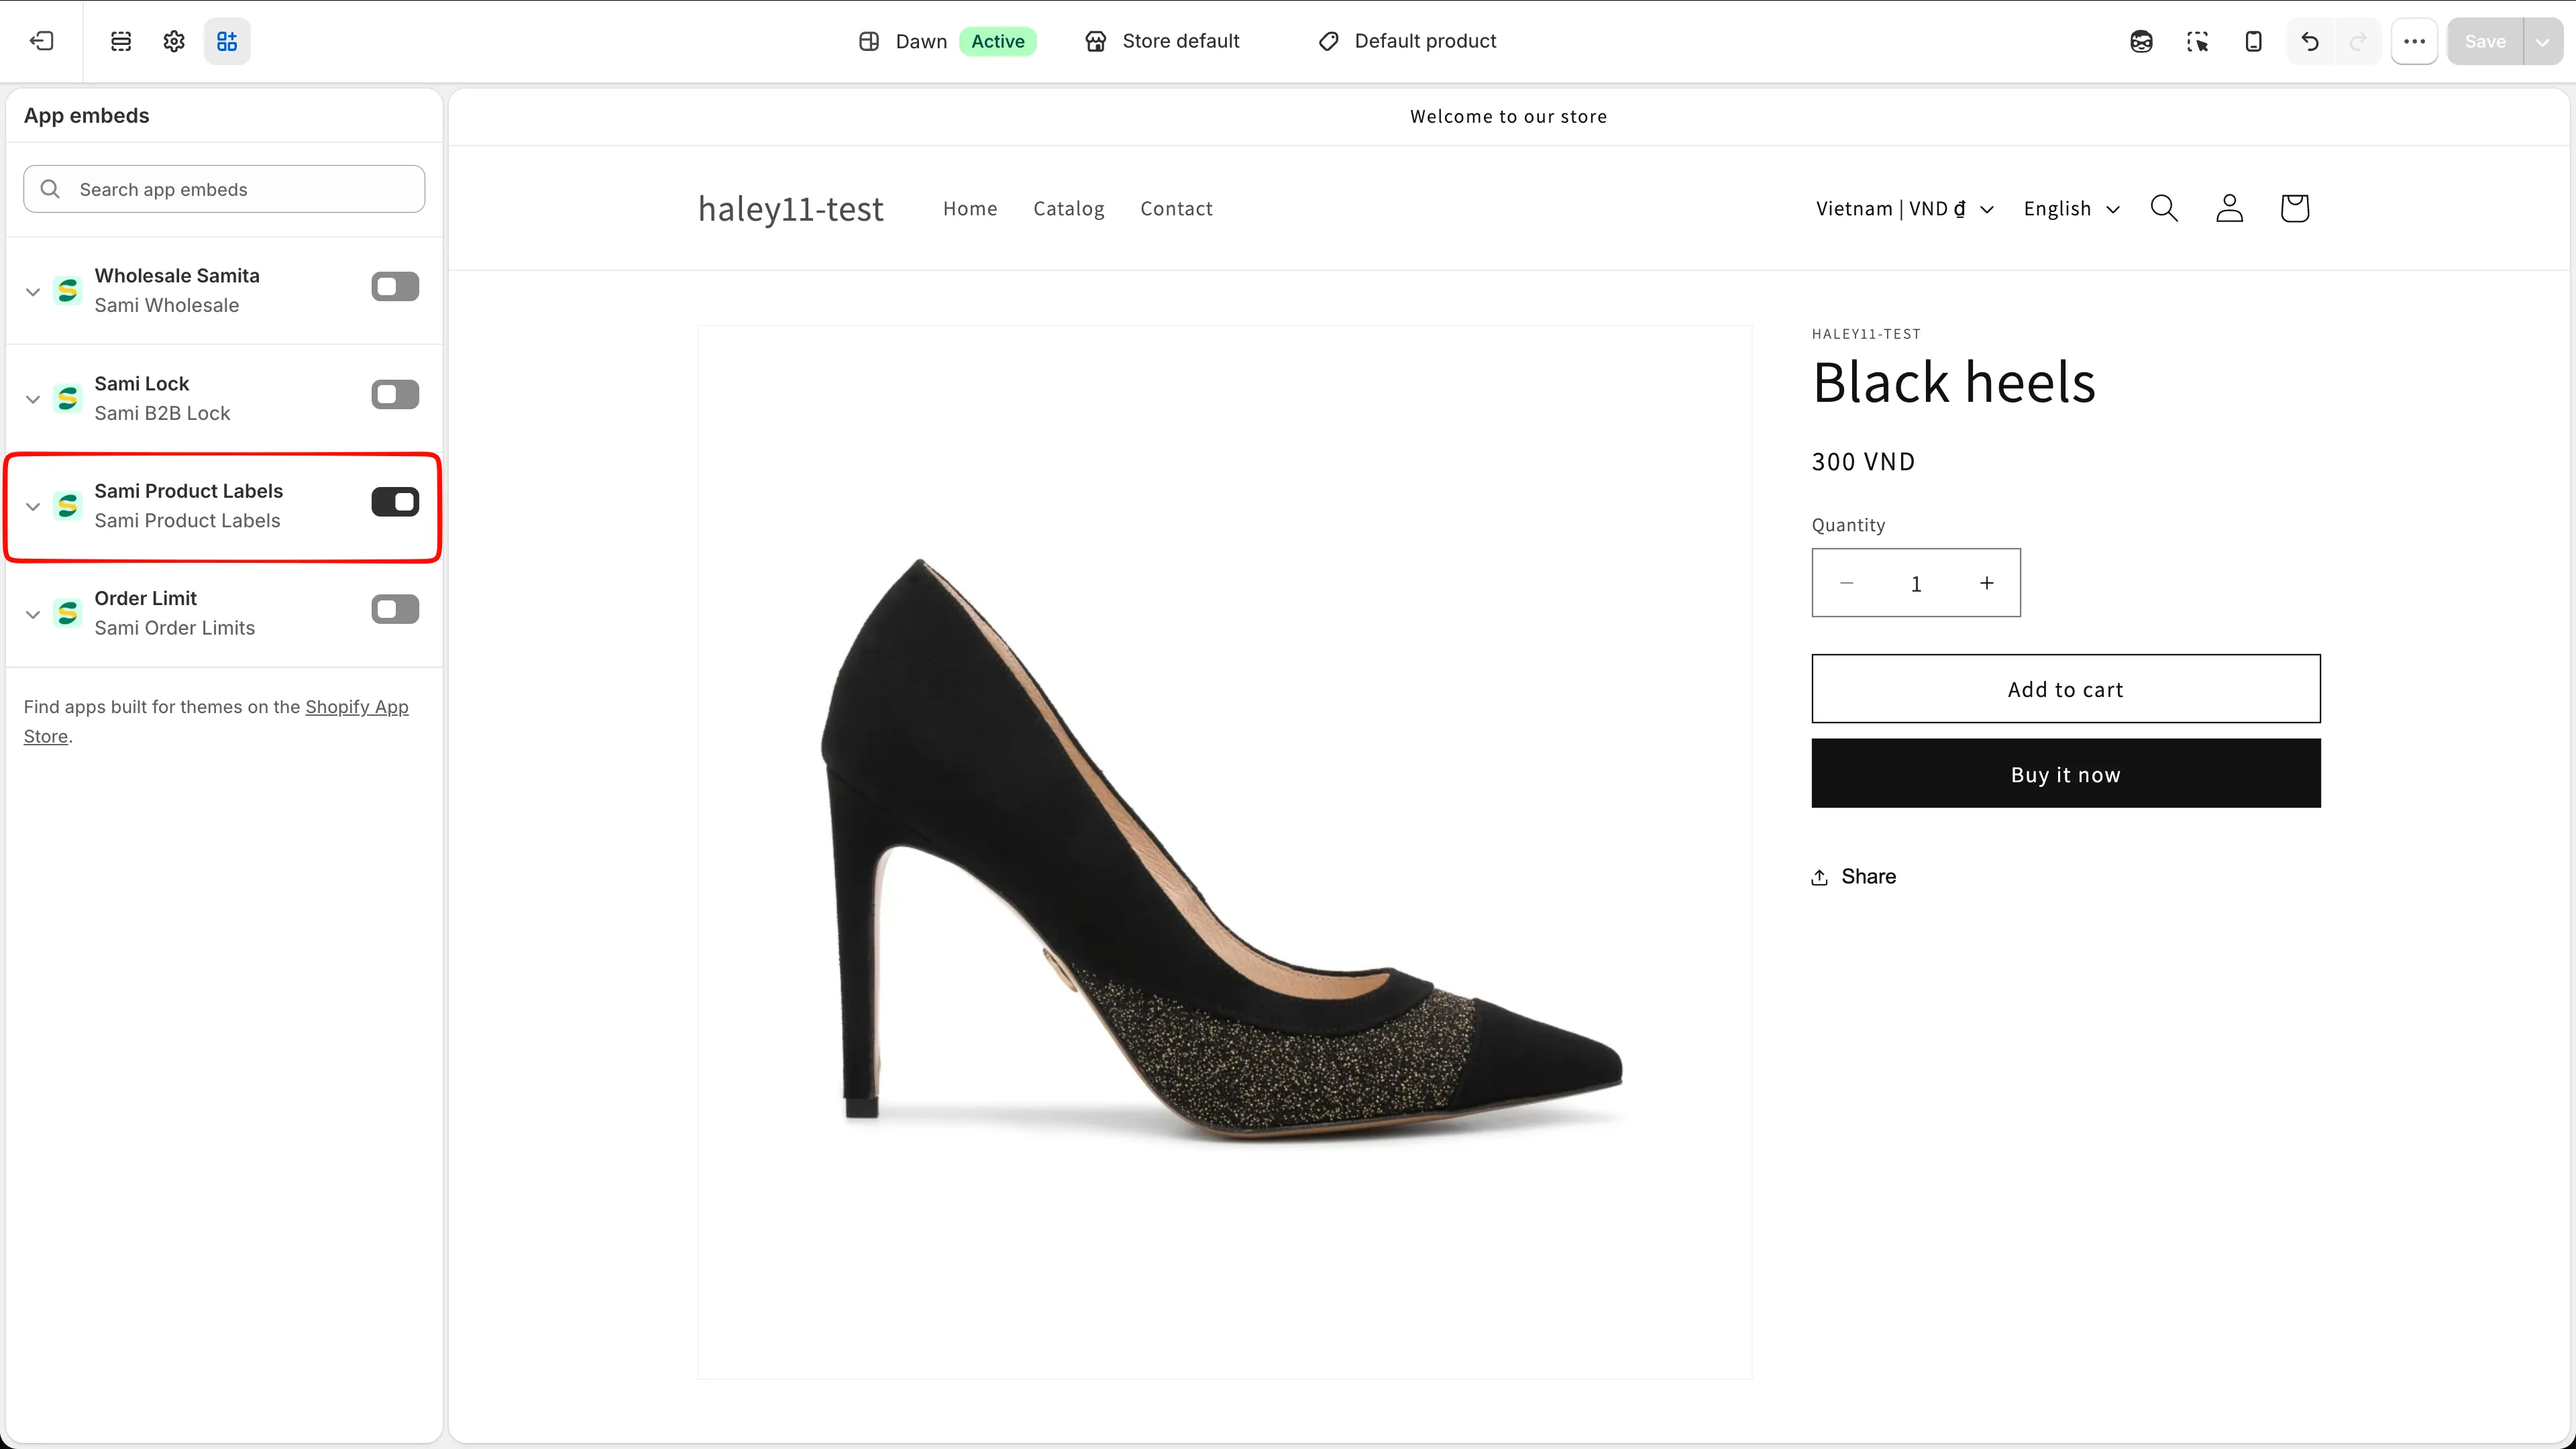
Toggle on the app embed and click Save in the theme editor.
Full instructions: Enable app in theme.
-
Create your first badge
Section titled “Create your first badge”Go to Badges & Labels in the app sidebar and click Create badge. The Choose badge type dialog offers two options — click Create on the one you want.
Type Description Text badge (most popular) Sale, new, or limited badges with editable text and styles. Image badge Your own artwork, ready-made badge graphics, or AI designs. 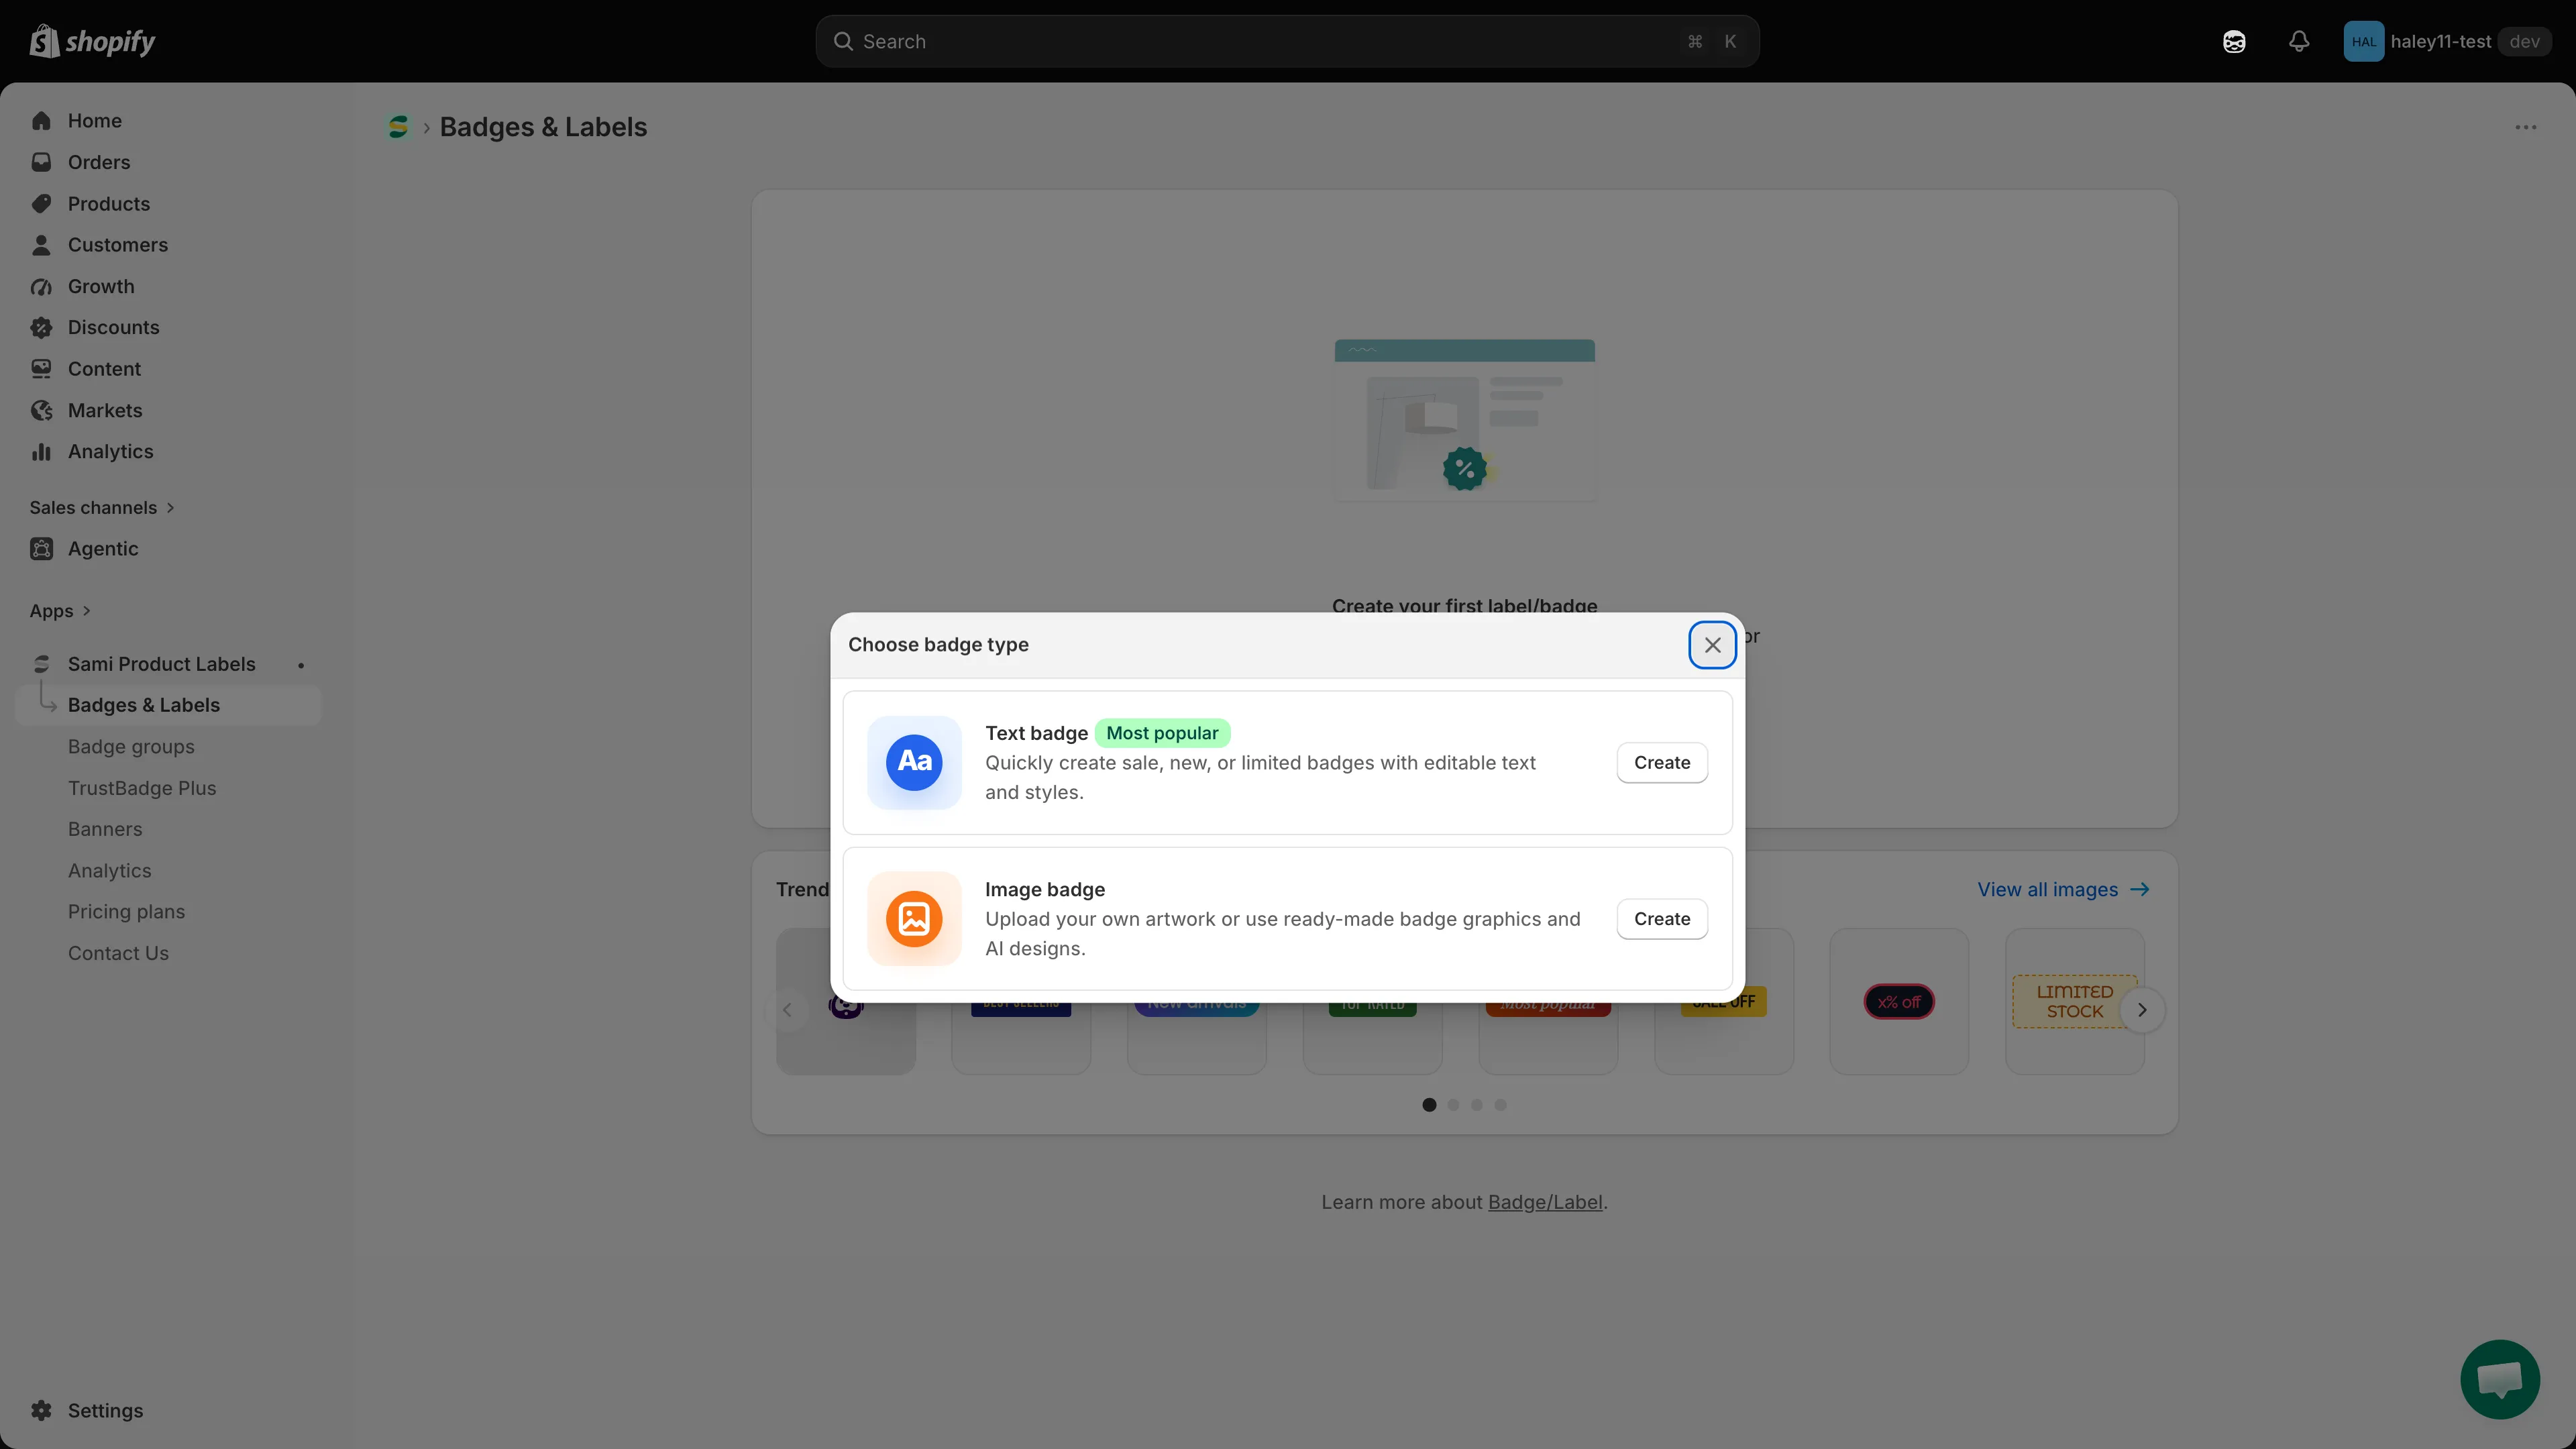
Pick a badge type, then click Create.
-
Design the badge
Section titled “Design the badge”The editor opens on the Design tab, with a live preview on the right that updates as you type.
- Text badges — enter the Badge text, pick a font and text color, set the Background color, then choose a shape from Choose template.
- Image badges — upload your own image, pick one from the library, or generate one with AI.
Under Position, choose where the badge sits:
Option What you get Inside product image A 3 × 3 grid of nine positions, from top-left to bottom-right. Tick Use Custom Position for exact coordinates. Outside product image A Predefined position dropdown — for example Below the product price — plus left, center, or right alignment. 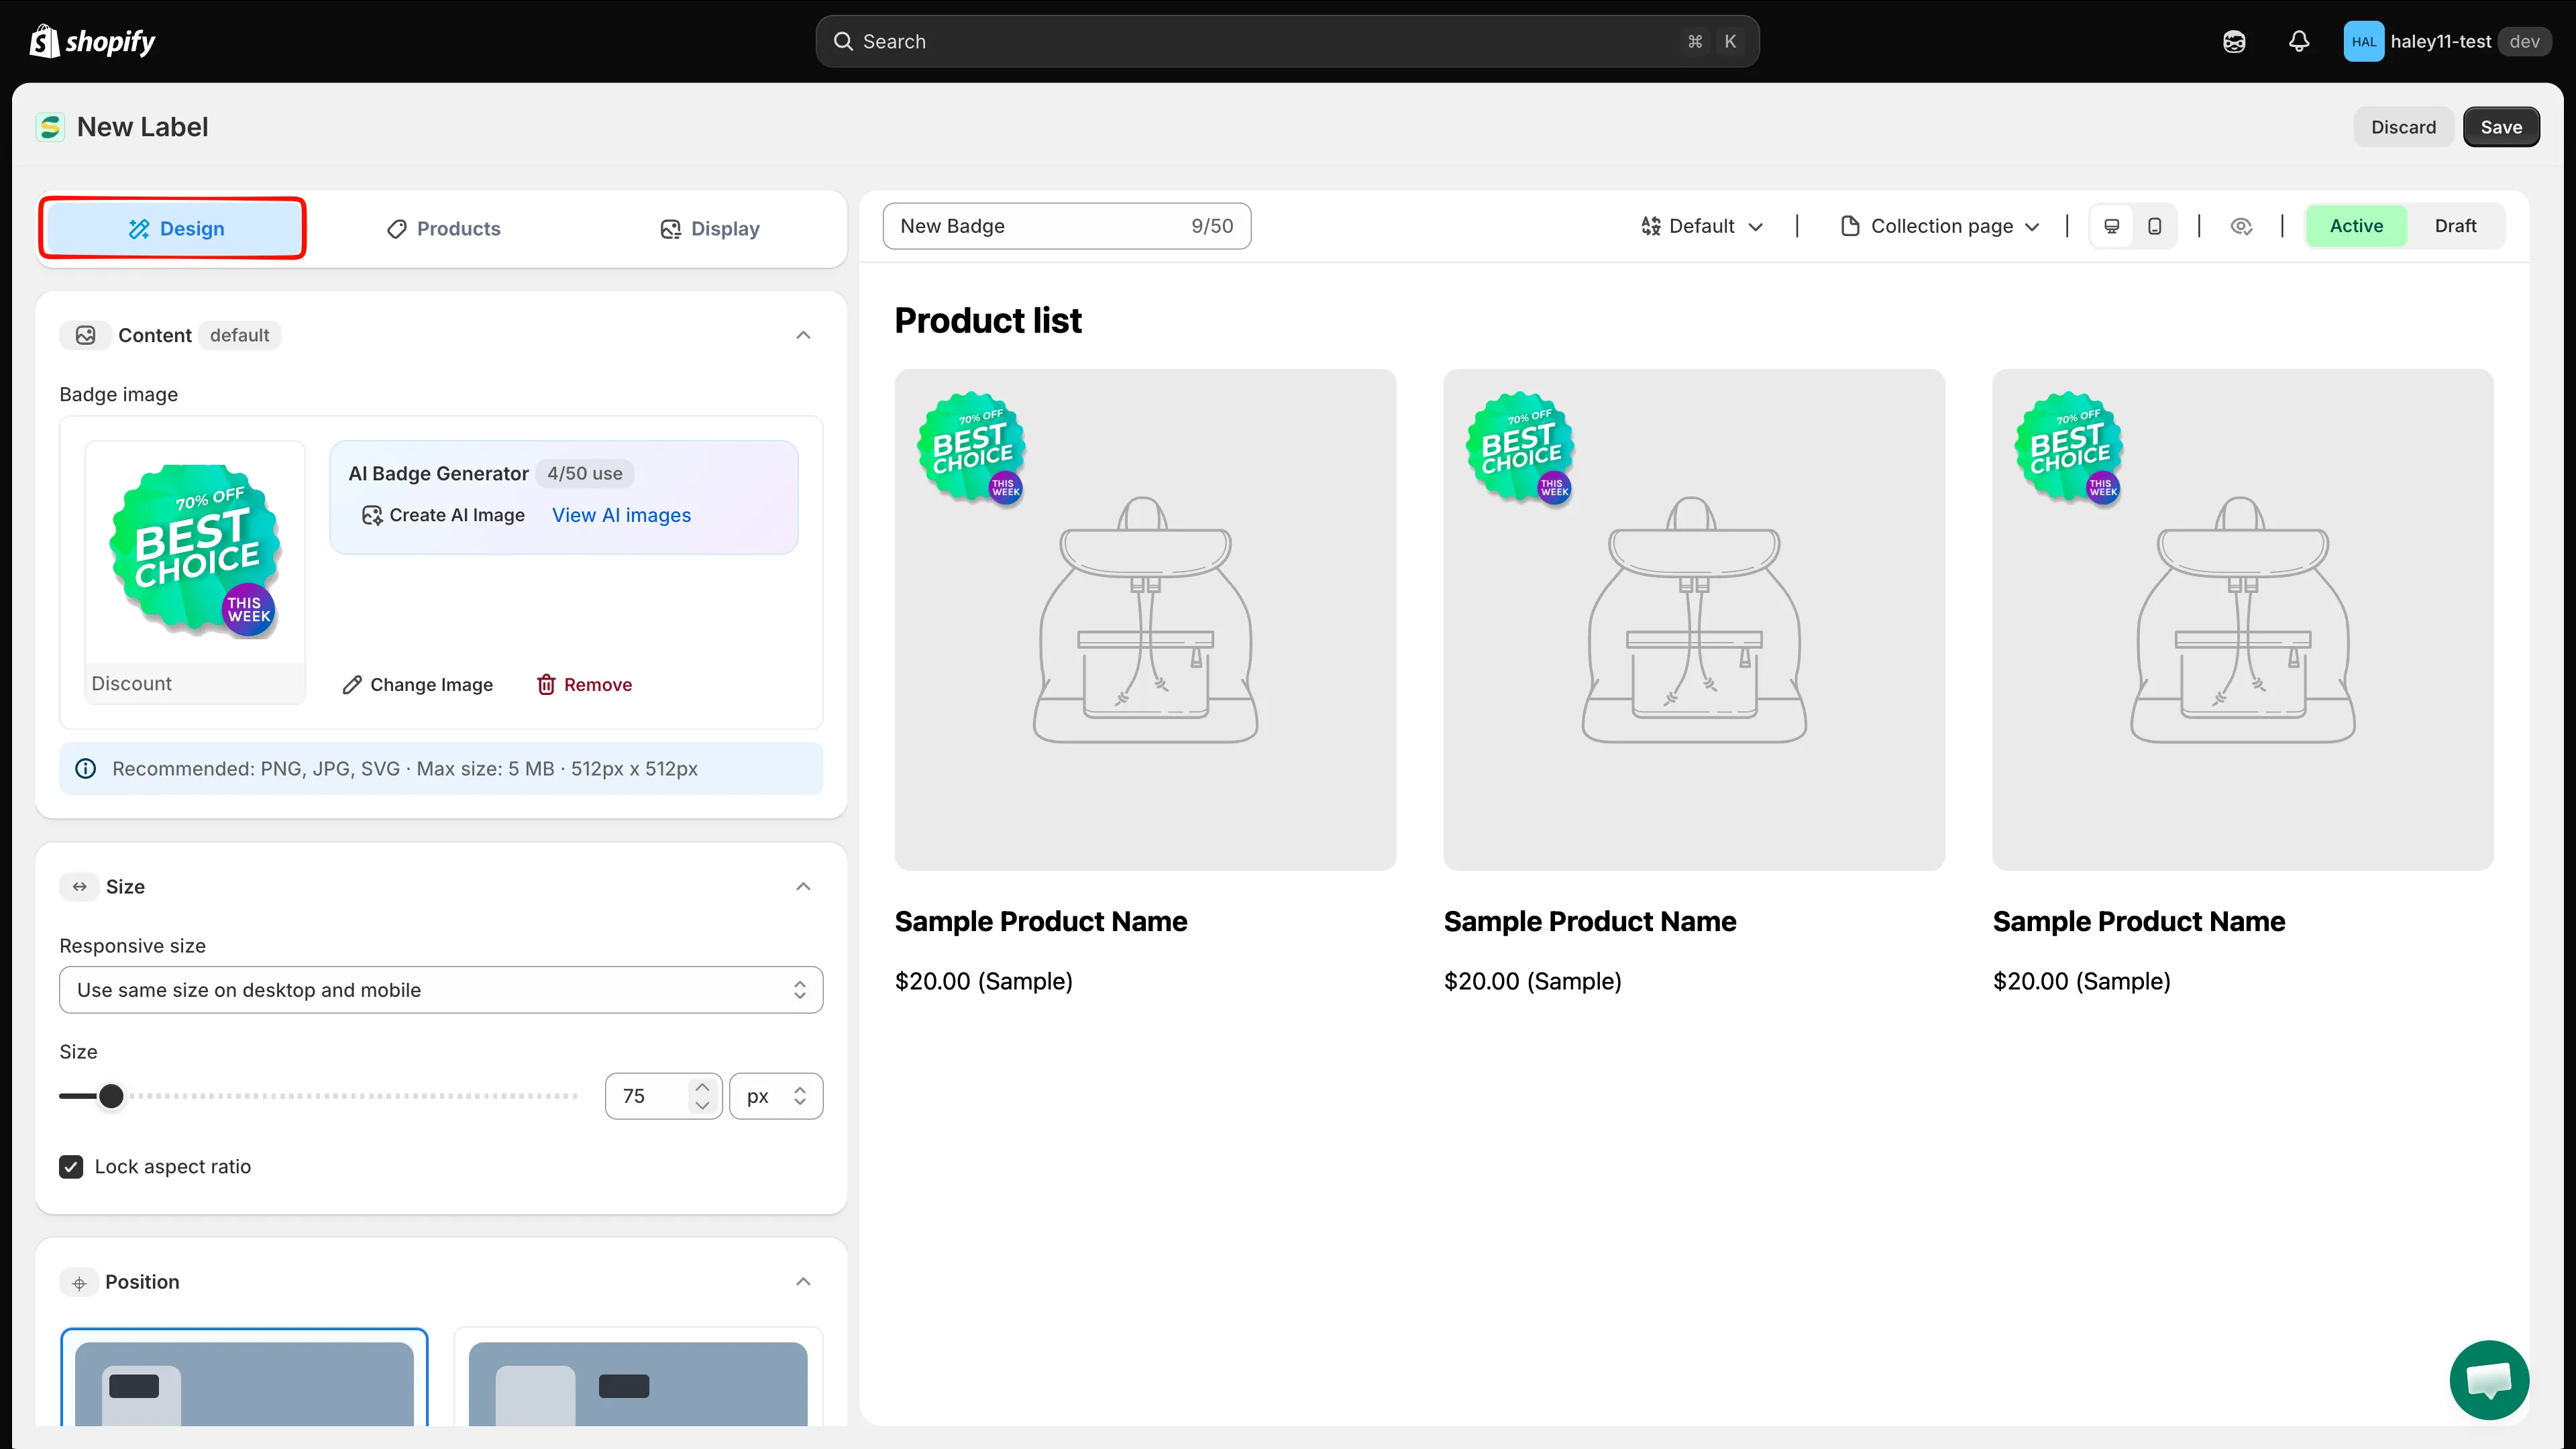
Set the text, colors, shape, and position on the Design tab.
-
Choose which products show it
Section titled “Choose which products show it”Switch to the Products tab and pick one of three options under Choose products to show this badge:
Option What it does All products Shows the badge on every product in your store. Specific products Hand-pick individual products. Products matching conditions Build rules from product title, type, vendor, price, tag, inventory, collections, and more. 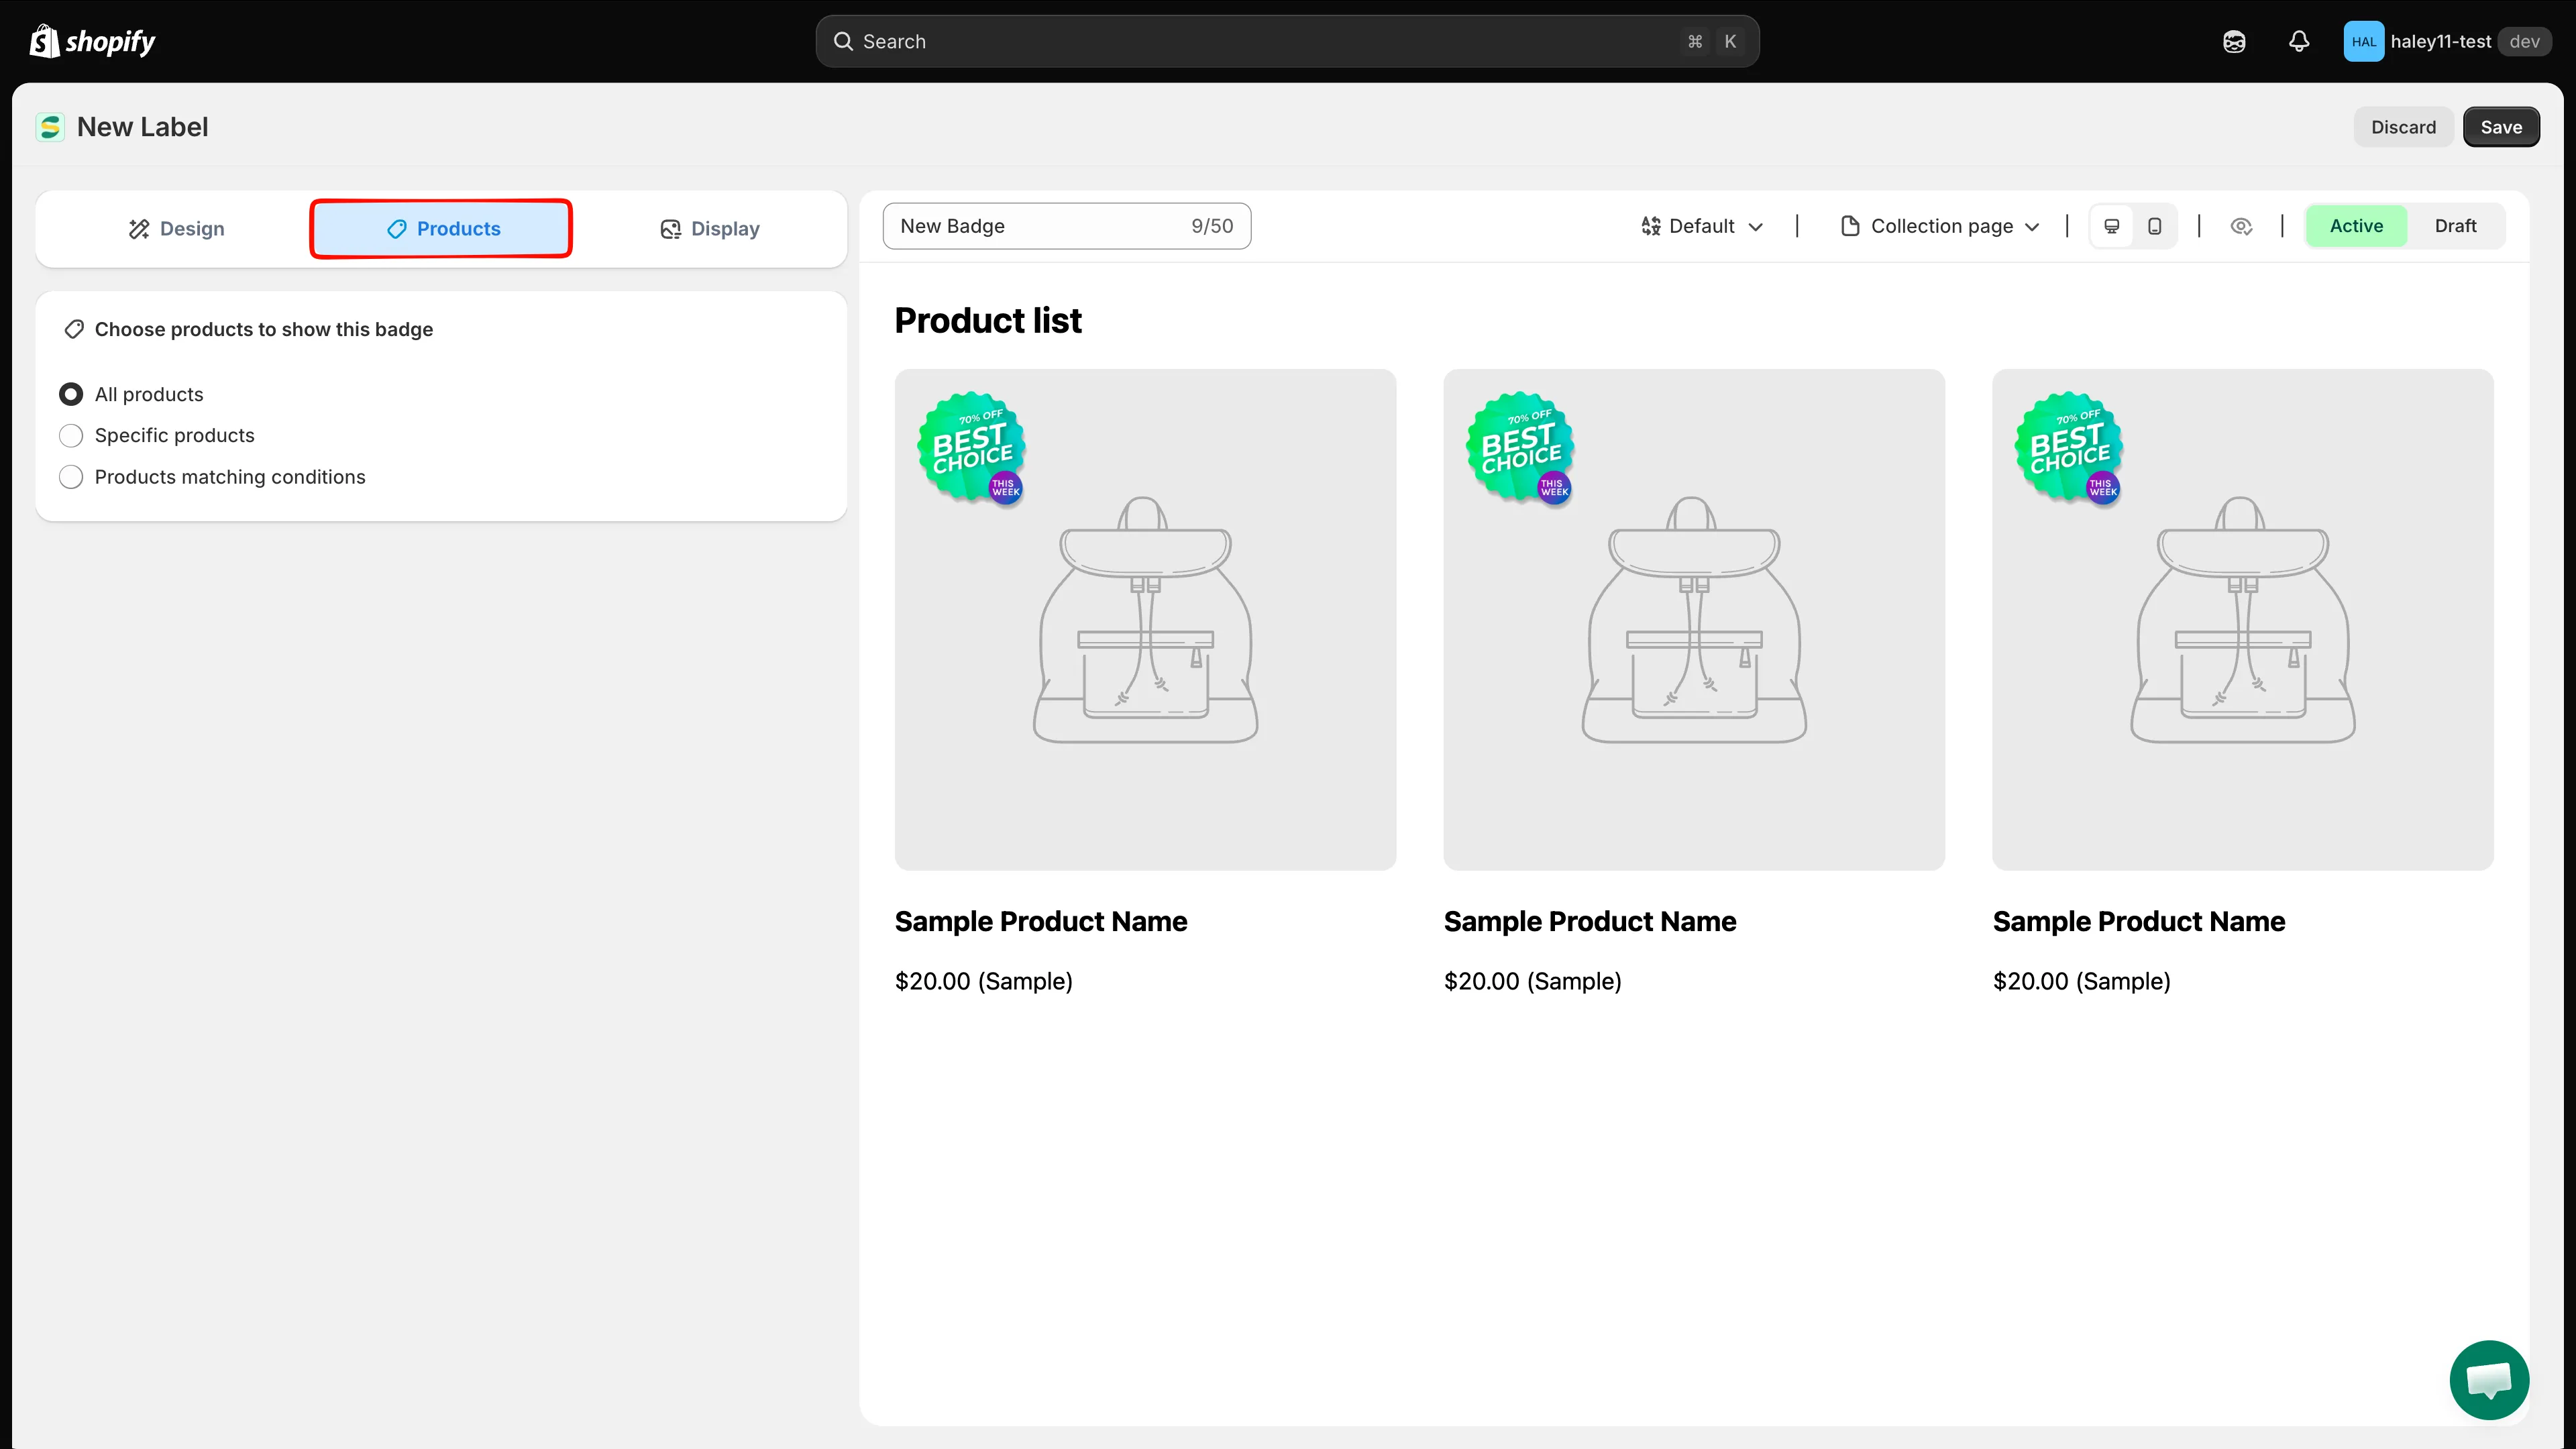
Target every product, a hand-picked list, or a rule.
See Condition operators reference for every field and operator.
-
Activate and check your storefront
Section titled “Activate and check your storefront”Set the status switch above the preview to Active, then click Save in the top-right corner.
Open your storefront in a new tab — the badge appears on your product images within a few seconds.
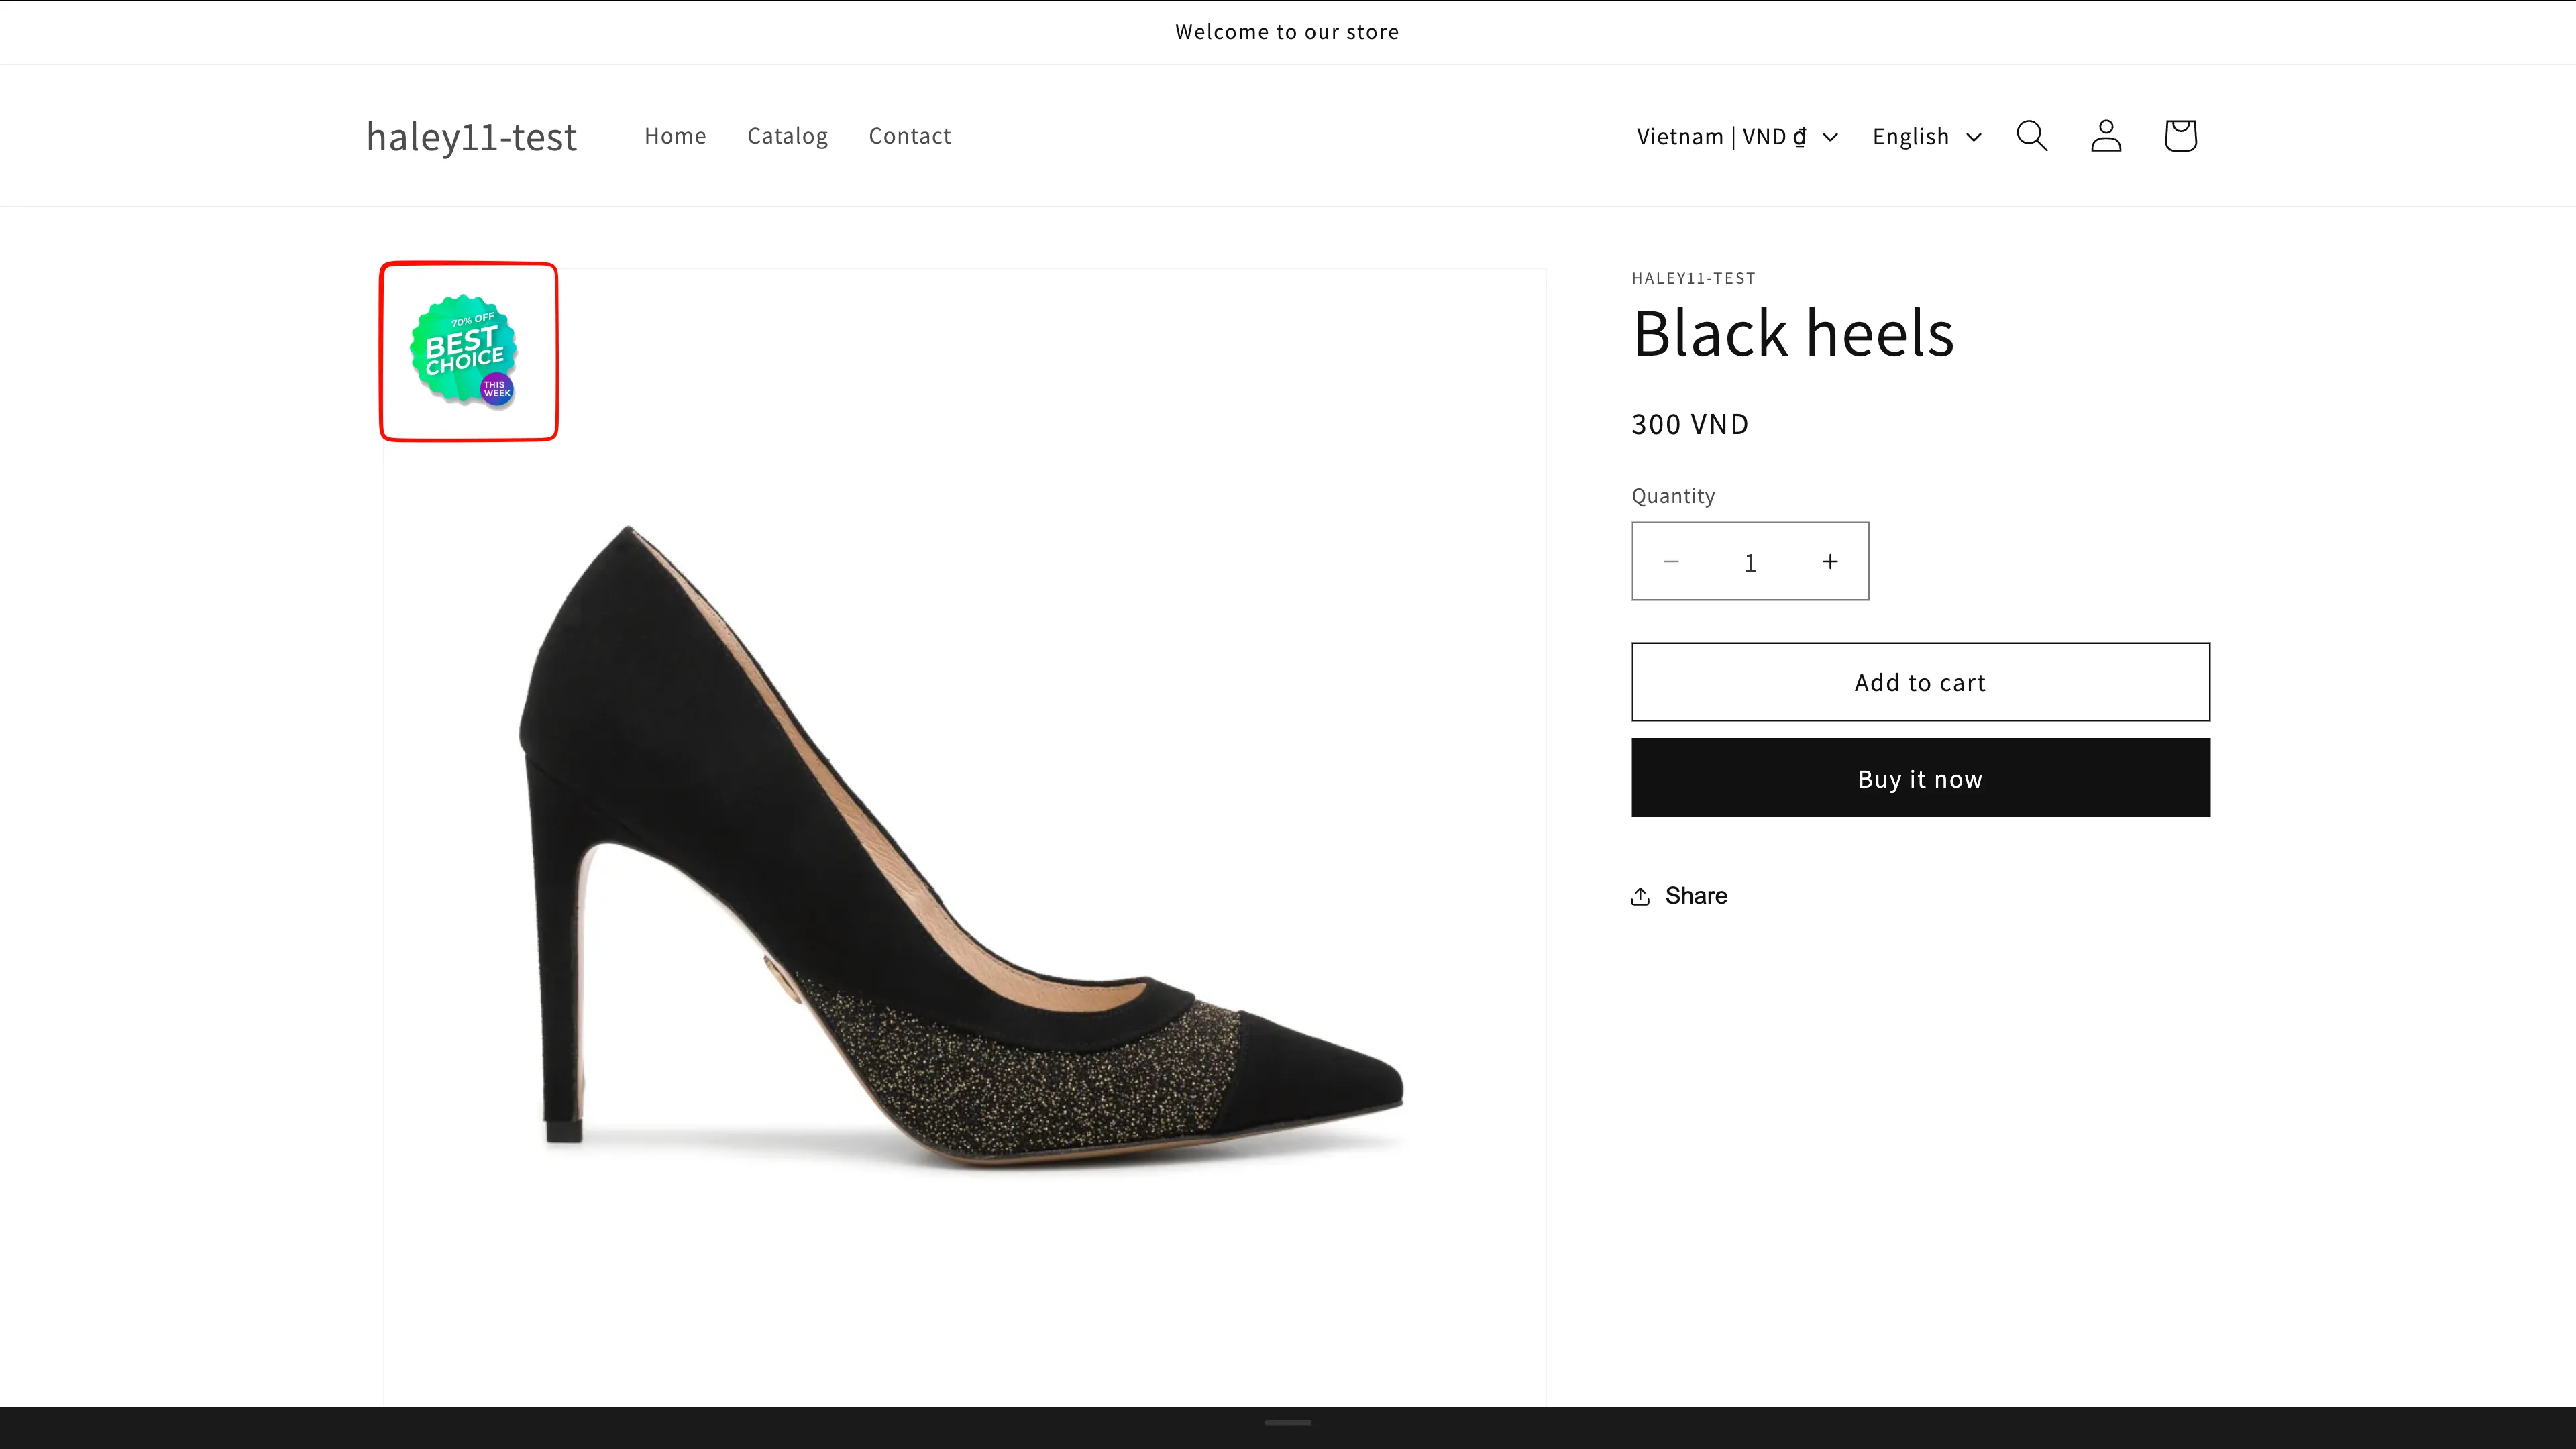
Your badge is now live on your storefront.
Next steps
Section titled “Next steps”- Create a text badge — all the text badge design options.
- Create an image badge — upload artwork or use the built-in library.
- Badges & Labels overview — the full feature set.