> For the complete documentation index, see [llms.txt](https://docs.samita.io/llms.txt). Markdown versions of documentation pages are available by appending `.md` to page URLs; this page is available as [Markdown](https://docs.samita.io/sami-b2b-onboarding/companies/manage-a-company.md).

# Manage a company

Read a company's figures, locations, members and orders, and change its terms, details and sales rep from one page.

Each company in Sami B2B Onboarding has its own page. It shows what Shopify knows about the company right now, the terms it was approved with, and your team's notes. You change its terms, details, sales rep and status here.

{% hint style="info" %}
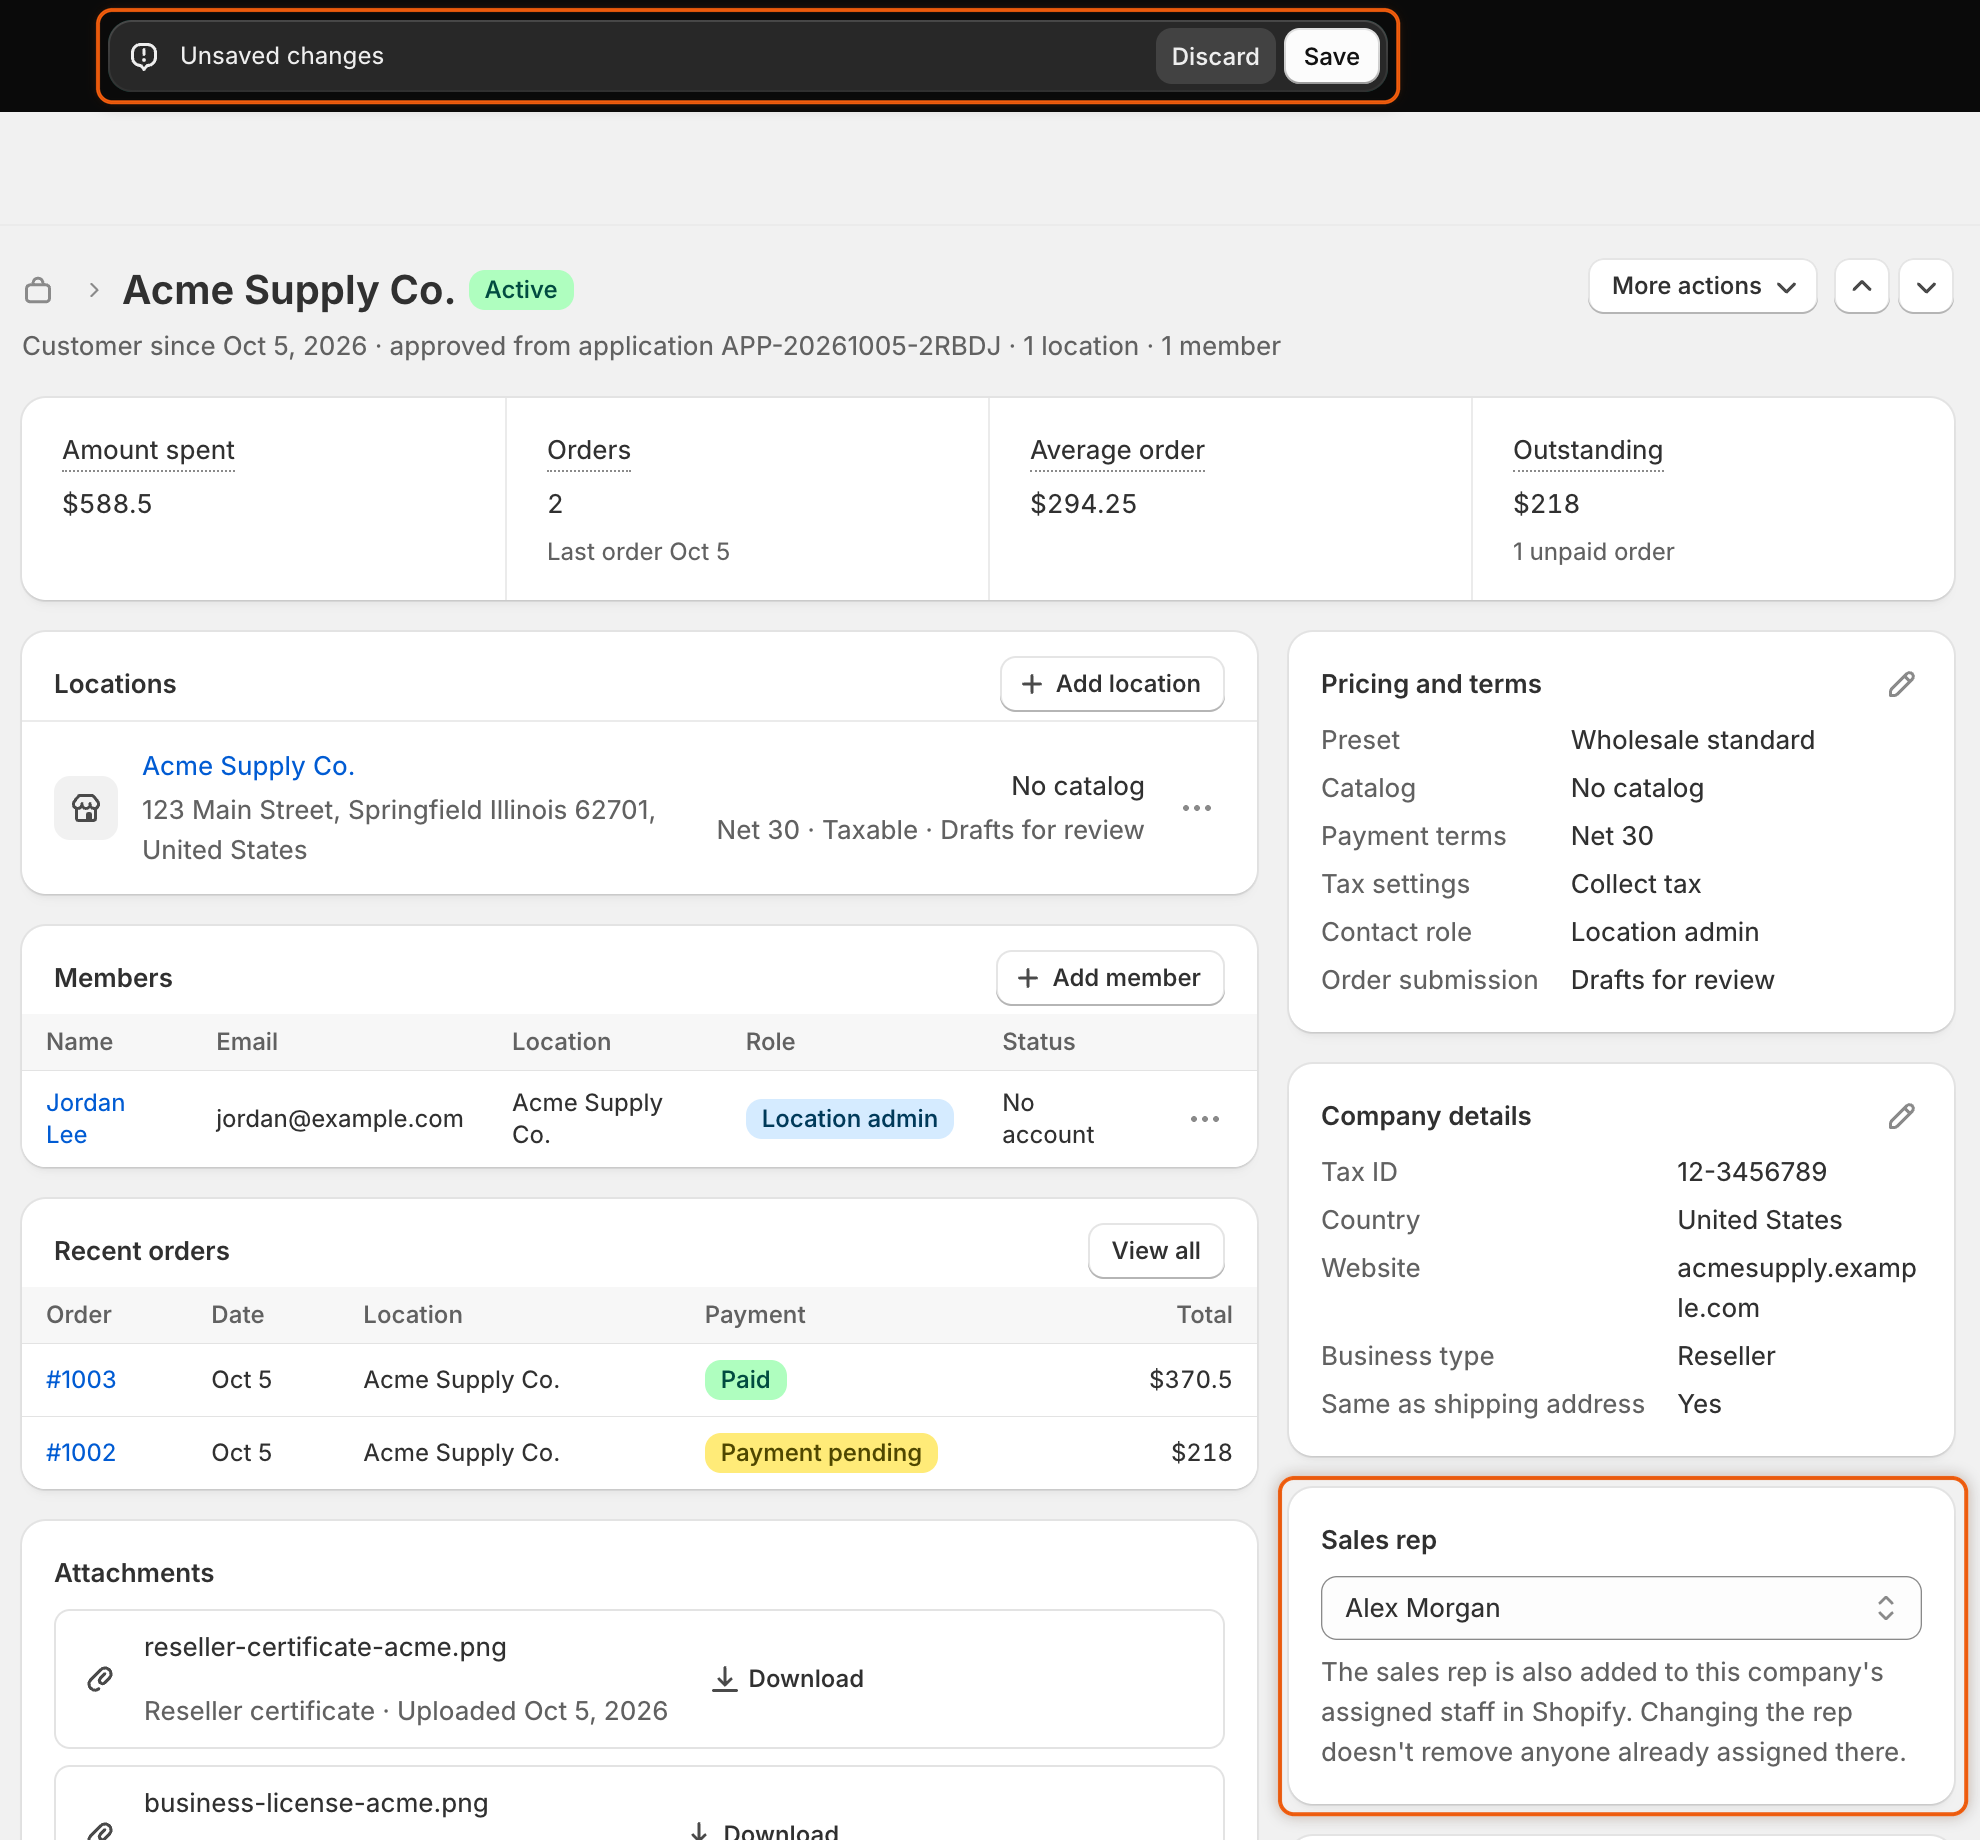
Changes on this page are drafts until you click **Save** in the save bar at the top of the admin. **Discard** puts everything back. Comments are the exception: they're posted as soon as you click **Post**.
{% endhint %}

## Open a company

{% stepper %}
{% step %}

### Go to the directory

In the Shopify admin, open **Sami B2B Onboarding**, click **Companies** in the app menu, then click the **Companies** tab.
{% endstep %}

{% step %}

### Click the company's name

The company's page opens. Use the **Previous** and **Next** arrows at the top right to move to the next company without going back. The icon before the company's name takes you back to the list.
{% endstep %}
{% endstepper %}

## The header

The header shows the company's name, its status badge and one line of facts: **Customer since** a date, where the company came from (for example "approved from application" and its reference, or "imported from a CSV"), and, for a company in Shopify, its number of locations and members.

**More actions** holds two links:

* **View application**: opens the application the company was approved from. Only approved companies have it.
* **View in Shopify**: opens the company's page in the Shopify admin. Only companies that exist in Shopify have it.

A yellow **Tax registration no longer valid** banner appears when the yearly tax ID re-check couldn't find the company's VAT number any more. Ask the buyer for their current number and update it on the company's location in Shopify. See [Tax ID checks](/sami-b2b-onboarding/automation/tax-id-checks.md).

## The figures

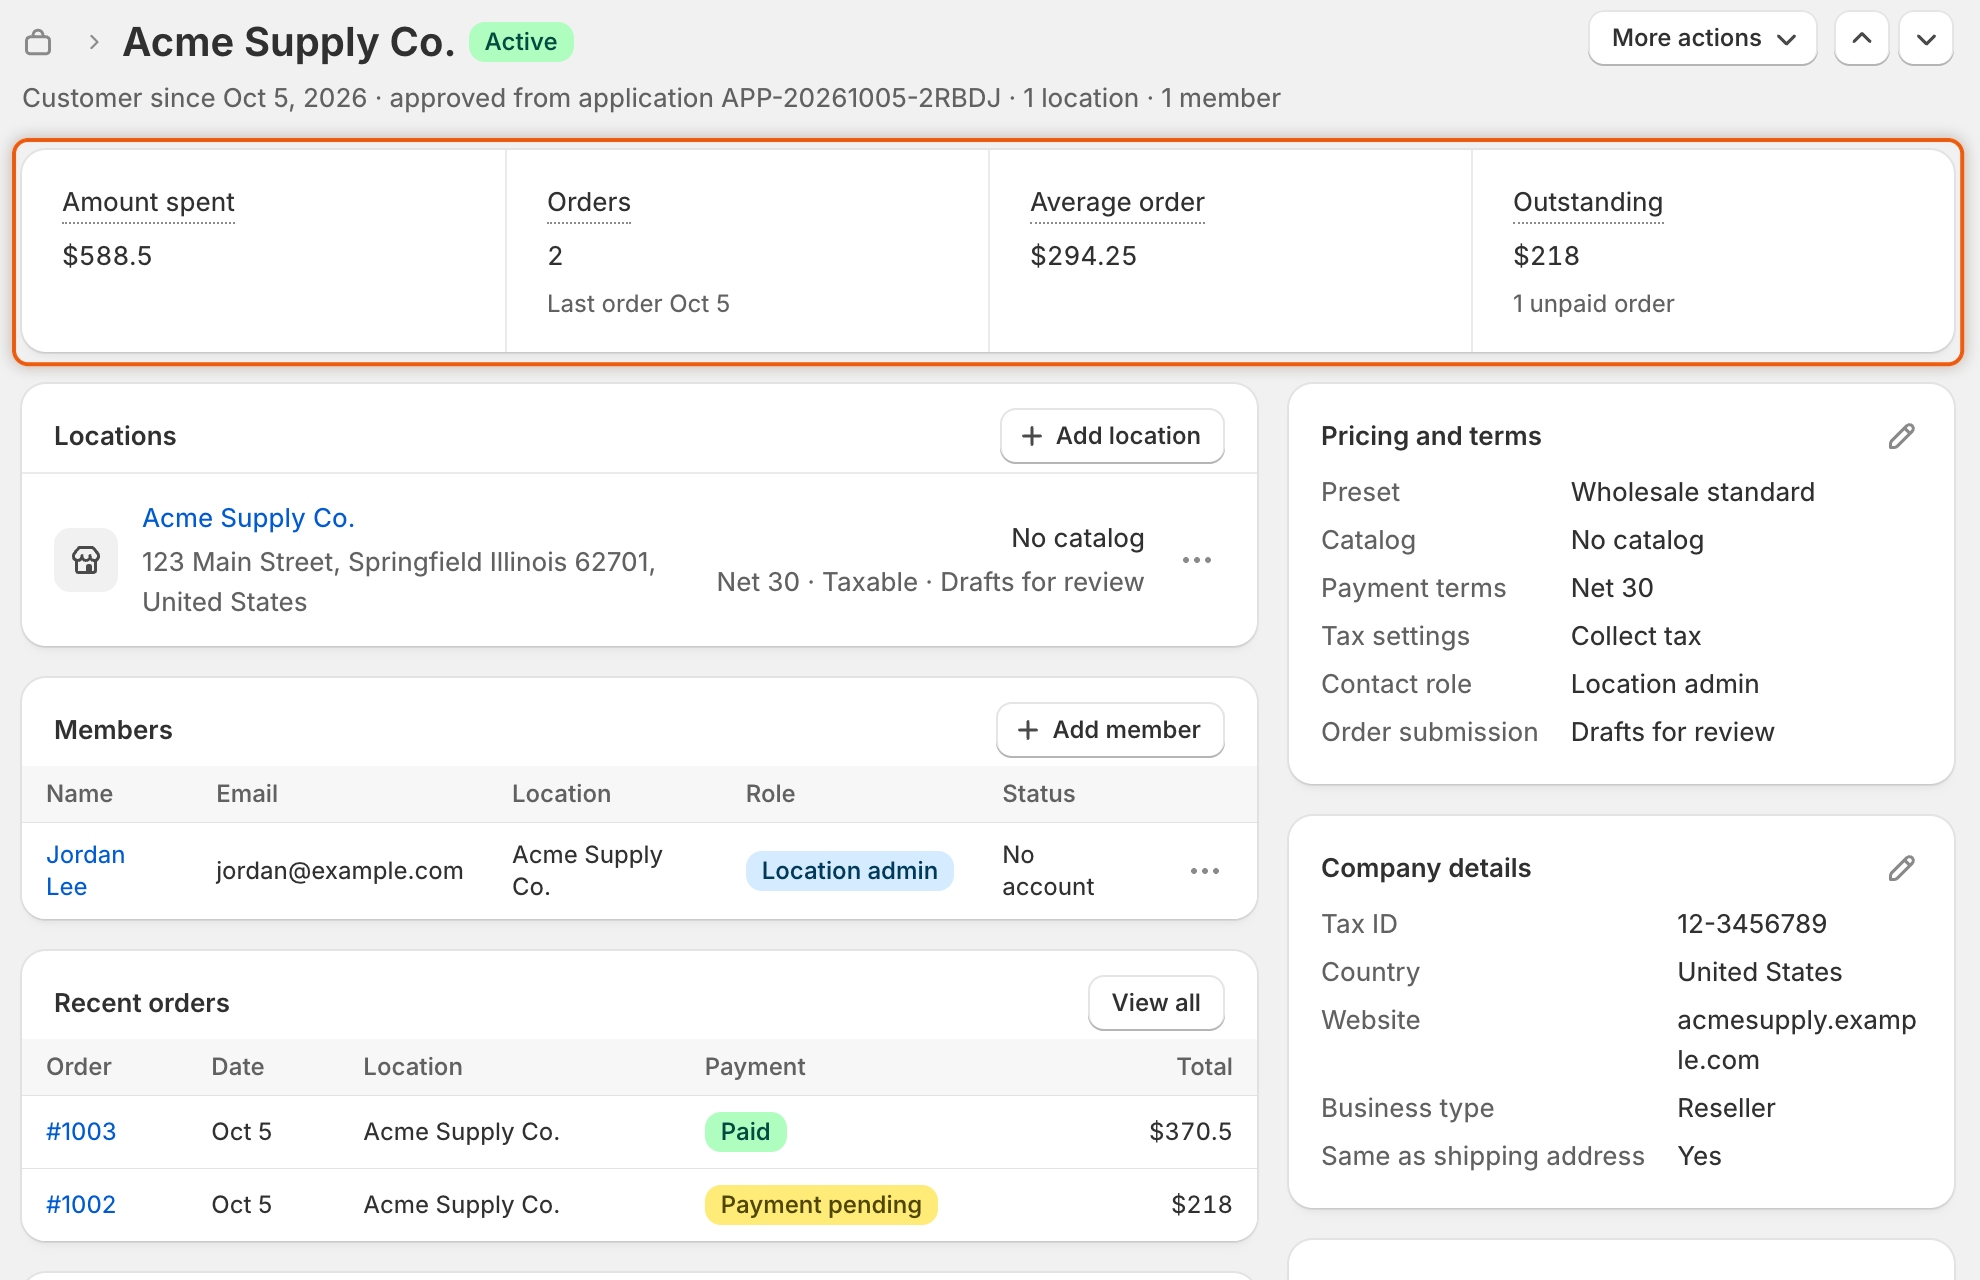
A company that exists in Shopify opens with a strip of four figures. Point to a figure's name to see how it's worked out.

| Figure            | What it shows                                                                 |
| ----------------- | ----------------------------------------------------------------------------- |
| **Amount spent**  | Everything the company has spent, from Shopify's own lifetime total.          |
| **Orders**        | How many orders the company has placed, with the date of the most recent one. |
| **Average order** | Amount spent divided by orders.                                               |
| **Outstanding**   | What is still unpaid, with the number of unpaid orders, or **Nothing owed**.  |

All four figures cover the company's whole history: **Outstanding** adds up every unpaid order, and **Recent orders** shows the newest ones.

<figure><img src="https://3844812229-files.gitbook.io/~/files/v0/b/gitbook-x-prod.appspot.com/o/spaces%2FRrf4pQPgjvb3GW7IN3Ci%2Fuploads%2Fgit-blob-0a96fbe110fed969d304e27fefbbcb35b5f63438%2Fscreenshot-companies-manage-figures.png?alt=media" alt="The top of the Acme Supply Co. page: the name with an Active badge, a line of facts, and a strip of four figures: Amount spent, Orders, Average order, and Outstanding with 1 unpaid order."><figcaption><p>The figures come from Shopify each time you open the page, and Outstanding counts every unpaid order.</p></figcaption></figure>

## Locations, members and orders

These three cards are read from Shopify each time you open the page. You change them in Shopify. Each button takes you to the right place.

* **Locations**: each location's name, shipping address, catalog and terms (payment terms, deposit, **Taxable** or **Tax exempt**, and **Drafts for review** when orders arrive as drafts). Click **Add location** to add one in Shopify. Click a location's **…** menu for **Edit location** or **Copy address**.
* **Members**: everyone who buys for the company, with their email, location, role and account status (**Active**, **Invited**, **Declined** or **No account**). Click **Add member** to add one in Shopify. A member's **…** menu has **View customer** and **Email member**.
* **Recent orders**: the five newest orders, with date, location, payment status and total. Click an order number to open the order in Shopify. **View all** opens the company in Shopify.

A company kept only in the app has no Shopify locations, members or orders. Its **Locations** card shows the addresses from its application, or from its row in your CSV file.

When the buyer uploaded files through a document field on the application, an **Attachments** card lists them, with a button to download each file.

## Edit pricing and terms

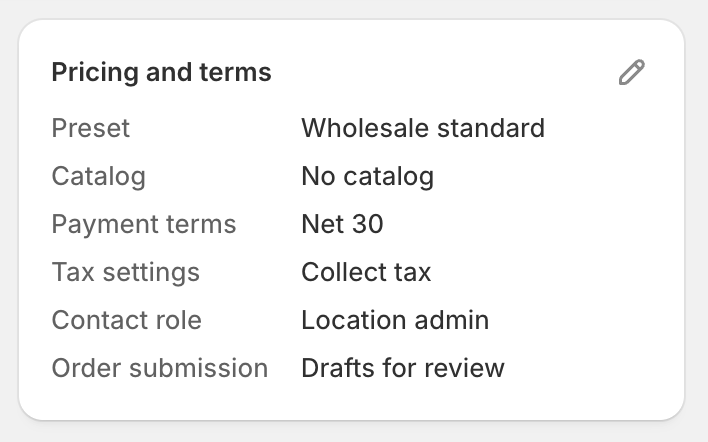
The **Pricing and terms** card lists the company's catalog, payment terms, tax settings, contact role and the other terms it was given.

For a company approved in the app, you can change these terms and send them to Shopify again:

{% stepper %}
{% step %}

### Open the terms

Click the pencil icon on the **Pricing and terms** card. The **Approval terms** dialog opens.
{% endstep %}

{% step %}

### Change the terms

Pick a preset under **Apply a preset** to replace every term with the preset's, or change single terms: **Assigned staff**, **Catalog**, **Payment terms**, **Deposit**, **Allow customers to ship to any one-time address**, **Order submission**, **Credit limit**, **Tax settings** and **Contact role**. **Deposit** appears once payment terms are chosen. Click **Done**.
{% endstep %}

{% step %}

### Save

Click **Save** in the save bar. When the company exists in Shopify, the app applies the new terms there. Approval emails aren't sent again, and the company keeps its status and sales rep.
{% endstep %}
{% endstepper %}

<figure><img src="https://3844812229-files.gitbook.io/~/files/v0/b/gitbook-x-prod.appspot.com/o/spaces%2FRrf4pQPgjvb3GW7IN3Ci%2Fuploads%2Fgit-blob-05ca8ea05d1ae547132e6991b9f4e958a2406975%2Fscreenshot-companies-manage-pricing-terms-card.png?alt=media" alt="The Pricing and terms card showing the Wholesale standard preset, No catalog, Net 30 payment terms, Collect tax, a Location admin contact role and Drafts for review, with a pencil icon."><figcaption><p>The card shows the terms the company has now; the pencil opens them for editing.</p></figcaption></figure>

Any other company shows only the terms recorded for it. For a company synced from Shopify, the pencil icon opens its first location in Shopify, where you change the terms. A company imported from a CSV file shows the payment terms and catalog from its row.

To change the terms or details of a company approved in the app, your own Shopify account needs the **Companies** permission. If it's missing, the card says so.

## Edit company details

The **Company details** card shows the tax ID, country, external ID, tags and the buyer's other answers.

{% stepper %}
{% step %}

### Open the details

Click the pencil icon on the **Company details** card. The **Edit company details** dialog opens.
{% endstep %}

{% step %}

### Change them

For a company approved from an application, change the buyer's answers. For any other company, change the **Tax ID** or the **Country code** (two letters, like `US`). Click **Done**.
{% endstep %}

{% step %}

### Save

Click **Save** in the save bar.
{% endstep %}
{% endstepper %}

For an approved company that exists in Shopify, a new tax ID is also written there. Other answers, and the tax ID or country of any other company, change the app's record only.

## Set the sales rep

The sales rep is the person on your team who looks after the company. Only people who have opened the app appear in the list. See [Team and roles](/sami-b2b-onboarding/settings/team-and-roles.md).

{% stepper %}
{% step %}

### Pick the rep

In the **Sales rep** card, pick a person, or click **Assign to me**. Pick **Unassigned** to clear it.
{% endstep %}

{% step %}

### Save

Click **Save** in the save bar.
{% endstep %}
{% endstepper %}

For a company that exists in Shopify, the app also adds the sales rep to the company's assigned staff on every location, so your own Shopify account needs the **Companies** permission. Changing the rep later doesn't remove anyone already assigned in Shopify. Remove them there if you need to. The card tells you when someone can be the rep in the app only, for example a collaborator account.

<figure><img src="https://3844812229-files.gitbook.io/~/files/v0/b/gitbook-x-prod.appspot.com/o/spaces%2FRrf4pQPgjvb3GW7IN3Ci%2Fuploads%2Fgit-blob-d1c33c6bc88c7438506d934b5c1d68466a5900e1%2Fscreenshot-companies-manage-sales-rep.png?alt=media" alt="The Acme Supply Co. page with the Unsaved changes bar at the top and a team member chosen in the Sales rep card, which notes the rep is also added to the company&#x27;s assigned staff in Shopify."><figcaption><p>The sales rep is saved, and added to the company's assigned staff in Shopify, when you click Save.</p></figcaption></figure>

## Custom data and main contact

* **Custom data**, for a company in Shopify, lists its company metafields by name. Its **…** menu has **Edit values in Shopify** and **Add a field definition**. The card only reads them; you change them in Shopify.
* **Main contact** shows the company's main contact in Shopify, or the buyer from the application. Its **…** menu has **View customer**, **Change main contact** and **Email contact**.

## Timeline and comments

The **Timeline** lists what happened to the company, newest first: status and sales rep changes, the decisions on its application, and edits to its terms and answers, each with who did it.

To leave a note for your team, type in **Leave a comment…** and click **Post**. Only you and other staff can see comments. Buyers never see them.

## Save or discard your changes

When you change the status, terms, details or sales rep, the save bar appears. Click **Save** to store everything at once. A **Company saved** message confirms it. Click **Discard** to drop every change.

If Shopify refuses a change, a red banner explains why, and the change isn't saved. Fix the cause and click **Save** again.

## Next steps

* [Put a company on hold or remove it from B2B](/sami-b2b-onboarding/companies/hold-or-remove-a-company.md) — use the **Account status** card on this page.
* [Approval presets](/sami-b2b-onboarding/automation/approval-presets.md) — save the terms you give companies most often.
* [Team and roles](/sami-b2b-onboarding/settings/team-and-roles.md) — add the people you want to pick as sales rep.


---

# Agent Instructions
This documentation is published with GitBook. GitBook is the documentation platform designed so that both humans and AI agents can read, navigate, and reason over technical content effectively. Learn more at gitbook.com.

## Querying This Documentation
If you need additional information that is not directly available in this page, you can query the documentation dynamically by asking a question.

Perform an HTTP GET request on the current page URL with the `ask` query parameter, and the optional `goal` query parameter:

```
GET https://docs.samita.io/sami-b2b-onboarding/companies/manage-a-company.md?ask=<question>&goal=<endgoal>
```

`ask` is the immediate question: it should be specific, self-contained, and written in natural language.
`goal` is optional and describes the broader end goal you are ultimately trying to accomplish on behalf of the user. GitBook uses it to tailor the answer towards what is most useful for that goal.

The response will contain a direct answer to the question and relevant excerpts and sources from the documentation.

Use this mechanism when the answer is not explicitly present in the current page, you need clarification or additional context, or you want to retrieve related documentation sections.